


LEARN
pliability

Your thoracic spine, the twelve vertebrae running from the base of your neck to the bottom of your rib cage, is built to rotate, extend, and side bend. When it stiffens up, the joints above and below pick up the slack: shoulders pinch at the top of a press, the lower back twists more than it should, and your posture slides into a slouch that screen time only deepens. The right thoracic mobility exercises restore that motion. This guide covers how the t-spine works, how to test it, and 16 mobility exercises grouped by what they train: extension, rotation, breathing, and strength.
what is the thoracic spine and how does it move?
The thoracic spine is the middle segment of your spine, twelve vertebrae numbered T1 to T12, each connected to the rib cage. Those rib connections make it the most stable part of the spine, which protects your heart and lungs but also means the region stiffens easily when you stop moving it. Sitting between the neck (cervical spine) and the lower back (lumbar spine), it acts as the connector, so how well it moves directly affects how well they function.
thoracic movements: rotation, extension, and flexion
The thoracic spine moves in all three planes: rotation, flexion and extension, and lateral flexion, with the ribs limiting how far you can side bend. Standing tall, a typical adult carries roughly 40 to 45 degrees of natural kyphosis (forward curve) through the region, can flex well beyond that, and can extend only 20 to 25 degrees back toward neutral. That extension matters more than the small number suggests: to take your arm fully overhead, the thoracic spine has to extend so the shoulder blade can posteriorly tilt on the rib cage. No thoracic extension, no clean overhead position.
what happens when T-spine mobility is lacking?
The thoracic spine is designed to rotate; the lumbar spine is designed to resist rotation. When the t-spine stops rotating well, the demand shifts down to a lower back that was never built for it, and research has linked reduced thoracic mobility with low back pain. Building thoracic rotation is one of the more overlooked ways to protect your lower back. The same logic applies upstream: if the t-spine cannot extend, the shoulder blade cannot tilt back, the shoulder joint cannot reach full flexion, and your shoulders absorb the difference as impingement risk every time you press or reach overhead.
why is thoracic spine mobility important?
Thoracic spine mobility shows up in almost everything you do: reaching into a cupboard, checking a blind spot, getting out of a car, pressing a bar overhead. Three areas feel it most.
posture: rounded or flat thoracic spines
A stiff thoracic spine pushes posture in one of two directions: an exaggerated hunch (excessive kyphosis) or a flat thoracic spine that has lost its natural curve. Both are compensations, and both feed pain into the neck and lower back. Rounded or flat, the fix is the same: restore movement through the region so the spine can settle back toward its natural curve, then build the postural strength to hold it there.
breathing and rib mechanics
Every breath moves your rib cage, and the rib cage hinges on the thoracic spine. When the region is stiff, the ribs cannot expand fully, breathing capacity drops, and tension builds through the trunk. A more mobile t-spine and rib cage allow deeper, fuller breaths, which supports everything from conditioning work to recovery between sets.
lifting, rotation, and athletic performance
Most major lifts require a neutral spine and a good overhead position, and both depend on thoracic extension; a locked-up t-spine forces the shoulders to compensate under the bar. The same restriction shows up across sports: upright running posture, absorbing shock on a mountain bike, and every swing in golf, tennis, or baseball runs through thoracic rotation. Improve the region and the payoff compounds: less neck, shoulder, and lower back irritation, a stronger overhead position, and more room to breathe under fatigue.
what causes a tight thoracic spine?
Mostly, not using it. Years of sitting in school and at work, hunching over phones and laptops, and a general lack of varied movement leave the upper back stiff and weak. Sports that hold you in flexion for hours, like cycling, contribute, and so does carrying and feeding a baby, which is why new parents often develop a tight thoracic spine. The pattern is use it or lose it: repetitive rounded postures gradually take away extension and rotation you are not actively practicing.
Common signs your thoracic spine needs work:
A dull ache or stiffness between the shoulder blades, especially after long days at a desk
Shoulder stiffness or difficulty reaching overhead, since the shoulders rely on the t-spine for movement
Restricted or uncomfortable rotation: checking a blind spot, swinging a club, getting into a car
Forward-rounded posture that keeps creeping back no matter how often you correct it
One caveat before you start: this is education, not diagnosis. Stiffness that responds to movement is a mobility project; sharp pain, numbness or tingling into the arms, or pain that wakes you at night is a see-a-clinician situation first.
how to test your thoracic spine mobility
Three quick assessments tell you where you stand. Retest every few weeks to see whether the work is paying off.
1. overhead squat test
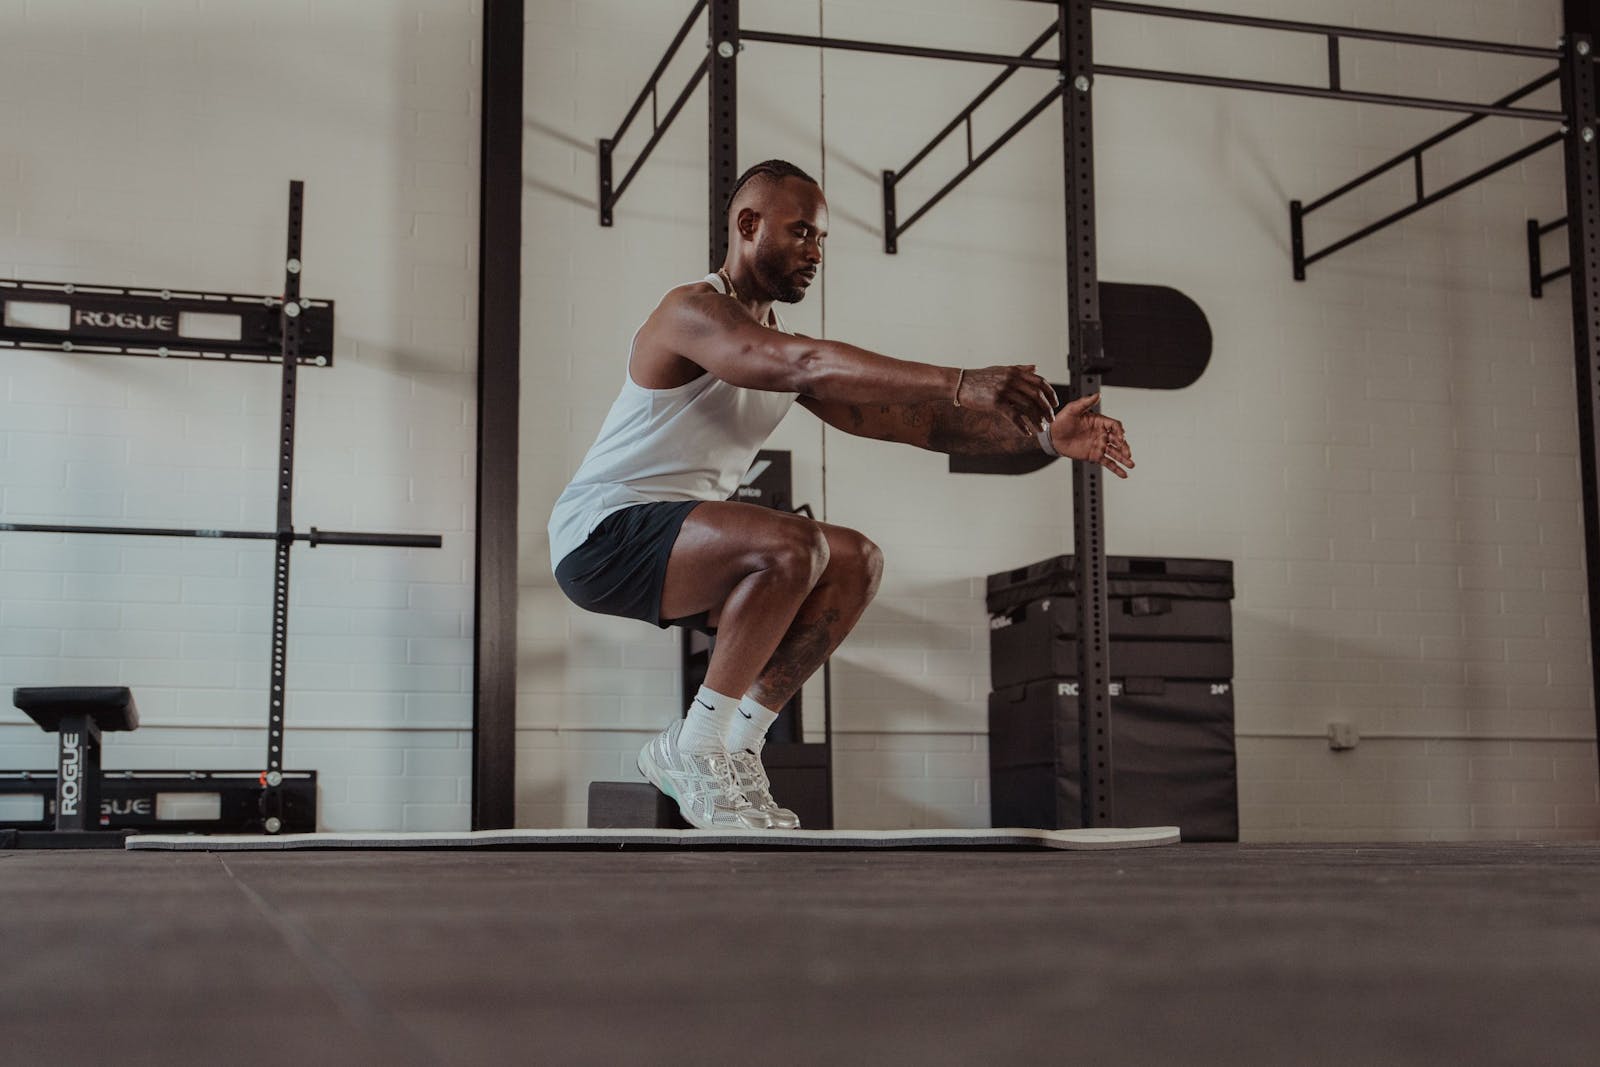
Squat with your arms fully overhead while someone watches from the side (or film yourself). You should be able to hold roughly 180 degrees of shoulder flexion with a neutral pelvis and lower back through the whole squat. Arms drifting forward, an excessive torso lean, or a rounding upper back all point toward a thoracic restriction.
2. supine arm reach test
Lie flat on your back, legs extended, and reach both arms overhead toward the floor. Because you are lying down, nothing needs to stabilize, which makes this a clean look at thoracic extension. Your arms should reach the floor without your rib cage flaring or your lower back arching off the ground. If they hover, or the ribs lift to get them there, your t-spine extension is limited.
3. quadruped thoracic rotation test
Start on hands and knees, sit your hips back to your heels, and lower your forearms to the ground. Place one hand behind your head and rotate just your thoracic spine toward that side. You are looking for roughly 35 degrees of rotation in each direction; picture a 45-degree angle and see how close you get. Symmetry matters as much as the number, so compare sides.
16 best thoracic mobility exercises
These 16 exercises are grouped by what they train: extension, rotation, breathing-driven positions, and strength. You do not need all of them in one session. Pick one or two from each group, slot the dynamic drills into warm-ups and the longer holds into cooldowns, and progress to the advanced squat variations as your range improves.
thoracic extension exercises
1. Foam Roller Thoracic Extension
The most straightforward place to start, and the classic way to train thoracic extension over a foam roller. All you need is the roller and a few minutes.
How to do it:
Lie face up with a foam roller positioned across your mid-back, knees bent and feet flat on the floor.
Cross your arms over your chest or place your hands behind your head to cradle your neck.
Gently extend your upper back over the roller, then roll slowly along the mid-back with control.
Repeat for your desired reps or duration. Rolling the t-spine first is also a good way to loosen the area before the other extension drills below.
2. Cat-Cow
An easy drill you can do anywhere that moves the whole spine through flexion and extension: the cat is the flexion half (upper back pushed to the ceiling), the cow is the extension half (chest pulled toward the floor). It also feeds the neck and lower back, and working from all fours adds a core stability element.
How to do it:
Start on all fours with your hands under your shoulders and knees under your hips.
Exhale and push your upper back toward the ceiling while tucking your hips: the cat.
Inhale, lift your chest and head, and let your rib cage sink toward the floor: the cow.
Move slowly and rhythmically between the two for your desired reps.
3. Bench T-Spine Stretch
A simple, deep stretch for the mid-back (and often the lats) using a bench or box and a PVC pipe or dowel.
How to do it:
Kneel close to a bench holding a PVC pipe with your hands wide and elbows close together, arms in a "V".
Place your elbows on top of the bench.
Sit your hips back toward your heels while dropping your chest toward the ground, like a prayer stretch.
Hold the end range for 5 deep breaths, return to the start, and perform 3 to 5 repetitions.
4. Downward Dog
This yoga staple mobilizes the upper back and shoulders while loading the arms and calves, and it doubles as prep for pressing and pulling work.
How to do it:
Start in a push-up position with your hands under your shoulders and back flat.
Push your chest up and back toward your knees, reaching your arms long through the floor.
Hold for a breath or two, feeling the upper back and shoulders work, then return to the start.
Try longer holds in a cooldown or sets of 8 to 10 reps with shorter holds in a warm-up.
thoracic rotation exercises
Rotation is where most people are most restricted, so these rotation mobility exercises make up the biggest group. Work both sides and keep the lower body quiet so the movement comes from the mid-back.
5. Thread the Needle
The easiest way to add thoracic rotation to a routine. It also reaches the shoulders, lats, rhomboids, rotator cuff, traps, and serratus anterior.
How to do it:
Start on all fours, hands under shoulders and knees under hips.
Reach your right arm under and across your torso, rotating until your right shoulder approaches the floor. You should feel the stretch through your shoulder, tricep, lat, and upper back.
Slowly rotate back to the starting position, then repeat on the left side.
In a warm-up, use more reps with short holds; in a cooldown, fewer reps with longer holds.
6. Iron Cross Stretch
A floor drill that trains rotation through the lower thoracic spine with your abs engaged, keeping the work in your active range of motion.
How to do it:
Lie face up with your arms out to your sides in a "T".
Lift your left leg and slowly rotate it across your body toward your right side, lightly tapping your foot on the floor. Feel the twist through your mid-back and hips.
Squeeze your abs to bring the leg back to the start, then switch sides.
Keep your upper back flat on the floor throughout.
7. Kneeling Downward Rotation Stretch
Because the joints of the mid-back move similarly in rotation and extension, rotational drills like this one improve both. Anyone can do it, whatever their starting mobility.
How to do it:
Start on all fours.
Slide your right hand along the ground, under and across your left arm, as far as possible, dropping your right shoulder toward the floor until you feel a light stretch in your mid-back.
Hold for 10 seconds; do 10 repetitions per side.
To progress, set up a few feet from a resistance band anchored to a rack, grab it with the far hand as you reach under, and let the band's tension pull you into a little more rotation.
8. Child's Pose with an Exercise Ball
A supported twist that opens the chest while the ball carries your arm through the movement.
How to do it:
Kneel facing an exercise ball, sit back on your heels, and open your knees wider than your hips.
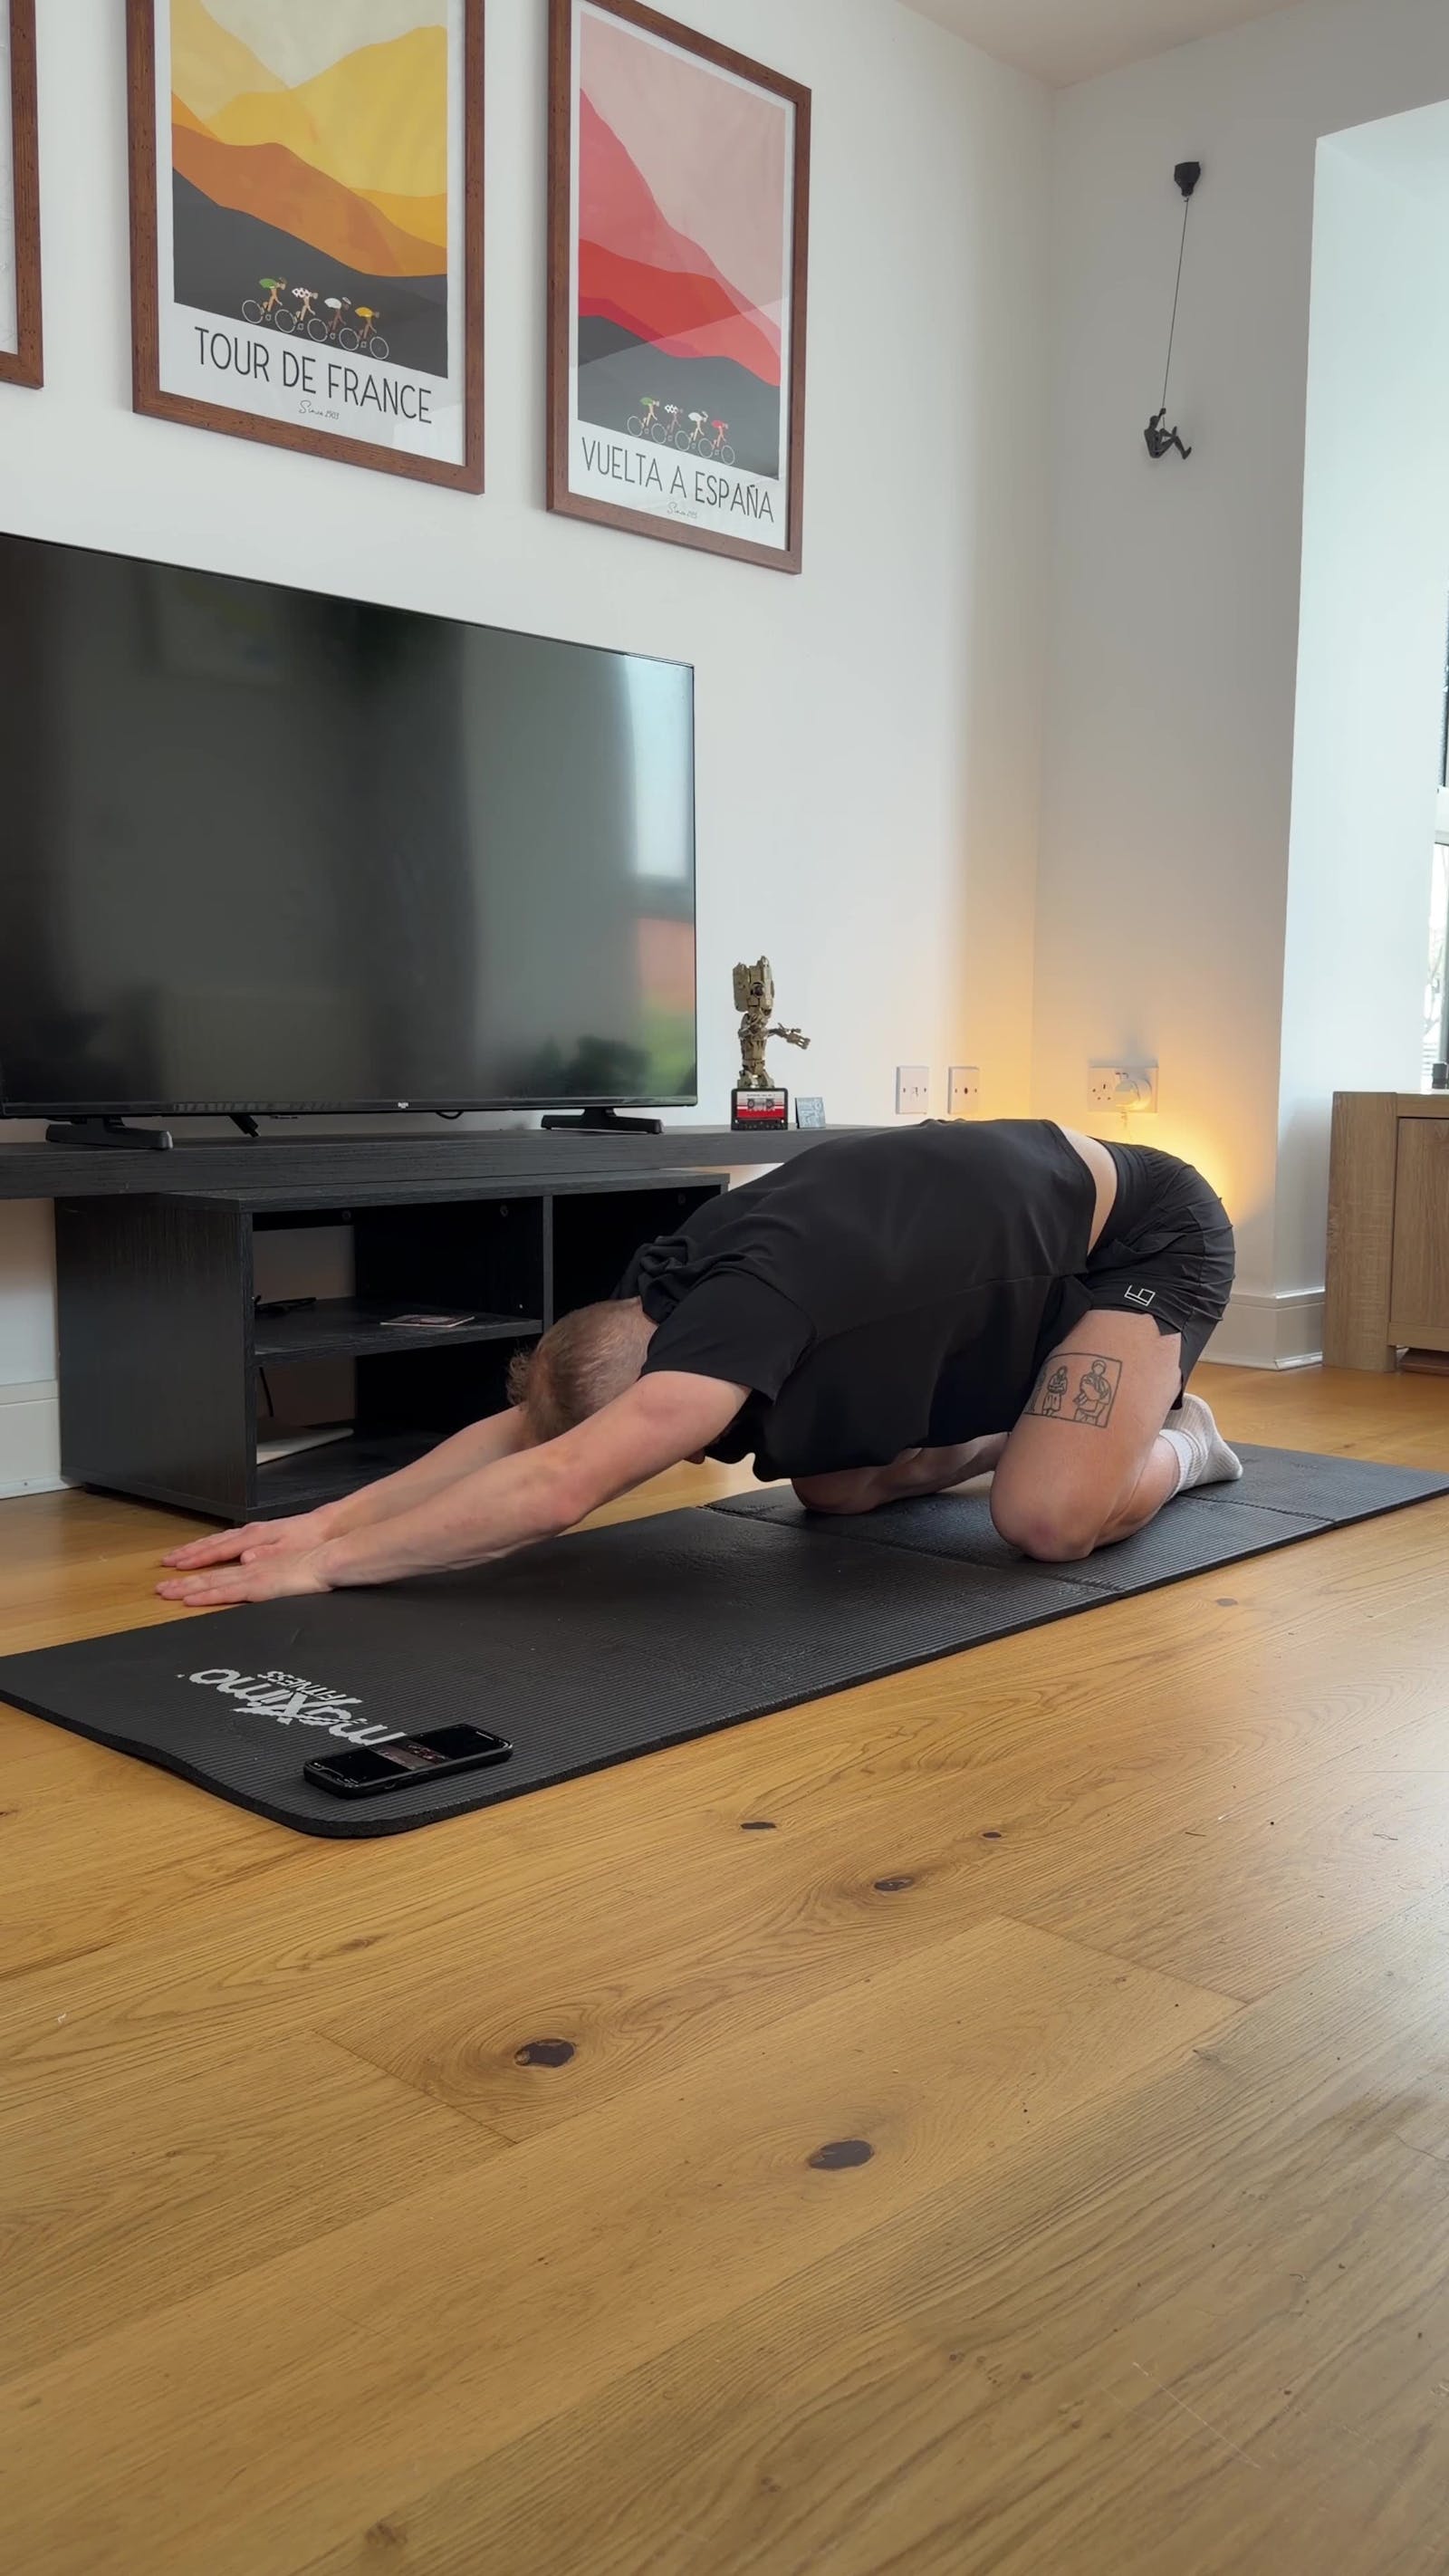
Place both hands on the ball and roll it forward until you fold into a child's pose, chest sinking toward the floor without shoulder pain.
Take two deep breaths, then roll the ball to the right so your chest opens to the right side. Look under your right arm and breathe, lengthening the spine.
Return to center, repeat to the left, then roll back up one vertebra at a time.
Complete 3 to 5 reps per side. If kneeling is not an option, sit on a bench or low stool instead.
9. Seated Side Angle Pose
A classic yoga pose done from a chair to focus purely on spinal rotation and side opening.
How to do it:
Sit on the edge of a chair with your legs open wide, then straighten one leg into a lunge-like position.
Keeping your spine long, lean over the bent leg and slide that arm down your lower leg toward your ankle.
On an inhale, sweep your opposite arm up and over your head, opening your arm and chest and looking toward the ceiling.
Exhale back to the start and repeat 4 to 5 reps per side, breathing into your rib cage throughout.
10. Seated Rotation and Side Bend
The next progression for rotational mobility, combining end-range rotation with a small lateral bend.
How to do it:
Sit with a PVC pipe across your upper back, as if set up for a high-bar back squat, and squeeze a small foam roller between your knees to lock down the lower body.
Rotate as far as you can to the right. At end range, add a small side bend to the right, away from your midline. Keep it small: too much side bend lifts the hips and shifts the movement into the lower back.
Return upright, then rotate and side bend to the left the same way.
After 3 to 5 rotations per side, you will often notice you can rotate further than when you started.
11. Deep Squat with Rotation
An advanced movement that requires full squat mobility first.
How to do it:
In a deep bodyweight squat, grab your left foot with your right hand.
Drop your right shoulder toward the ground while rotating your left arm up toward the sky.
Hold for 5 seconds, then reverse to the other side.
Perform 3 to 5 rotations per side.
thoracic mobility drills for breathing and deep positions
These drills pair position with breath, using full exhales to reach parts of the t-spine and rib cage that stretching alone misses. The squat-based versions also bank ankle and squat mobility in the same rep.
12. Deep Squat Hold with Thoracic Reach
A warm-up efficiency play: ankle, hip, thoracic, and shoulder mobility in one drill.
How to do it:
Stand with your feet about hip-width apart and slowly descend into a balanced deep squat.
Hold the bottoms of your toes with both hands to anchor the position.
Reach your right arm up and back, thumb pointing behind you, arm straight, making a half "Y". Follow your hand with your eyes to drive more thoracic rotation.
Return the arm, repeat on the left, and alternate for your desired reps or hold time.
13. Short-Seated Wall Reach
A breathing-driven drill that finds thoracic flexion and shoulder blade movement without letting the lower back cheat.
How to do it:
Sit on the floor with your back and hips against a wall.
Breathe in fully through your nose, then exhale forcefully through your mouth while reaching forward with both arms. Your lower back stays on the wall the whole time.
On each inhale, focus on filling the back of your chest wall with air; on each exhale, reach your shoulder blades as far around the front of your ribs as you can.
Pause for three seconds at the end of each breath. Repeat for 2 to 3 sets of 3 to 4 breaths.
14. Overhead Breathing Squat
This builds on the wall reach by adding a standing squat and taking the arms overhead, which demands thoracic extension under the same breathing pattern.
How to do it:
Hold a stretch band anchored overhead (the overhead cable of a lat pull-down machine also works) with your arms extended above you.
Descend into a squat while keeping the arms long overhead.
Use the same breathing as the wall reach: full nasal inhale into the back of the ribs, forceful exhale without losing the overhead position.
Repeat for 2 to 3 sets of 3 to 4 breaths.
thoracic strengthening exercises
Mobility you cannot control is mobility you lose. These two thoracic strengthening exercises build the stability to hold the range the other drills create.
15. Side Plank
The side plank builds t-spine strength by making your core, shoulders, and upper back resist lateral bending.
How to do it:
Lie on your right side and place your right elbow directly under your right shoulder.
Lift your hips until your body forms a straight line. A useful cue: push your top pant pocket toward the ceiling.
Squeeze your upper back, brace your abs, and hold, then lower with control.
Switch to the left side and repeat for your desired sets and hold time. For more challenge, rest a dumbbell on your top hip.
16. Kettlebell Windmill
The windmill develops t-spine and shoulder stability while building strong obliques, making it a smart prep for overhead training or an accessory in an ab circuit.
How to do it:
Stand with your feet slightly wider than hip-width and press a kettlebell overhead with your right arm.
Keeping the right arm straight and your eyes on the bell, shift your weight and slowly lower your left arm along the inside of your left leg, palm facing up.
Slowly stand back up to the starting position.
Repeat for your desired reps, then switch sides.
how often should you do thoracic mobility exercises?
If your thoracic spine is genuinely stiff, a short daily dose beats a long weekly session. Postural change takes time and consistency, and even five minutes a few times a week has a positive effect; the worst plan is the one you never do. Slot the dynamic drills into warm-ups, save the long holds and breathing work for cooldowns or evenings, and retest monthly.
Three things multiply the return on that time. Form: brace your core and avoid stealing range from the lower back and pelvis; if you cannot tell where the movement is coming from, a few sessions with a coach or physical therapist is money well spent. Breath: full, 360-degree diaphragmatic breaths that expand the ribs outward do real mobility work on their own. Tissue quality: foam rolling the t-spine and soft tissue work on the pecs and lats (the muscles that most often pull the region into rounding) make the movement drills more productive.
make T-spine work part of the program
Sixteen drills are only useful if they get done, and the athletes who fix their thoracic mobility are the ones who stop treating it as extra credit. pliability builds the work into your training: Daily Sessions deliver a fresh guided mobility routine every day, Paths run multi-week progressions for problem areas like overhead range and rotation, Build Your Program shapes the plan around your lifting schedule, and the Rebuild hub holds therapy-informed routines for working back from a setback. Take the mobility assessment to see exactly where your t-spine stands, then start with 7 days free on iPhone, iPad, Android, or the web. Your thoracic spine is in the middle of every lift you do. Train it like it is part of the program, because it is.
Related Reading




Move better in 10 minutes a day.
10,000+ five-star reviews.