


LEARN
pliability

Do you often notice a stiff or painful back when you move, twist, or reach for something? You are not alone. Many people struggle with mid-back restriction that limits flexibility and movement, and the ribs themselves are often the missing piece. Rib mobility exercises restore motion to the rib cage, which stiffens with sedentary time, hard training, or after an injury. This article covers why rib mobility matters for mid-back flexibility and stability, then walks through 11 exercises to improve it.
One note before you start: this is education, not diagnosis. If your rib pain is sharp, followed a fall or impact, or comes with trouble breathing, have a clinician assess it before you stretch. For everything else, pliability's guided routines give you a structured way to work on rib and mid-back mobility a few minutes at a time.
why does rib mobility matter?
The rib cage is an often neglected area of mobility that affects overall health. It is a dynamic structure integral to breathing and spinal health, made up of the ribs, sternum, thoracic vertebrae, and related connective tissues. The ribs attach to the sternum at the front of the body and wrap around to the back, where they attach to the thoracic vertebrae of the spine.
This structure allows for both mobility and stability: it protects the lungs and heart while assisting with respiration. As you breathe, the rib cage expands and contracts to create space for the lungs to fill with air and to push air back out. Improving rib cage mobility can relieve low back pain and support athletic performance.
why does the rib cage move?
The rib cage attaches to the thoracic spine, and together they form the thorax. As you inhale, the ribs move out and up; as you exhale, they move down and in. This motion is driven by the diaphragm and the intercostal muscles (the muscles between your ribs) contracting and relaxing.
The diaphragm is a muscle at the base of your lungs that attaches to the bottom ribs. It flattens when you inhale, increasing the space in the rib cage so the lungs can expand. When it relaxes on the exhale, it helps the lungs push air out. Without this mobility, you cannot breathe as efficiently.
Rib Cage Mobility for Overall Movement
The abdominal and scapular muscles all attach to the rib cage, which means the ribs influence movement of the upper extremities, pelvis, and lower extremities. When rib cage mobility decreases, upper body movement, posture, back comfort, and even lower body mobility can suffer.
Why is Mobility Important?
The T-spine is integral to posture, upper and lower limb movement, and breathing. Decreased thoracic mobility and poor posture can affect performance in any sport, but they play a much larger role for swimmers, kayakers, tennis players, golfers, and anyone whose sport demands thoracic extension or rotation.
An increased thoracic curve can also lead to increased lumbar lordosis and changes in pelvic position. That alters how forces distribute through the legs, which matters in any sport involving running.
the impact of restricted rib movement on breathing efficiency during sports
Normal breathing patterns are disrupted if the ribs are not moving properly. The diaphragm, your primary respiration muscle, forms a dome at the bottom of the rib cage, and it is hard to expand it fully (take a deep breath) when the ribs cannot move with it.
If the rib joints at the spine and the surrounding musculature are stiff and tight, each breath has less movement behind it. That makes it difficult to breathe at higher rates during cardiovascular work, especially in sports that involve sitting or bending, such as:
Rowing
Kayaking
Cycling
rib articulation significance in thoracic spine mobility
Everyday life puts us against two foes:
Gravity
Aging
Range of motion declines in many ways as we age, and the trunk and shoulders take the biggest hits. The upper body does not fare well against time and gravity, which is exactly why rib articulation deserves attention.
how the ribs and thoracic vertebrae work together
The thoracic spine consists of twelve vertebrae, T1 to T12. Each thoracic vertebra articulates with a rib on either side of the body, and ribs 1 through 10 each connect to the spine at two points:
Costovertebral joints
Costotransverse joints
This connection creates a functional relationship between the ribs and the thoracic vertebrae. The ribs move with the thoracic spine through flexion, extension, and rotation; every time the thoracic spine moves, the ribs help guide that motion. It is why rib work and thoracic mobility exercises belong together.
what happens when rib articulation is restricted
Poor rib articulation leads to decreased thoracic spine mobility, which degrades upper body mechanics and functional movement patterns. Since the ribs assist with thoracic motion, restricted rib articulation limits the spine's range, and that is particularly detrimental during rotational activities.
rib articulation and aging
Rib articulation naturally decreases with age, restricting thoracic spine mobility and overall upper body function. Research shows that as you age, rib mobility declines, impacting upper body mechanics and increasing the potential for injury. Consistent mobility work is how you push back.
11 rib mobility exercises for mid-back flexibility & core health
1. side bend
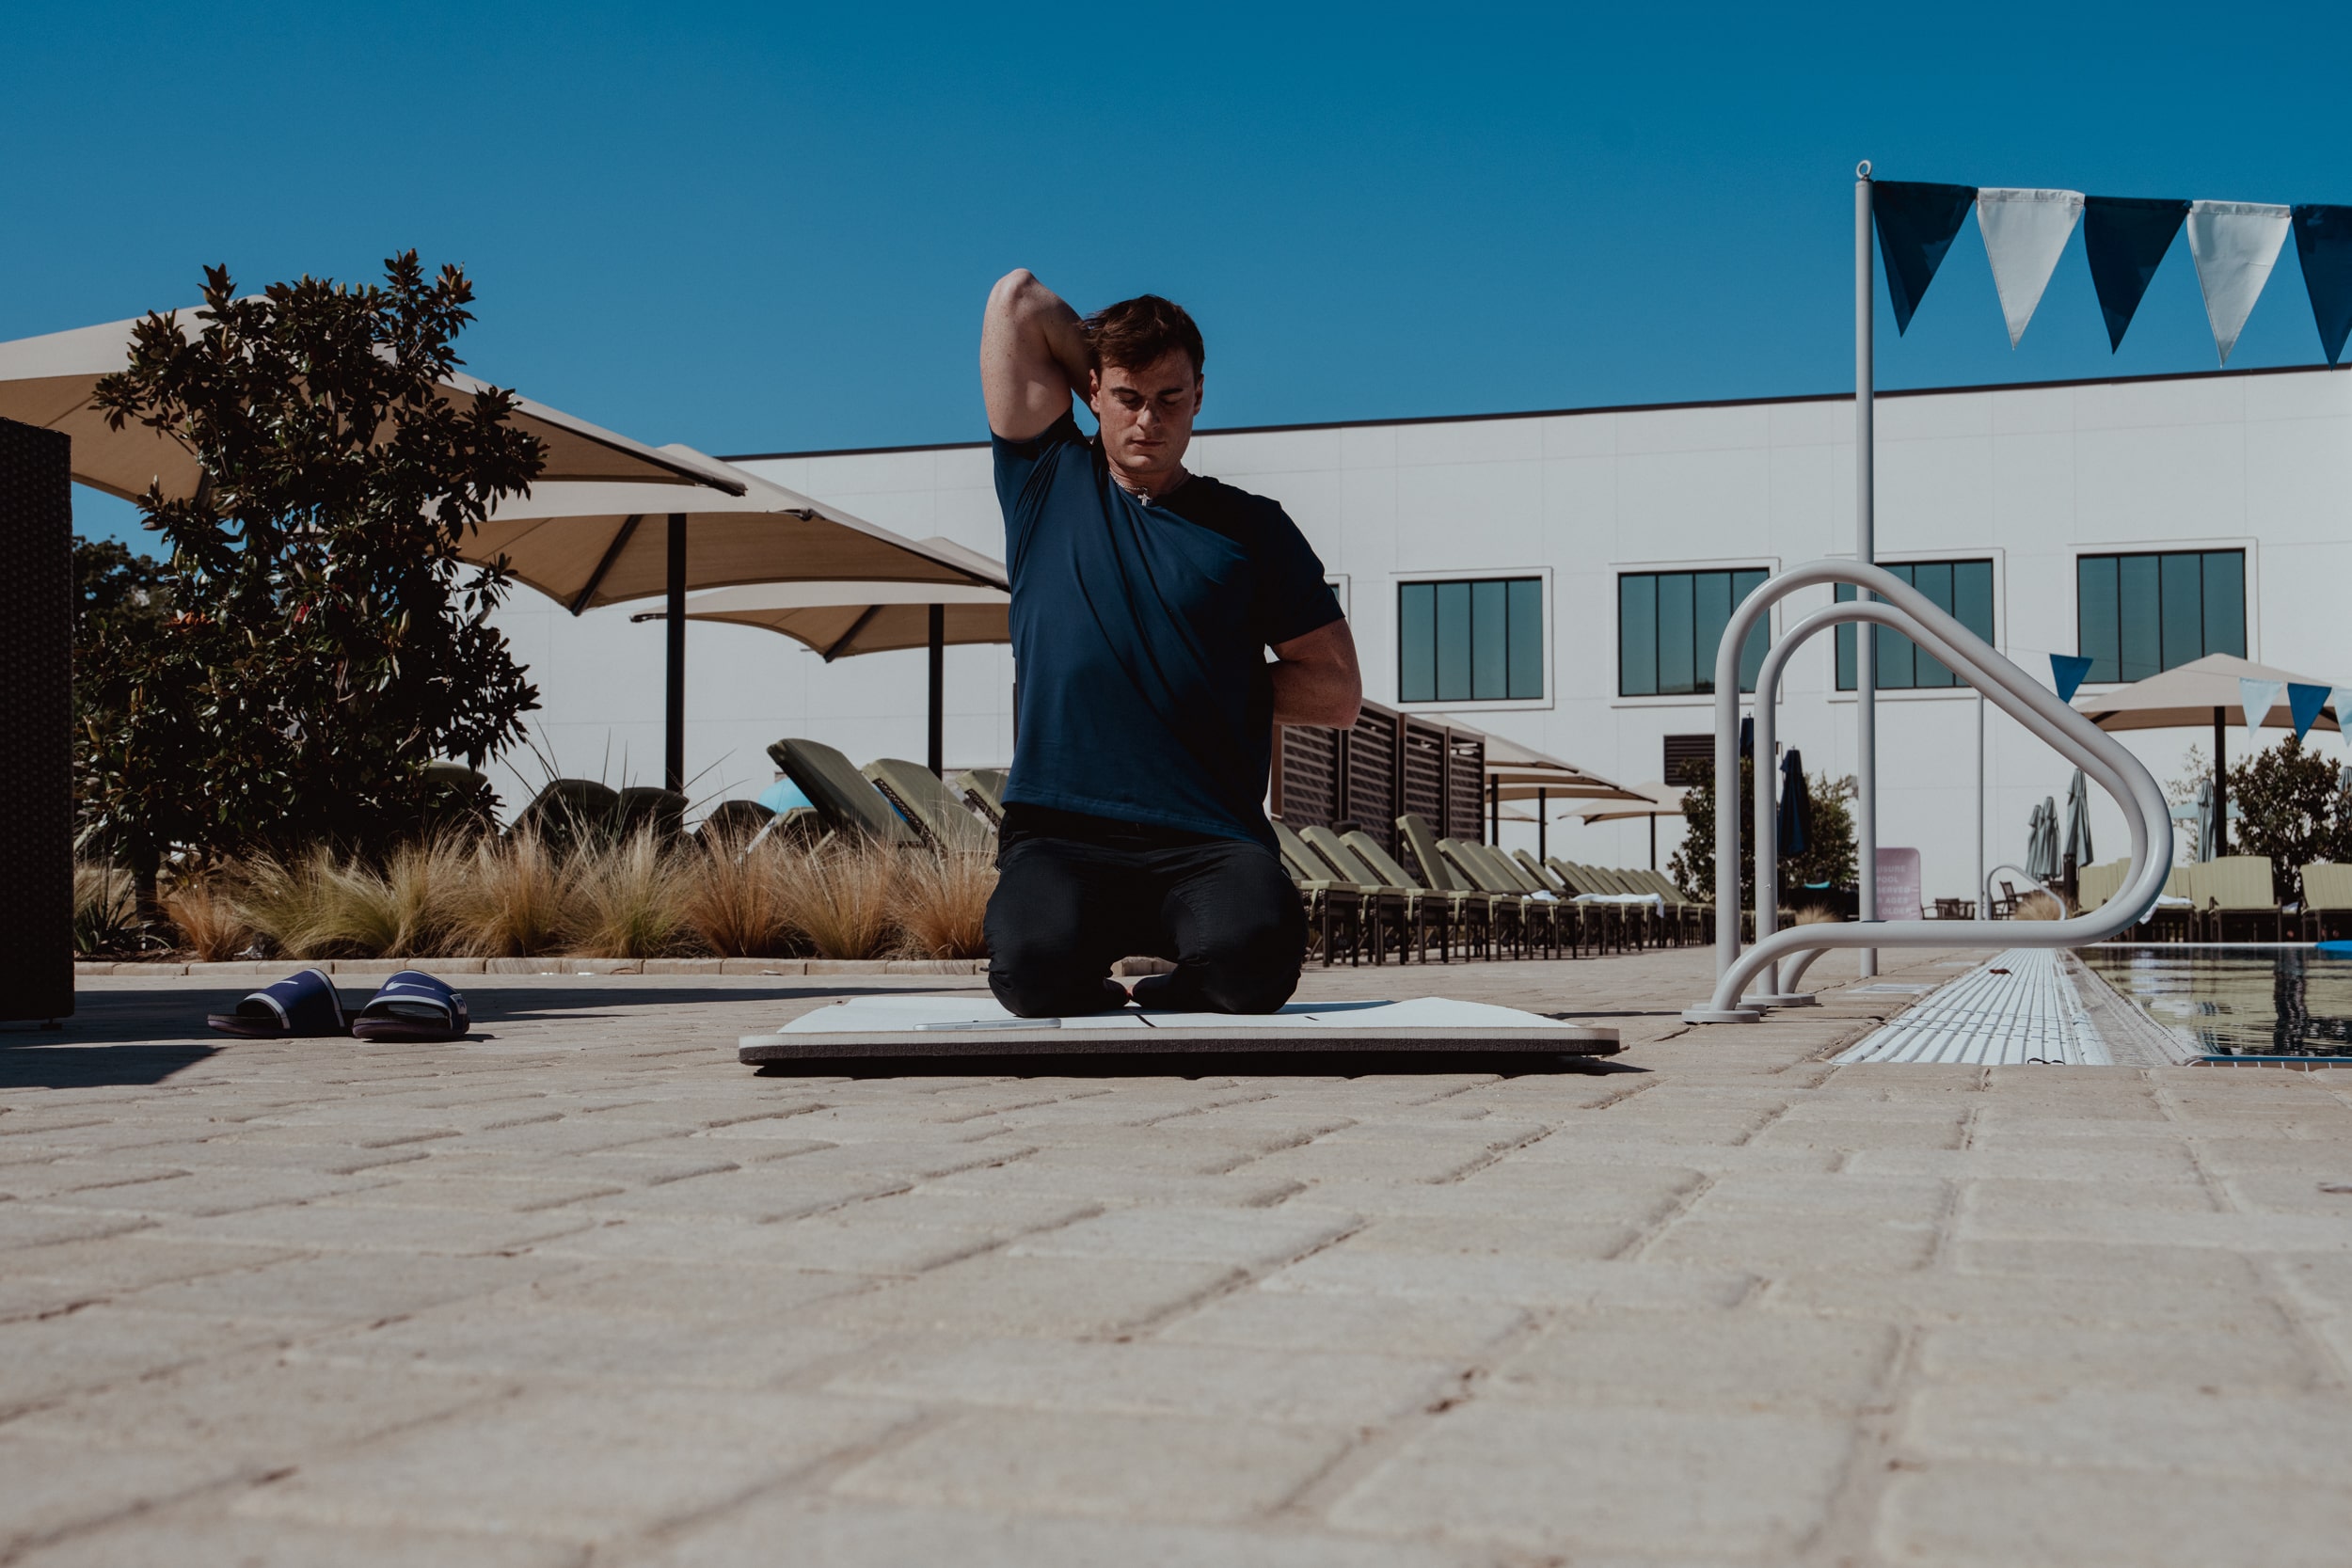
Start in a 90/90 kneeling position (each knee forms a 90-degree angle).
Step your right foot forward so it is below your right knee; rest your left knee on the mat below your left hip.
Relax your left shin and the top of your left foot on the mat.
Reach your arms out from your sides to just below shoulder level.
Elongate your spine and lift from your pubic bone.
On an inhalation, initiate a side bend to your right side.
Reach your left arm overhead and lift from your left ear. You are actively lengthening and strengthening the muscles on your left side that hold you in lateral flexion, including your obliques and quadratus lumborum.
Across your left hip, you actively lengthen your hip flexors.
On your inhalation, breathe deeply into the left side of your rib cage; sense the expansion.
On your exhalation, engage your pelvic floor and lower abdominal muscles, increasing the lift in your pelvis to lengthen your lower back and intensify the hip-flexor stretch.
Maintain the position for 4-10 slow, full breaths.
Then lower your left arm and center your upper body.
2. sit back and forward fold
In the kneeling position, take both arms overhead.
On an inhalation, press your right foot lightly forward.
Let your knee extend and your pelvis shift back.
Keep your spine centered and long as you fold your upper body forward and lower your arms to shoulder level.
Letting your hip flex allows the fascia in front of your hip joint to soften.
When you exhale, raise your arms overhead and lift upright.
Repeat the movement slowly 4-8 times.
3. side stretch with spiraling
Transition into a 90/90 side stretch.
Place your left hand on the floor (or a block) in line with your left knee.
Once your hand is firmly grounded, shift your pelvis directly over your left knee and reach your right arm over your head. Your spine is long in lateral flexion.
Keep your head in line with your lengthened neck.
Press your left hand against the floor and firmly stabilize your shoulder by spiraling the head of your humerus out and down.
Imagine that your arm is a strong pillar over which you can drape your upper body.
Reach farther out with your right arm to increase the stretch in your latissimus dorsi, pectoralis major, intercostals (muscles between your ribs), spine extensors, and abdominals.
The muscles and fascia in your rib cage and waistline soften on your left side.
On an exhalation, reach your right arm down toward the floor.
Sense a domino-like motion in which the reaching of your arm facilitates the slight gliding of your shoulder blade along your ribs, enabling the back of your left rib cage to spiral open and your spine to follow along.
While your sternum revolves toward the floor, you can rotate your pelvis toward the ceiling to intensify the opening in your lower back.
On an inhalation, raise your right arm overhead.
Rotate your spine and rib cage toward the ceiling along with your arm.
Let the front of your rib cage open.
Continue to reach out with your right hand and turn your palm up toward the ceiling to intensify the chest opening and upper-body stretch.
Slowly repeat the spiraling motion 1-3 more times.
4. thoracic windmill with towel
Lie on your side and place a rolled-up towel perpendicular to your body just under your shoulder blades.
Reach your top arm to the other side of the room, allowing your chest to open with it.
Complete 10-15 reps on each side.
5. quadruped thoracic rotation
Start on all fours and bring one hand behind your head.
Twist your body towards your supporting arm, then twist towards the ceiling, opening the chest as much as possible.
Keep your core tight and twist with the middle portion of your back.
Complete 10-15 reps on each side.
6. wall angel (scapular wall slide)
Stand with your back against the wall, arms raised against the wall, elbows bent at 90 degrees.
Slide your arms up the wall until they are over your head, then bring them back to 90 degrees.
Squeeze your shoulder blades together and engage through your middle back.
Keep your glutes and abdominal muscles engaged to prevent your lower back from arching off the wall.
If you are having trouble with this, you can do the exercise seated against the wall with your knees bent and your heels touching your butt.
7. short-seated wall reach
Sit on the floor with your back and hips against the wall.
Take a deep breath through your nose and forcefully exhale through your mouth while you reach forward with your arms.
Your mid and lower back should stay flat against the wall the entire time.
Repeat five times.
8. deep diaphragmatic breathing
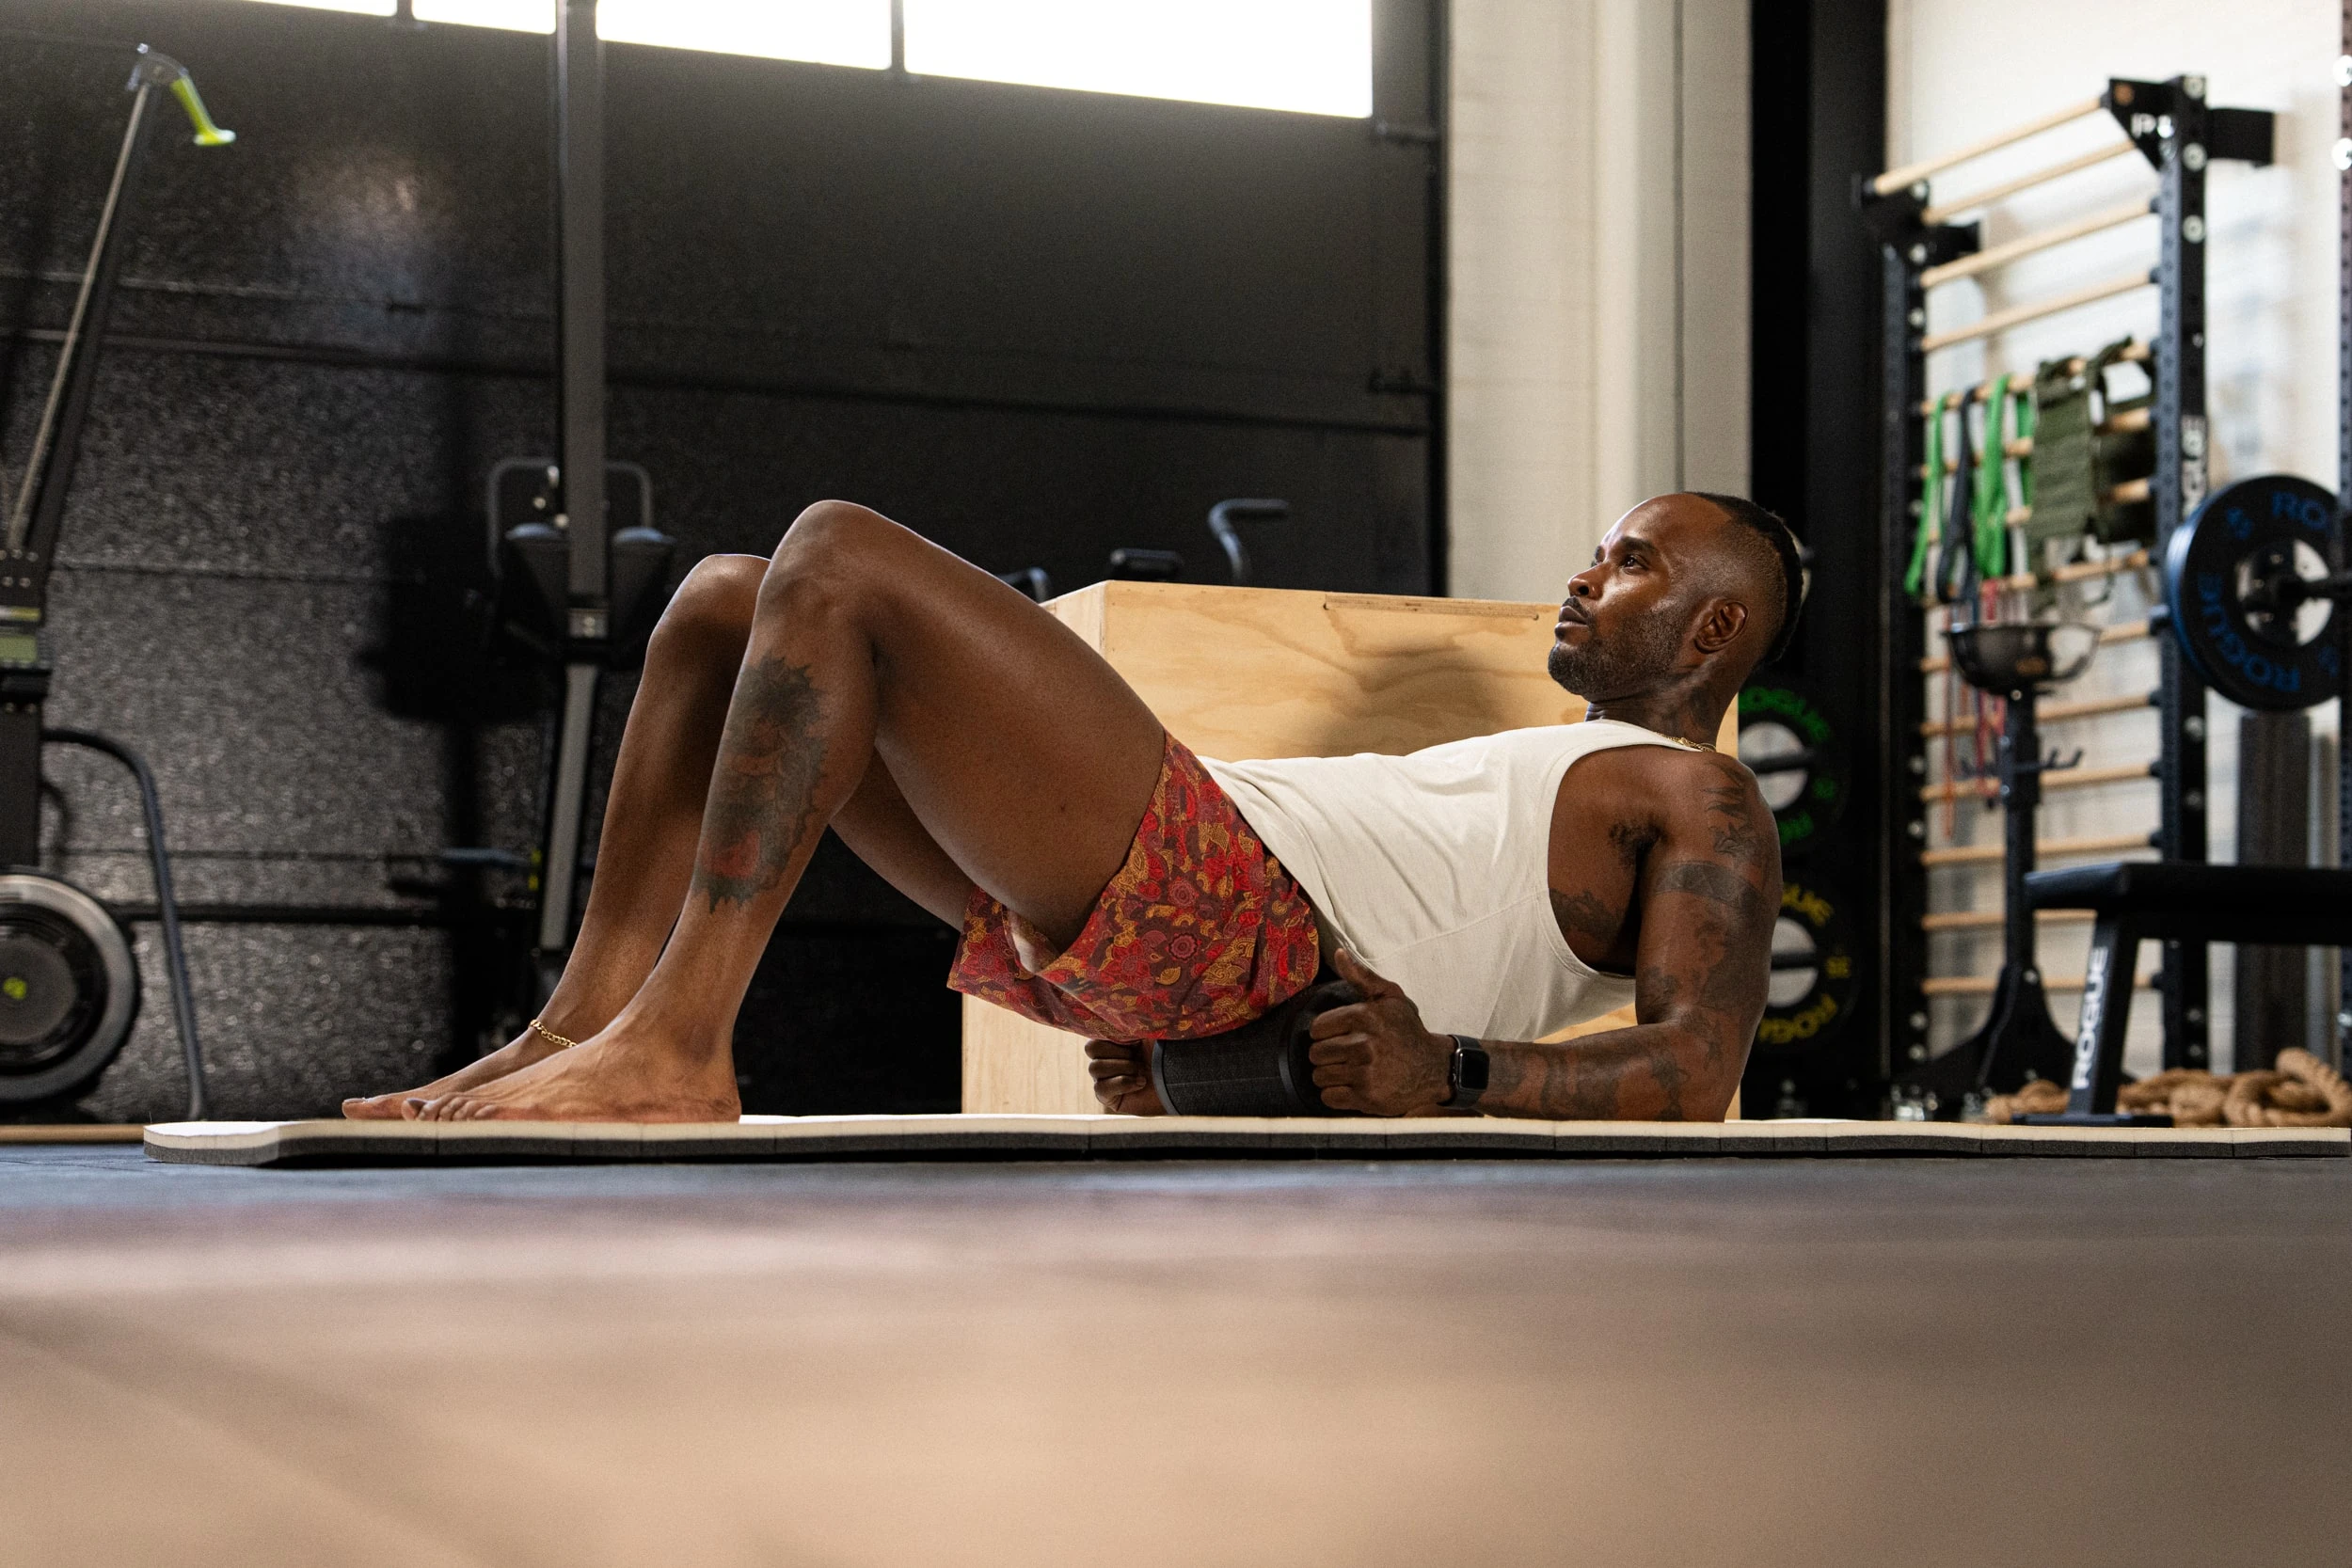
Lie on the floor with your knees bent.
Put one hand on your upper chest and the other on your stomach, below your rib cage.
Take a deep breath in slowly through your nose, focusing on filling the lower portion of your lungs and pushing your stomach outwards.
The hand on your chest should stay still, and the one on your stomach should rise.
Hold for 5 seconds, and then slowly let your breath out through your mouth.
Repeat for 3-5 minutes.
9. seated rib release exercise
The right side of the rib cage tends to be more compressed, as most people bend into that side while rotating towards a more backward-oriented hip. Mobility work can focus on finding more expansion in the right-side body, and the side-seated rib release is one of the best exercises for it. You can also add sagittal plane elements to find more expansion in the left posterior rib cage and counter rib flare positioning. Steps to do this exercise:
Start in a side seated position with the right arm straight.
Allow the right-side body to sink towards the floor. You should feel a big stretch in the right body.
Reach forward with the left arm and think of pushing the chest away from the hand to feel the upper left back expand.
Take a few deep breaths here.
10. sagittal plane mobility work
The left upper back tends to flatten and lose its curvature as the body shifts towards the right side to match the pelvic position. This flattening can make it harder to take a deep breath and cause other compensation issues down the kinetic chain. You can focus on finding more expansion in the upper back by dropping to the forearms and pushing the chest away from the arms. Steps to do this exercise:
Bring the forearms to the floor or an elevated surface from a seated or tabletop position.
Tuck the chin and think about pushing the chest away from the forearms to feel the upper back expand.
Take a few deep breaths here to feel the upper back expand.
Option to favor the left side by straightening the right arm and adding a side bend to the left side to find length on the right side.
11. transverse plane mobility work
Most people rotate more easily to the right side to compensate for a backward right hip position, so rotating in one direction can feel more "stuck" than the other, often because pelvic position impedes the rotation. One of the best ways to find rotation in your spine is to use a PVC pipe or a long stick to twist your upper spine as you shift your weight from leg to leg. Steps to do this exercise:
Wrap your arms around a long stick behind your upper back.
Spread the legs out wider than the hip distance and shift your weight from leg to leg.
As you shift your weight to the left leg, think belly to thigh and reach the right arm toward the floor for a rotation to the left.
Come back to a standing position and switch to the right side.
Pause at the bottom of each rotation to take a few deep breaths to feel the rib cage expand with the rotation.
why does rib cage mobility decrease during pregnancy?
Pregnancy leads to physiological changes that can decrease rib cage mobility. As the uterus grows, it pushes up on the diaphragm and out on the abdominals to make room for the growing baby. This keeps the rib cage in a constant state of expansion, limiting its ability to contract back to a neutral state.
With the rib cage stuck in expansion, the diaphragm cannot contract and relax as easily, which is why breathlessness is such a common complaint during pregnancy. The intercostal muscles also become tight and weak from lack of movement.
posture changes during pregnancy: how they affect rib cage mobility
As the baby grows, posture changes to accommodate the larger belly. The center of mass shifts forward, the pelvis tilts anteriorly to balance it, and the rib cage moves slightly backward, limiting its range of motion further. The obliques can also become overactive from this postural shift as they overfire to help stabilize the spine.
rib cage mobility and pregnancy-related pain
These changes increase the risk of back pain and pelvic dysfunction. Rib cage mobility influences hip and pelvic mobility, so it is no surprise that reduced rib movement during pregnancy can lead to complications.
getting rib cage mobility back after pregnancy
These accommodations do not just bounce back after pregnancy. Restoring rib cage mobility postpartum takes a concentrated, consistent effort.
exercises for maintaining rib cage mobility during pregnancy
While reduced rib cage mobility is common during pregnancy, several types of movement can help maintain mobility and ease discomfort. Clear any exercise routine with your prenatal care provider first.
Breathing Exercises
Deep breathing exercises can help expand the rib cage, increase lung capacity, and improve overall respiratory function. Regular practice supports rib cage mobility and doubles as relaxation.
Gentle Stretching and Yoga
Gentle stretching and prenatal or postnatal yoga can improve flexibility and rib cage mobility. These movements emphasize elongating and opening the chest area, reducing tension, and building body awareness.
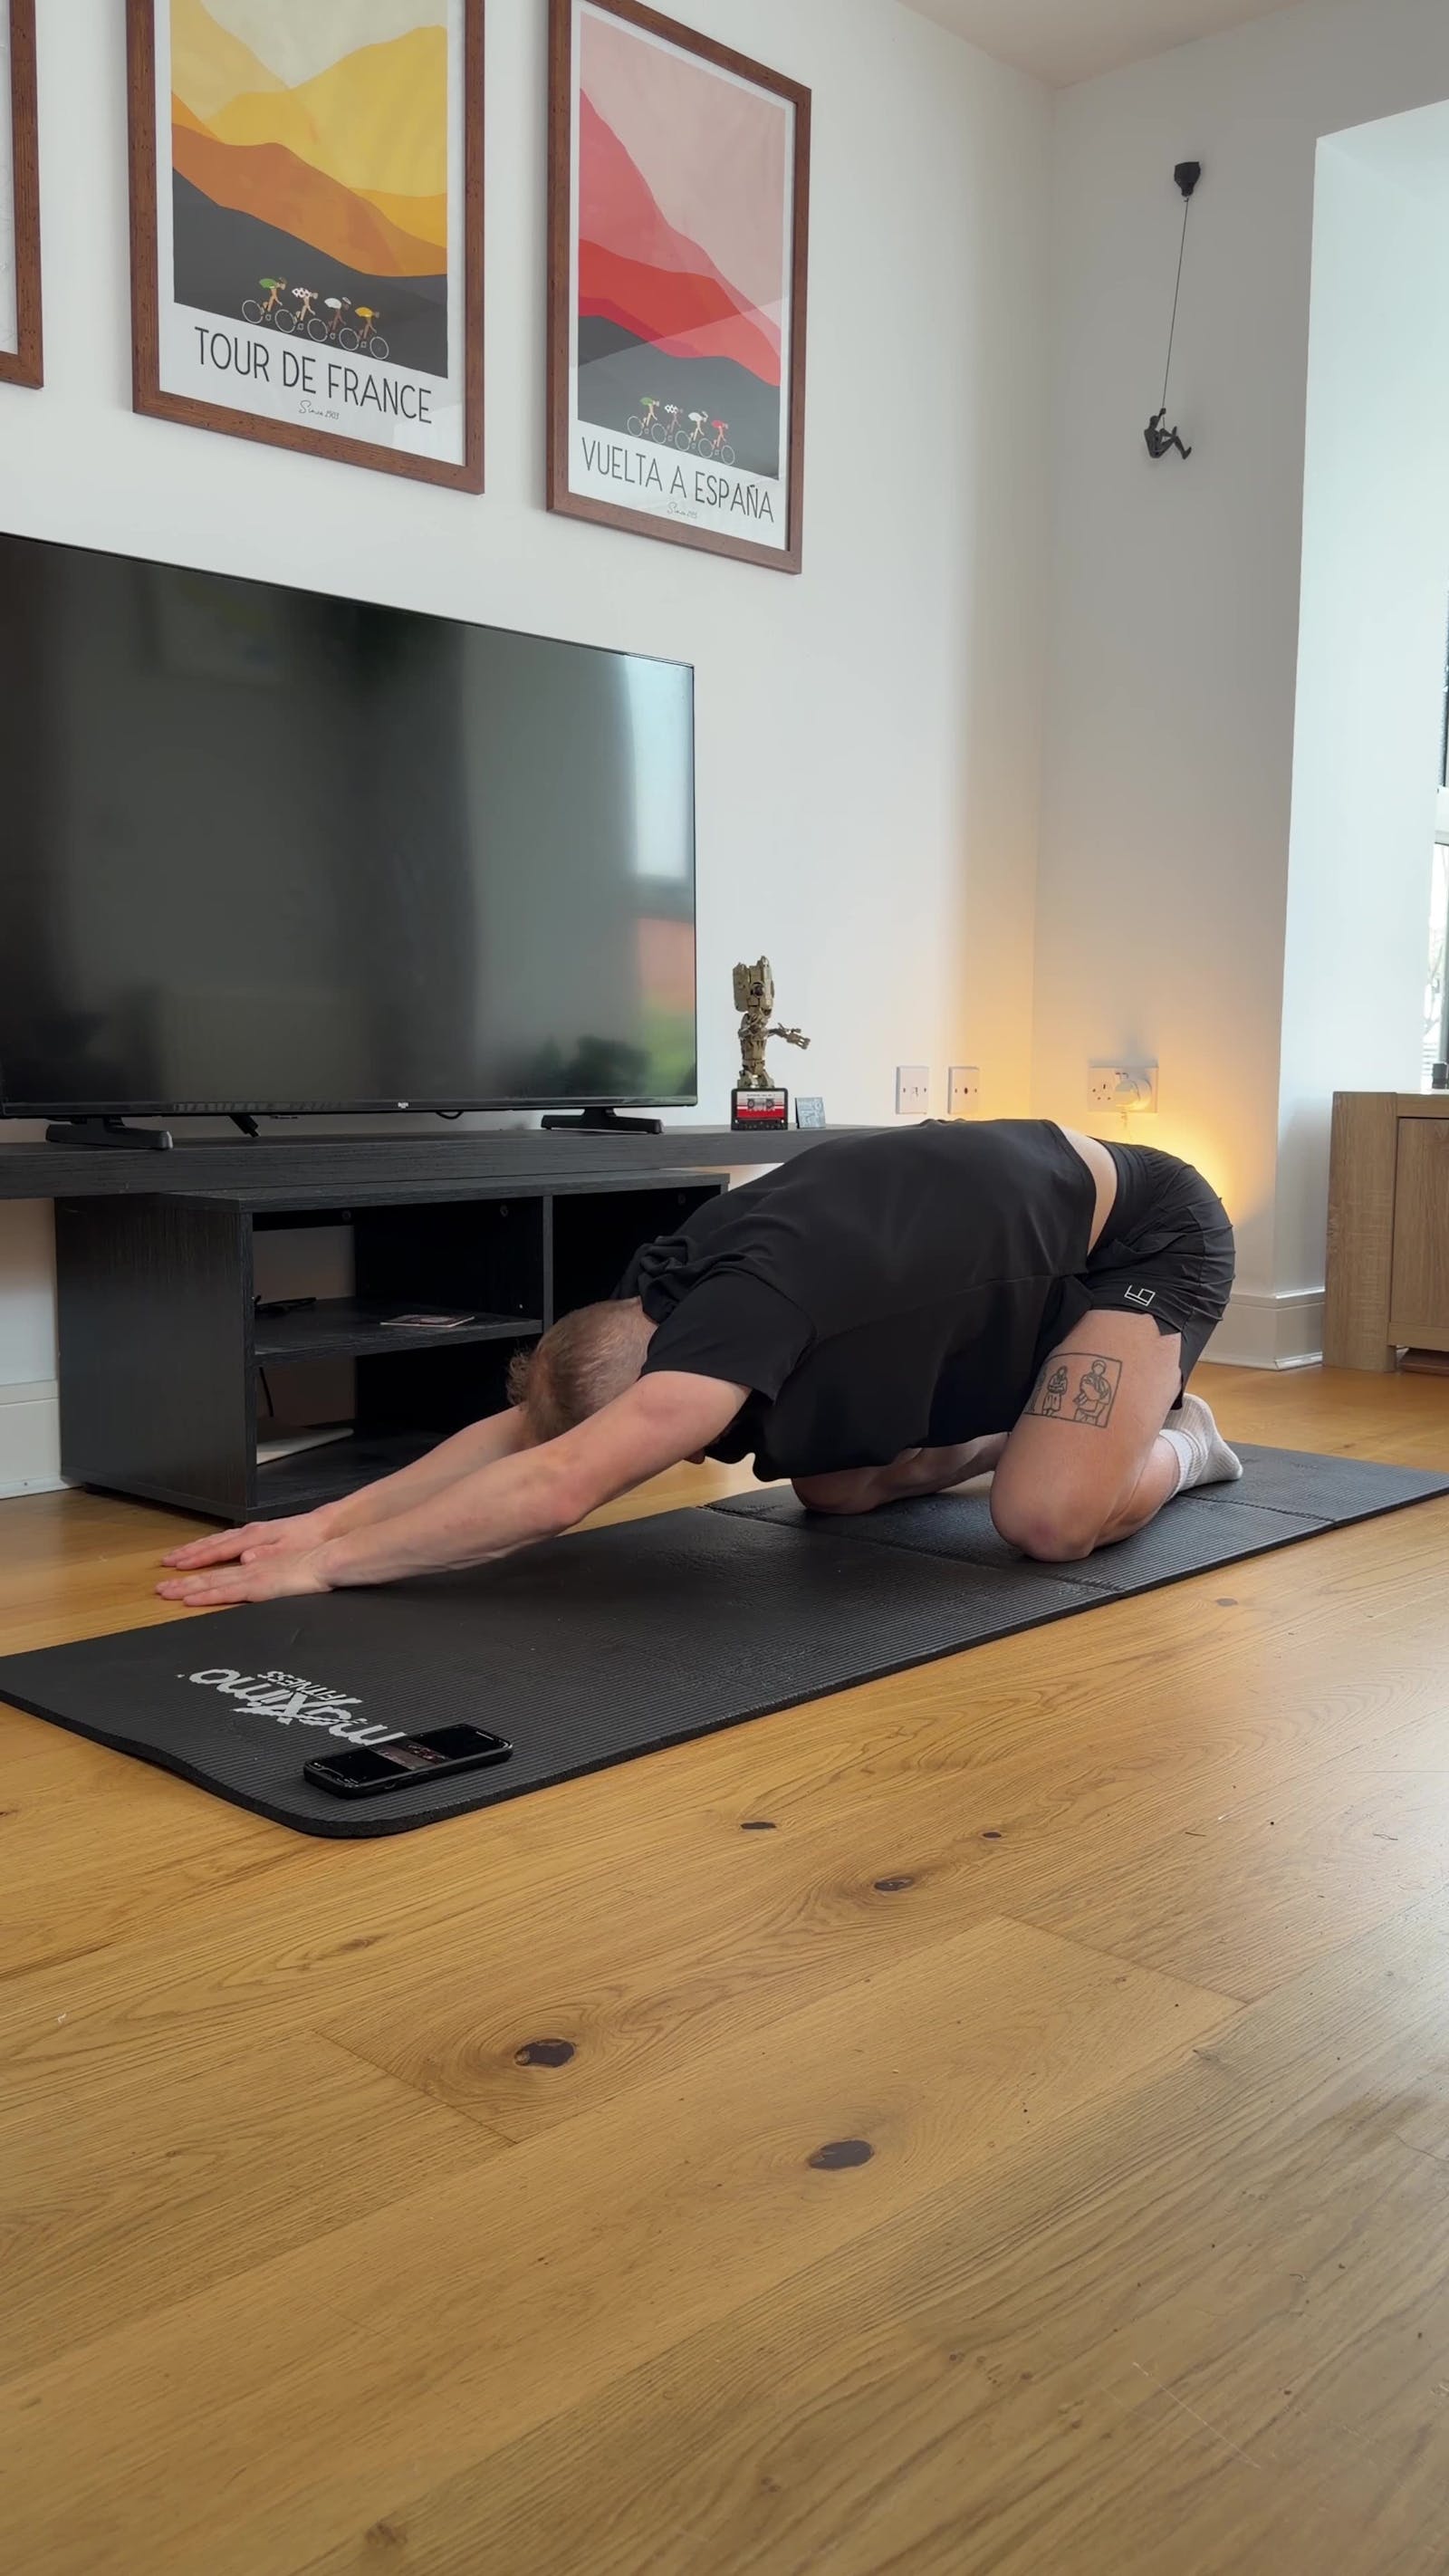
A great one to incorporate is the cat/cow pose with deep breathing: inhale as the belly drops, exhale as the spine arches. Another excellent option is child's pose with a side bend, which opens the lateral rib cage and lats.
Maintaining Good Posture
Being mindful of a stacked posture throughout the day can prevent further restriction in the rib cage. A neutral stacked posture looks like this:
Rib cage stacked over pelvis
Ears aligned with shoulders
Shoulders over hips
Knees over ankles
Avoid slouching or hunching forward, as this can worsen limited movement in the rib cage.
Spine Stability Exercises
Strength work that stabilizes the spine also helps rib cage mobility; without a stable spine, the rib cage cannot move efficiently. Abdominal and scapular strengthening are key.
A great option for pregnant and postpartum women is the bird-dog, which works the abdominals and scapular stabilizers from a quadruped position. Modify by moving just the arms or just the legs, then combine them for the full movement.
rib mobility to improve diastasis recti
Breathing is the most critical factor in healing the core and pelvic floor. Many women breathe up into their chests instead of down into their bodies, a habit built from years of sucking in the stomach. Add pregnancy on top of that, and everything gets compressed, making it even harder to take a breath down into the body.
why rib mobility matters during diastasis recti recovery
Every breath you take matters. If your ribs prevent the breath from entering the body fully, your pelvic floor cannot relax, and the first step in improving diastasis recti, prolapse, and incontinence is learning to breathe down into the body. Even with the best intentions and a good mind-body connection, poor rib expansion leaves you stuck.
The rib cage is designed to expand laterally on the inhale. The diaphragm, the dome-like breathing muscle under the ribs, draws air into the lungs, and that inhale expands the ribs outward: a slight expansion, but an important one. The breath should expand the ribs and travel into the back and belly, which is called 360-degree breathing. If the ribs do not expand easily, the breath gets forced down into the tummy, or reverts up into the chest. We take roughly 25,000 breaths a day, and that repeated pressure against the midline of the tummy can prevent full healing.
self-massage techniques to improve rib mobility
If you tend to have an upper diastasis recti (above the belly button), this lack of rib mobility may be to blame. Work on rib cage expansion by addressing a few factors:
Skin rolling to release fascia
Foam rolling to release the lat muscles
Mobility and range of motion exercises
why ribcage mobility affects glenohumeral joint internal rotation
The glenohumeral or shoulder joint sits at the articulation between the humerus and scapula, with the glenoid cavity, glenoid labrum, and articular cartilage in the groove between the humeral head and scapula.
Although the joint may seem simple, a complex web of muscles and ligaments surrounds the joint capsule to allow full shoulder range of motion. From putting on a t-shirt to throwing and catching, these tissues drive your real-world movement.
understanding rotator cuff function and patient assessment
The most commonly referenced tissues around the joint are the rotator cuff muscles: the supraspinatus, infraspinatus, teres minor, and subscapularis. They link onward to the arm, working with the deltoid, biceps brachii, and others to produce full arm movement. Understanding the anatomy is one thing, but making sense of a shoulder problem means looking beyond the joint itself, and that is where the rib cage comes in.
why does ribcage mobility affect the glenohumeral shoulder joint?
In a 2019 study, Tachihara and Hamada found that upper limb and ribcage movement are closely linked. Their findings suggest that when we elevate the upper limb, most of the rib movement occurs at the fifth, fourth, and third ribs, decreasing toward the lower ribs.
Once you understand this, glenohumeral internal rotation becomes a useful indicator of upper ribcage mobility. The ribcage influences arm and upper limb motion, and research also links ribcage mobility to meaningful changes in lumbar curvature and pelvic movement.
the importance of ribcage and spine dynamics
Look at the body as a whole rather than just the joint, and it becomes clear that the ribcage must be mobile for the shoulder to rotate internally. Once the ribcage moves well, the lumbar and thoracic spine can be influenced too. These systems are closely interlinked; it is never just about the humeral head or the joint capsule.
why wouldn't the ribcage depress, and how could this influence internal rotation?
To achieve internal and external rotation of the glenohumeral joint, the ribcage needs to depress, protract, and retract. When it can, the rotator cuff muscles and tendons, deltoid, biceps brachii, and surrounding tissues work efficiently and provide stability.
Free ribcage movement sets the glenohumeral joint up for success. If your shoulders feel chronically stuck, it is worth pairing the rib work in this article with dedicated shoulder mobility exercises, and asking what attaches to the ribs that could be driving the restriction.
why are rib mobility exercises important?
Because the ribcage is so crucial to shoulder function and glenohumeral movement, the respiratory system has to be part of the picture. Rib mobility work is no magic bullet; it is one part of the story, sitting at the interaction between the respiratory, neurological, and musculoskeletal systems. That interaction is exactly why the exercises above lead with breathing.
the role of diaphragmatic breathing in stress management and long-term patient care
Prolonging the exhalation and restoring nasal breathing can have a widespread positive impact: lengthening the diaphragm, decreasing the protective tone of accessory breathing muscles such as the scalenes, and helping the body shift back into its rest-and-digest, parasympathetic state.
It is not always as easy as three sets of ten deep breaths. If daily life keeps your system stressed and guarded, breathing drills alone produce only short-term changes. Lasting improvement comes from a gradual, consistent plan built around the person, not just the tight spot, which is exactly what a structured mobility practice provides.
6 tips to get the most of your mobility drills
1. choose realistic drills you can perform
The internet can tempt you with flashy choreography, but pick drills that are within your ability. They may be basic, but they let your body safely build proficiency and strength before advancing to fancier versions.
If you do borrow from appealing advanced drills, scale them down to smaller, pain-free motions. To improve rib mobility, start with small neck and thoracic spine rotations before attempting an advanced rib rotation drill. If you are new to this work, start with mobility exercises for beginners.
2. include mobility drills in your dynamic warm up
Mobility drills increase your ease of joint motion, which is exactly why they belong in your dynamic warm-up. A warm-up's goal is to prepare your body gradually for more intense activity; mobility drills improve your performance and reduce your risk of injury along the way.
3. start small when working on mobility
Start small and build up to bigger motions. When targeting shoulder mobility, begin with small shoulder circles or thoracic spine rotations before progressing to bigger shoulder circles and then full arm circles.
4. work from slow to fast
In both life and workouts, we move at variable speeds, and your mobility warm-up should reflect that. Start each new motion slowly, then make it faster.
5. include multiple motions
Remember to move sideways and rotate. Unless an injury prevents side bends and rotation, include them in your mobility drill selection. Common examples include shuffling sideways, carioca, and spine rotations.
6. back away if you feel “stuck” or “pinching” sensations
Many factors limit how joints move: your individual bone shape, cartilage, ligaments, joint capsules, nerves, discs, and scar tissue all influence joint mobility. Attempting to force a stuck barrier seldom leads to more useful motion. Ease off, work the ranges you do have, and let the pain-free range grow.
improve your flexibility with our mobility app today | get 7 days for free on any platform
pliability offers a fresh take on yoga tailored for performance-oriented individuals and athletes. Our app features a vast library of high-quality guided videos designed to:
Improve flexibility
Aid recovery
Reduce pain
Enhance range of motion
Daily Sessions keep the habit easy with a fresh routine every day. Paths build mobility in a specific area over several weeks, Build Your Program lets you fit the work around your own training, and the Rebuild hub supports you when you are working back from a setback. The mobility assessment pinpoints where you are restricted, through the trunk and thoracic spine included, so your programming matches your body instead of a template.
If stiff ribs are limiting your breath, your rotation, or your lifts, sign up today and get 7 days free on iPhone, iPad, Android, or our website to use our mobility app and start moving the way you were built to.
Related Reading





Move better in 10 minutes a day.
10,000+ five-star reviews.