


LEARN
pliability

Plyometric training teaches muscles to generate maximum force in minimum time through rapid stretching and contracting, the same explosive quality behind jumping, sprinting, and quick changes of direction. For beginners, the priority is a structured progression, proper landing mechanics and gradual work capacity before high-intensity variations, not jumping straight to box jumps or depth drops. Done this way, plyometrics build coordination, strengthen connective tissue, and create a real foundation for power, without the joint pain that comes from skipping steps.
what plyometrics are (and why form comes first)

Plyometrics work through the stretch-shortening cycle: tendons and connective tissue act like stiff springs, storing energy on landing and releasing it explosively on takeoff. A review of 17 studies in BMC Sports Science, Medicine and Rehabilitation confirms beginners haven't built this capacity yet, so they generate power from muscle alone, which produces slower, disconnected movement that sends jarring force into the knees and ankles. The other half is landing: your body absorbs several times its weight in a fraction of a second, and if you can't stick a landing softly with stable knees and an athletic stance, that impact transfers straight into your joints instead of building reactive strength. Hard surfaces and limited hip, ankle, or thoracic mobility make this worse by forcing your body to compensate during landing.
what makes an exercise beginner-friendly

A beginner-safe exercise limits impact while teaching your nervous system to control landing before adding speed or height. Start low and controlled: box step-downs and other low-displacement moves teach eccentric loading without the added demand of jumping upward, giving connective tissue time to adapt. Elite athletes hit ground contact times under 0.1 seconds on reactive jumps; beginners need a longer contact phase to process feedback, and rushing that timeline bakes in compensation. Stay bilateral before going single-leg: two-footed moves like squat jumps spread force across both limbs, while single-leg work increases landing forces and exposes imbalances, so if an ankle lacks dorsiflexion or a hip can't stabilize alone, build two-sided strength first. Let the amortization phase, the brief transition between landing and takeoff, run a little longer at first; it shortens naturally as your nervous system and tendons adapt.
13 beginner plyometric exercises

These 13 exercises build structural tolerance and neuromuscular coordination for safe explosive movement, moving from low-impact drills toward higher-intensity jumps. They're sequential: work through them in order, since each builds the capacity the next one depends on.
1. side jumps
Shift your weight onto one foot and jump sideways, landing softly before stabilizing and reversing direction, chest upright rather than rounding forward. Stick each landing rather than bouncing through it. Start with 5 reps per set; once you can do 15 without wobbling, progress to single-leg lateral hops or speed skaters.
2. jump rope
Use a rope or mime the motion, keeping ground contact quick and light with minimal knee bend, wrists driving the movement; loud thuds mean you're loading impact instead of elastic rebound. Start with 2 minutes of continuous jumping, 10 to 30-second breaks as needed, then extend sessions or add speed changes as endurance builds.
3. forward hops
Hop forward one to two feet, knees slightly bent, then turn and hop back; land with soft knees and absorb impact through your hips, not your ankles, shortening the distance if your heels slam down. Start with 5 hops per set; once 10 reps are clean, add distance or a low obstacle.
4. 180-degree jumps
From a squat with thighs parallel to the floor, push through your feet and rotate 180 degrees, landing softly in the same spot before jumping back the other way; drifting on landing means your core isn't stabilizing the rotation. Master squat jumps and lateral hops first, then add rotation speed only as landing quality holds.
5. burpees
Drop into a squat, jump your feet back to a plank, add a push-up if able, then jump your feet in and explode upward, keeping a straight line through the plank; the final jump should come from your legs, not from arching your back for height. A weak plank or a flat jump both point to specific gaps worth training directly.
6. squat jumps
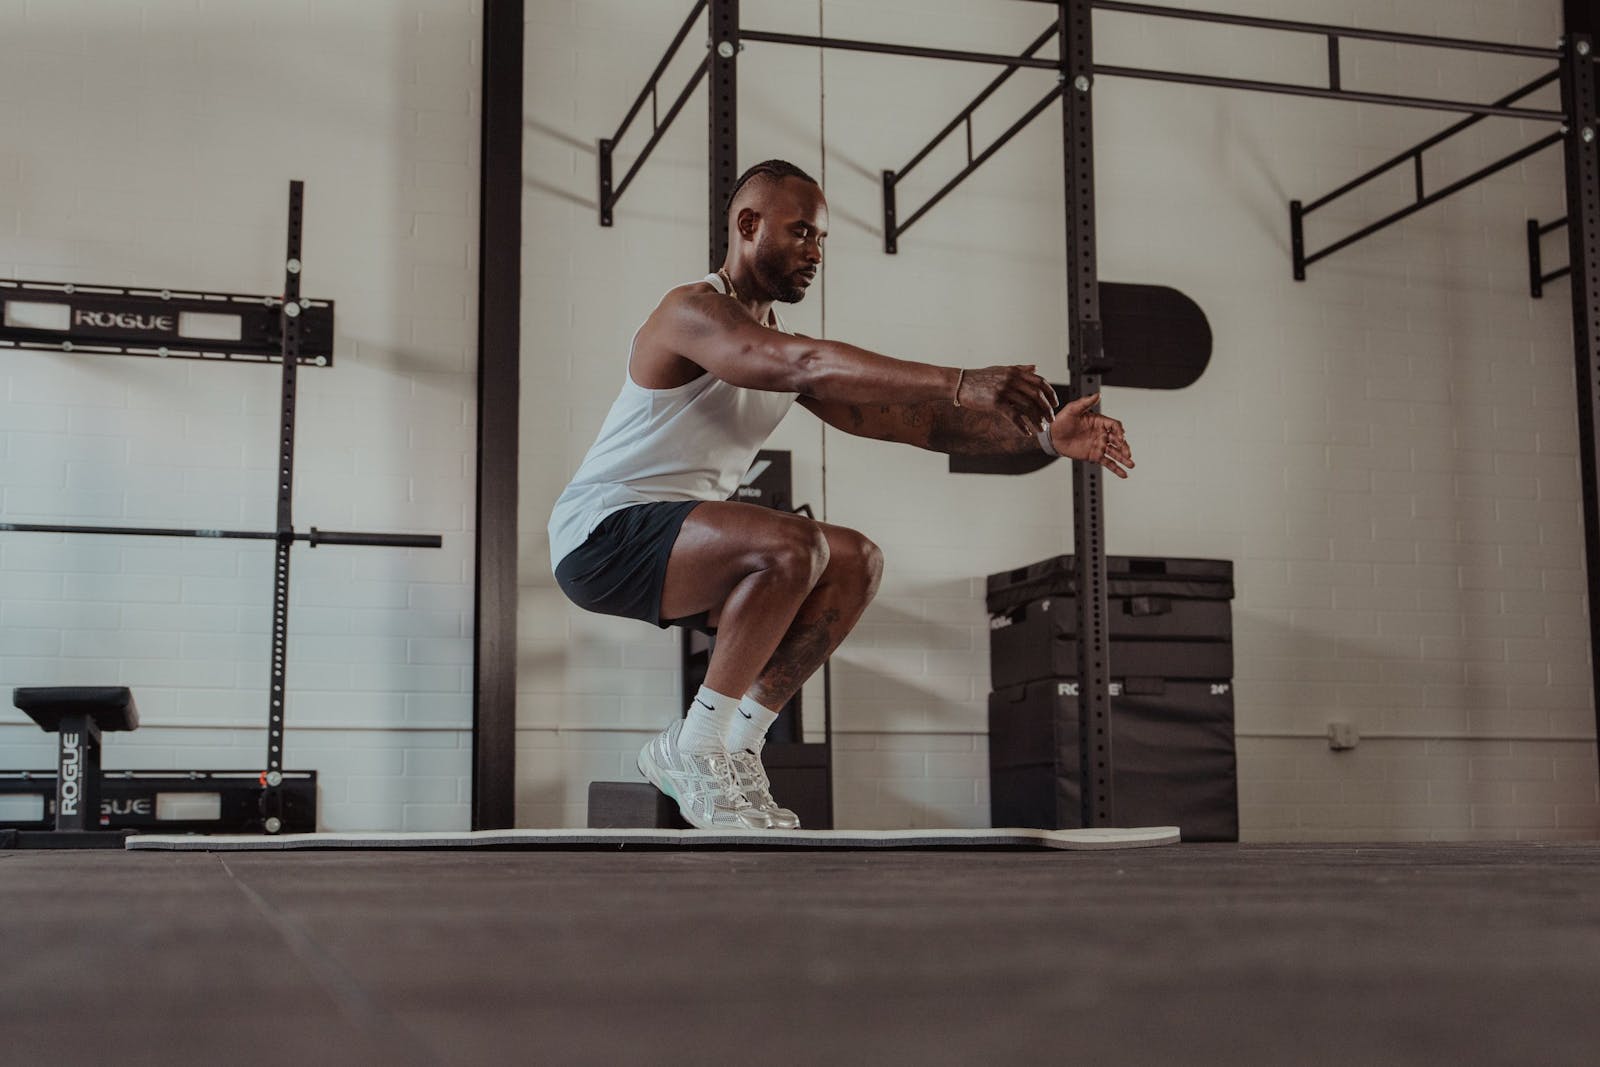
Lower into a squat with your back straight and chest up, then jump with full leg extension and land softly back into the squat; the transition should feel smooth, not jerky. Start with bodyweight, prioritizing landing quality over height; at 15 reps with consistent form, add a pause at the bottom to isolate concentric strength.
7. speed skaters
Hop sideways onto one foot, crossing the trailing foot behind you with toes hovering off the floor, then reverse direction, keeping your hips level; a dropped hip means you're compensating with trunk flexion instead of your glutes. These demand more single-leg balance than side jumps, so start slow and build speed only as stability improves.
8. high skips
Drive one knee toward your chest using your hip flexors, not your lower back, while swinging your arms as if running, then alternate quickly; back strain signals you're extending your spine to compensate for weak hip flexors, and an excessively lifting heel points to limited ankle mobility. At 20 continuous reps without losing rhythm, move on to bounding or single-leg hops.
9. jumping jacks
Jump your feet wide while raising your arms overhead, then return to start, keeping a light, springy bounce with shoulders relaxed rather than shrugged. This doubles as a fitness check: if you can't complete 30 consecutive reps without losing rhythm or feeling joint pain, your mobility or conditioning isn't ready for more demanding work yet.
10. box step-up jumps
Step up onto a low, stable box with one foot, push off into a small jump, then step down gently and switch legs; the jump should be a gentle lift, not maximal effort, so lower the box if you're slamming down. Progress to full box jumps or a taller box once you can do 10 controlled reps on each leg.
11. lateral side-to-side hops
Hop side to side over an imaginary line with small, controlled movements and quick ground contact, knees tracking over your toes; if a knee caves inward, shorten the hop and activate your glutes first. Progress from 10 reps per set to hopping over a low object, then to single-leg lateral hops or speed skaters.
12. standing long jumps
From a hip-width stance, swing your arms back, bend your knees, and leap forward as far as you can, landing softly and absorbing impact through your hips; arms that fall behind or swing awkwardly cost real distance. Stalled progress here usually points to weak hip extension or poor arm timing, not weak legs.
13. burpee with jump
Drop into a plank, hop your feet back in, then jump upward with maximum effort and a tight core through the plank; a jump that barely clears the ground or lands stiff-legged means you're too fatigued, so rest longer or cut reps. Once you can do 10 consecutive reps at consistent height, you're ready for advanced plyometric circuits.
progressing safely (and the mistakes that cause injury)

You're ready for more difficulty when landings are quiet, knees and ankles stay stable, you recover fully between reps, and you stay in control even when fatigued. These aren't arbitrary checkboxes; they're signs your nervous system has adapted and your tissue can handle more load. Knees that collapse inward, ankles that roll, or a torso that pitches forward on landing mean you're not controlling the forces you're already generating, and adding height or speed only compounds it. Rest matters as much as reps: plyometrics tax the central nervous system more than the muscles, so two to three minutes between sets lets that system reset and keeps every rep clean.
Two mistakes derail most beginners: chasing box height before landing quality is solid, and doing too much volume. A tall box that ends in stiff knees or a step-up finish is compensation, not power; match the height to how well you can land in a controlled squat. Five perfect reps with full recovery build more explosive power than twenty rushed ones, which is the same logic behind total volume: fifty to eighty reps per session is enough for a beginner, and advanced athletes only go higher after months of consistent training. Underneath both is mobility: tight hips, limited ankle dorsiflexion, or knotted calves show up as compensation during landing no matter how careful your technique is.
build safer plyometric progressions into your training routine
Beginner plyometrics work only when progressed in a structured, controlled way: building landing control, elastic strength, and reactive ability without adding injury risk. Readiness is measured by mechanics under fatigue, not how easy a movement feels when fresh.
Select the right exercises for your level, control volume and intensity, and advance only when your mechanics are stable and consistent rep after rep. Landings that sound like thunder or knees that collapse inward mean you're practicing injury patterns, not progress.
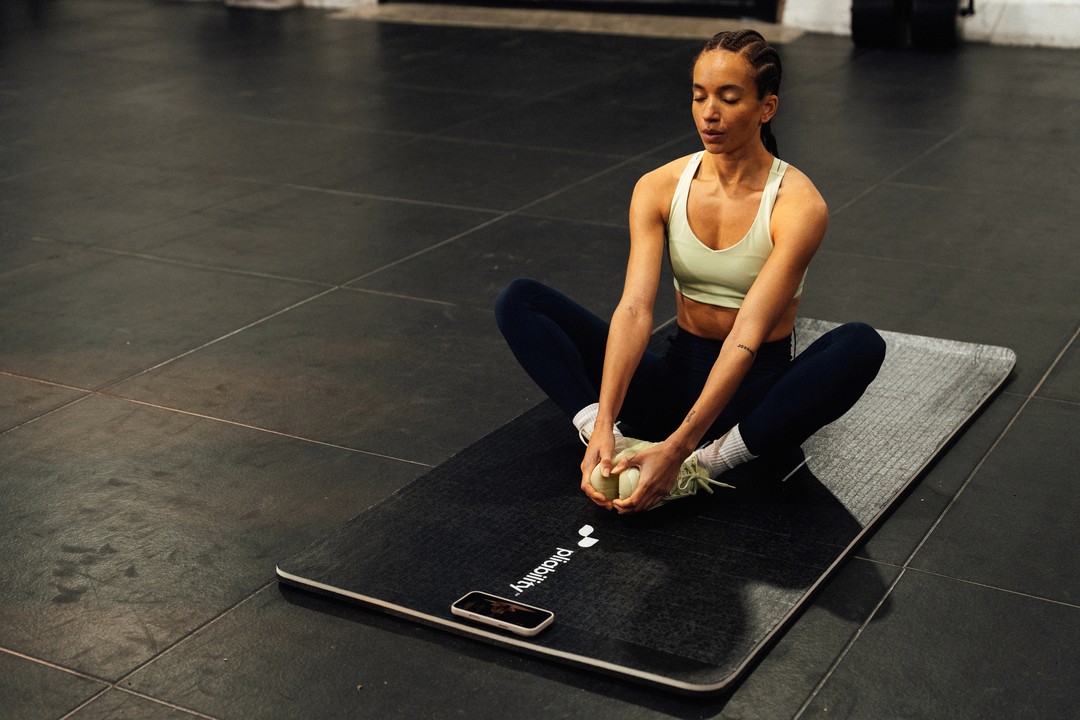
pliability helps with the mobility side of that equation. Daily Sessions and a personalized Path build the ankle, hip, and thoracic spine range plyometrics demand, and the mobility assessment shows you exactly where you're restricted before you add intensity. Build Your Program lets you shape a routine around your own training schedule, and if you're returning from an injury, the Rebuild hub has programming built for that. Start with 7 days free on iPhone, Android, or the web.
Related Reading


Move better in 10 minutes a day.
10,000+ five-star reviews.