


LEARN
pliability

Your rotator cuff is in the middle of every press, pull-up, and overhead reach you train, and most of the everyday reaching you never think about. When it stiffens or flares up, you feel it fast: the bar path wanders, the top shelf gets farther away, and putting on a shirt becomes a project. The fix for most stiff, grumpy shoulders is consistent, well-chosen work in a pain-free range. This guide groups 24 rotator cuff mobility exercises by purpose, from gentle range work to rotation strength and loaded patterns, with every hold and rep count you need to run them. One thing before you start: this article is education, not a diagnosis. Exercise helps a lot of shoulders, but a painful one deserves a clinician's eyes before you start loading it.
what the rotator cuff does, and why its mobility matters
The rotator cuff is a group of four muscles and their tendons: the supraspinatus, infraspinatus, teres minor, and subscapularis. Together they hold the head of your upper arm bone centered in the small socket of your shoulder blade while driving the movements you use constantly: lifting, reaching, and rotating the arm inward and outward.
That stabilizing job is why cuff mobility matters more than its size suggests. When these muscles lose range or strength, the shoulder loses its anchor. Movement gets painful, positions get harder to hold, and the joints and muscles around it start compensating. Cuff work sits inside the bigger picture of shoulder mobility exercises, but it deserves its own focused attention, especially if you press, throw, or hang from things.
rotator cuff injuries: what exercise can and cannot fix
the common injuries
Age, repetitive strain, poor mechanics, and plain accumulation of training years all wear on the cuff. The usual culprits:
Tears: partial or full-thickness damage to the muscles or tendons, most often the supraspinatus. Repetitive micro-trauma, degenerative change, or a traumatic injury like falling onto your arm can all cause them, and risk rises with age.
Tendinitis or tendinopathy: inflammation or degeneration of the cuff tissue, driven by awkward postures, heavy work, repetitive arm movements, or direct load-bearing.
Impingement syndrome: cuff tissue getting compressed in the shoulder, with pain patterns that vary by age and severity. Clinicians grade it into categories; treat those grades as general patterns a professional confirms, not something to self-assign.
symptoms, and when to see a clinician
A cuff problem usually announces itself as pain on the side or front of the shoulder, sometimes referring down the upper arm. Rotation and reaching overhead hurt, the arm feels weak when you lift it out to the side, and movements behind your back get difficult.
Mild soreness and stiffness are reasonable to work on yourself. These signs are not; book an assessment if you have any of them:
Night pain that wakes you or keeps you from lying on that side
Noticeable weakness, or an arm you cannot lift at all
Pain after a fall or other sudden injury
Symptoms that are not improving after a few weeks of sensible self-care
A grinding sensation during movement also belongs on that list. Clicking and popping on their own usually do not mean something is wrong.
can a torn rotator cuff heal without surgery?
Often, yes. Minor injuries, tendinopathy, and many partial tears improve with a progressive conditioning program, like the shoulder rehabilitation protocol published by the American Academy of Orthopaedic Surgeons. Exercise restores range, then strength, then function.
Severe and full-thickness tears are a different story: they are not a self-management project. Whether a large tear needs surgical repair is a decision for an orthopedic clinician, and rehabbing one without guidance risks making it worse. Wherever you fall on that spectrum, the working rules are the same: start as soon as pain allows, stay strictly within the pain-free range, and do the mobility work at least once a day, sometimes two or three times. Skip any exercise that hurts.
24 rotator cuff mobility exercises and stretches
The list runs in the order a shoulder generally needs it: gentle range and stretching first, then direct rotation strength, then the scapular control that supports the cuff, and finally loaded patterns that bridge back to training and sport. If your shoulder is irritable, live in the first group for a while. If it feels fine and you are here for prevention, pull a few from each group. Most of the strength work needs only a light dumbbell or a band; our resistance band mobility exercises guide covers that tool in more depth. On every movement, a mild stretch or working effort is the goal. Sharp pain is a stop signal.
gentle range and stretching: start here
1. Pendulum
The classic first move for an irritable shoulder. Gravity does the work while the joint relearns motion.
Lean forward with one arm hanging freely, bracing the other arm against a chair for support.
Gently swing the hanging arm side to side, forward and back, and in a circular motion.
Slowly return to standing and repeat on the other side.
2. Pole or Wand Assisted Range
A pole or broom handle lets your stronger arm move the weak or recovering shoulder through range it cannot yet reach on its own.
Hold the pole just wider than shoulder-width.
Use your good arm to move the recovering shoulder as far as is comfortable, and stop if it is painful.
Try to relax the recovering arm so it is not working.
This can be done in several positions. Repeat several times a day, gradually increasing the range.
3. Crossover Arm Stretch
Lift one arm perpendicular to the floor and extend it straight without locking the elbow.
Take the wrist of the lifted arm with the opposite hand.
Gently pull the arm across the front of your body, trying to hug your chest with the arm.
Hold the stretch for 5 seconds, release slowly, and repeat on the other side.
4. Doorway Stretch
Stand in an open doorway and spread your arms to the side.
Grip the sides of the doorway with each hand at or below shoulder height, and lean forward through the doorway until you feel a light stretch.
Keep a straight back as you lean and shift your weight onto your toes. You should feel the stretch in the front of your shoulder; do not overstretch.
Repeat three times, holding for 15 to 30 seconds, three times daily.
5. Two-Arm Wall Stretch
Stand up straight with your back against a wall.
Raise each arm sideways into an L shape, upper arms parallel to the floor, keeping the arms as flat against the wall as possible.
Maintaining the elbow bend, move your arms up the wall to bring your hands closer together, then move them back down.
Return to a resting position.
6. Arm Reach
Lie flat on your back, extend your arms and legs, and engage your abdominal muscles.
Reach one arm toward the ceiling, lifting until the shoulder blade comes off the floor.
Hold for 5 seconds, return the arm to the floor, and repeat on the other side.
rotation strength: the cuff's main job
7. Side-Lying External Rotation
The staple cuff strengthener. Keep the weight light; this muscle group does not need much.
Lie on the side opposite the arm you are working.
Bend that elbow to 90 degrees and rest it on your side, forearm across your abdomen.
Holding a light dumbbell, and keeping your elbow against your side, slowly raise the dumbbell toward the ceiling. Stop rotating if you feel strain.
Hold the dumbbell up for a few seconds before returning to the start with your arm down.
Do three sets of 10 once a day. When a set of 10 becomes easy, increase to 15 reps.
8. Lying-Down External Rotation with Towel
The same pattern with one small change that reduces stress on the joint.
Lie on your side on a firm surface, holding a light weight in the upper hand.
Bend the top elbow to 90 degrees, upper arm against your side, letting the weighted hand rest toward the floor in front of your body.
Keeping the elbow pinned to your side, rotate at the shoulder to bring the weight toward the ceiling, then lower slowly back to the start.
Place a small towel roll in the armpit to reduce stress on the shoulder joint, and repeat on the other side.
9. Standing 90/90 External Rotation
Anchor a resistance band in front of you and hold the other end with your arm raised to shoulder height and the elbow bent to 90 degrees.
Rotate the arm so the fist points upward.
Slowly return to the starting position and repeat.
10. Standing 90/90 Internal Rotation
From the same raised, bent-elbow position, rotate the arm so the forearm moves forward to horizontal.
Slowly return to the starting position.
As strength develops, remove the supporting hand.
11. Banded Rotation Pull-Aparts
Similar benefits to resisted external rotation, but both sides work at once, and the effort carries down through the forearms and wrists, which helps with everyday lifting and carrying.
Stand with a resistance band stretched between your hands, palms facing each other, wrists straight, elbows at your sides.
Move your hands apart to stretch the band, keeping your wrists straight and your elbows at your sides.
Move your hands back together to return to the starting position.
12. Diagonal Plane Pulls
Hold one end of a resistance band, starting with the arm raised to the side above shoulder height.
Pull the band down across your body until your hand reaches the opposite hip.
Stay controlled throughout; keeping the joint stable is the point of the exercise.
scapular control and posture: the cuff's support system
13. Scapular Squeeze
Strengthens the upper back and shoulders to reduce and prevent pain flares. Particularly useful if your day involves a lot of sitting or standing.
Stand with your elbows bent to 90 degrees and resting at your sides.
Move your elbows and shoulders back to squeeze your shoulder blades together.
Relax your shoulders to the starting position.
14. Chin Tucks
A surprise entry, but cuff pain is a big-picture problem: this move balances the front of your body against your upper back and shoulder girdle.
Stand comfortably, then nod your head, bringing your chin toward your chest.
Glide or retract your chin straight back.
Relax your jaw muscles while you hold the position.
Relax and move back to the starting position.
15. Wall Slides
The wall gives the tissue around your back and shoulders feedback and helps control muscle tension, which makes overhead positions easier to find.
Stand with your forearms on a wall at shoulder height and your fingers pointing up.
Slide your forearms toward the ceiling while gently pushing them into the wall.
Hold at the top, gently pushing into the wall, then return to the starting position.
16. Open Book Rotations
Long stretches in the same position, especially at a computer, tighten the chest and round the shoulders forward. This one counteracts the desk.
Lie on your side with your arms straight out, resting on the floor in front of your chest, legs stacked with knees bent toward your chest.
Reach your top arm up and behind you as you turn toward the opposite side, keeping that arm straight while your legs and other arm stay still.
Return to the starting position.
17. Shoulder Rows
An extension of the scapular squeeze. The band draws your shoulders back and down while strengthening the muscles you need for posture and pulling strength.
Secure a resistance band by opening a door, wrapping one end around the handle on the far side, then closing the door. Make sure the band cannot accidentally pull the door open.
Take a few steps back with an end of the band in each hand, arms straight and raised to about chest height, with some tension on the band.
Stretch the band by pulling your hands to the sides of your ribcage while your elbows bend, squeezing your shoulder blades together as you hold.
Relax your arms to the starting position.
18. High-to-Low Rows
Attach a resistance band to something sturdy at or above shoulder height, and be sure it is secure so it does not come loose when you pull.
Get down on one knee, raising the knee opposite your working arm, with your body and lowered knee aligned and your other hand resting on the raised knee.
Holding the band with your arm outstretched, pull your elbow toward your body. Keep your back straight and squeeze your shoulder blades together and down as you pull; your body should not move or twist with your arm.
Return to start and repeat three sets of 10.
19. Reverse Fly
Stand with your feet shoulder-width apart and your knees slightly bent.
Keep your back straight and bend forward slightly at the waist.
With a light weight in each hand, extend your arms and raise them away from your body without locking your elbows.
Squeeze your shoulder blades together as you lift, and do not raise your arms above shoulder height.
Return to start and repeat three sets of 10.
integration: bridge back to training and sport
20. Lawnmower Pull, Band Version
Stand with your feet shoulder-width apart and one end of a resistance band under the foot opposite your working arm.
Hold the other end with the working arm so the band runs diagonally across your body.
Keeping your other hand on your hip and without locking your knees, bend slightly at the waist so the hand holding the band is parallel to the opposite knee.
As if starting a lawn mower in slow motion, straighten upright while pulling your elbow across the body to your outside ribs.
Keep your shoulders relaxed and squeeze your shoulder blades together as you stand. Repeat three sets of 10.
21. Lawnmower Pull, Weight Version
The same diagonal pattern loaded with a light weight instead of a band.
Place one foot slightly forward so your feet are shoulder-width apart, and hold a light weight in one hand.
Keep the free hand on your hip, lean slightly forward, and bend at the knees so the weight hangs parallel to the opposite knee.
Like starting a lawnmower, pull the elbow of the weighted arm back across your body.
Return slowly to the start position.
Repeat, working up to 2 to 3 sets of 8 to 10 repetitions, then switch sides.
22. Wall Push-Ups
Builds pressing strength and mobility together, and helps with overhead reaching and pushing up from a chair.
Stand with your hands on a wall at about chest height, arms straight, feet a few steps back from the wall.
Bend through your arms to slowly move your chest toward the wall, stopping when your head and chest get close.
Push through your hands to straighten your arms and return to the starting position.
23. Bear Crawl Holds
Works the shoulder stabilizers along with your core and hips, and improves the shoulder stability you use lifting a box, carrying a laundry basket, or getting up off the floor.
Get into a comfortable position on your hands and knees, hands below your shoulders and knees below your hips.
Raise your knees a few inches off the floor so your weight is evenly distributed between your hands and your feet.
Focus on your breath as you hold the position, then lower your knees to the floor.
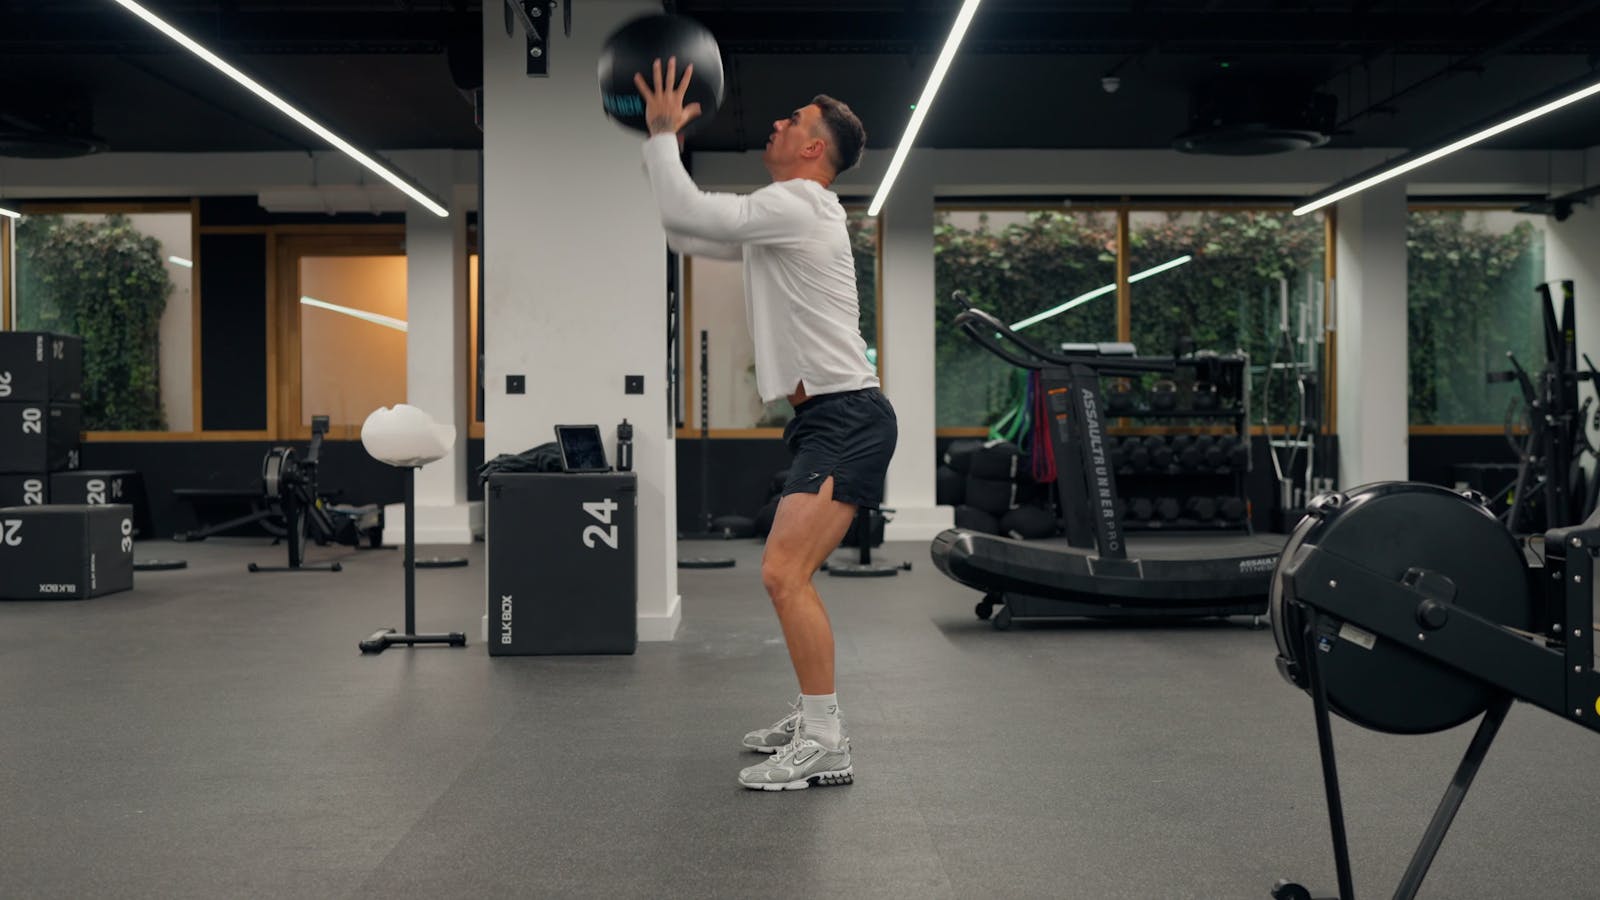
24. Ball Throwing Progression
If your sport involves throwing or swinging a racket, rehab is not finished until the shoulder tolerates throwing again. Build it in stages:
Start by throwing a small, light ball, such as a tennis ball, underarm against a wall, or with a partner if you have one.
Begin very gently and increase the speed, force, and distance you throw. Progress to a heavier ball such as a netball.
Go back to the tennis ball and start overhead throws, gently and close to the wall at first. Use both hands together initially if you want.
Increase distance and force over several sessions, progressing to a heavier ball, single-handed, at full power.
how to keep your rotator cuff healthy long term
Doing the exercises correctly matters as much as doing them at all. Any discomfort you feel during exercise should not last more than 2 hours after you finish; if it does, or if you are unsure your form is right, check in with your clinician. If your shoulder is sore after a session, ice it.
Prevention is mostly the same work on a schedule. Strengthen all parts of the shoulder plus the upper back and arms, and keep up gentle stretching to hold your range of motion. A shoulder conditioning program done two to three times a week gives the best results. Around it, protect the joint: be cautious raising your arms overhead, avoid holding heavy items away from your body, watch your posture, and if you play a sport, have a coach check your form. A cuff that has been injured once can tear again, so the maintenance work never really retires.
make rotator cuff work part of the program
A list gets your shoulder moving; a program keeps it strong. pliability turns this work into guided video sessions that fit around your training: Daily Sessions give you a fresh mobility routine every day, Paths run multi-week progressions for stubborn areas like overhead mobility, Build Your Program shapes the plan around your lifting schedule, and the Rebuild hub holds therapy-informed corrective work for coming back from a setback. Take the mobility assessment to see what is actually restricted, then start with 7 days free on iPhone, iPad, Android, or the web. Recovery is the rep you cannot skip; treat your shoulders like they matter.
Related Reading



Move better in 10 minutes a day.
10,000+ five-star reviews.