


LEARN
pliability

Have you tired of stiff, achy, or tight shoulders or arms? You may find it hard to reach for something in an overhead cupboard, lift a light bag, or throw a ball without discomfort. Or maybe you've noticed some pain or tension when you perform overhead movements at the gym. These frustrating challenges may seem minor, but they can indicate a decrease in mobility and flexibility that can hinder your performance in daily activities or athletic pursuits. Arm mobility exercises can help you regain the entire movement of your arms and shoulders for pain-free, effortless function.
This guide explains the benefits of arm mobility exercises and how to get started, with a list of practical exercises to improve your performance and help you return to doing what you love.
what is arm mobility and why it matters

Arm mobility refers to the ability to move your arms freely in a range of motion without pain or discomfort. It is crucial for everyday functions, athletic performance, and injury prevention. Arm mobility can be lost with age or a sedentary lifestyle, while improving it can support better posture, decrease your risk of injury, and help you perform daily tasks and activities more efficiently.
arm muscles: the basics
You have over twenty muscles in your upper arm and forearm (the area between your elbow and wrist). Your arm muscles help you with small, precise (fine motor) movements, such as wiggling your fingers or fastening a button. They also allow you to do significant movements, like straightening your elbow, raising your arms above your head, or doing push-ups. Some muscles sit deep inside your arm; others are close to the surface of your skin, and you can easily see their outline when you contract (flex) your muscle.
Tendons (soft tissues) attach muscles to your arm and shoulder bones. Arm muscle strains (tearing or stretching a muscle too far) are common injuries. They often result from overuse or from lifting an object that's too heavy. To avoid an arm muscle injury, warm up before exercising and stop if you feel pain.
the function of arm muscles
The upper arm and forearm muscles allow you to move your arms, hands, fingers, and thumbs. Different muscles help with precise movements, such as threading a needle, and big movements, like throwing a ball.
Arm Muscle Functionality
Your upper arm muscles help you move your arms. They have different jobs based on their location. They help you:
Bring your arm toward your body.
Extend (straighten) your forearm at your elbow.
Flex your arm at your elbow (bring your hand to your ear).
Move the top part of your arm at your shoulder.
Raise your arm above your head.
Turn the palm of your hand to face up.
Forearm Muscle Purpose
Muscles on both the underside and the top of your forearm allow you to:
Bend, flex, and extend your wrist and fingers.
Move your hand toward your body and turn your hand away from your body.
Turn the palm of your hand to face down.
Muscles located deep inside your forearm have several jobs:
Controlling the top joints in your fingers.
Moving your thumb joint.
Turning your palm to face up or down.
arm muscle anatomy
You have many muscles in your forearm (between your elbow and wrist). Some of these muscles are on the top, and others are on the underside of your forearm. Your forearm muscle anatomy includes:
Superficial Forearm Muscles
You have several superficial muscles on the underside of your forearm (close to your skin's surface). Most of them start below your elbow and extend to your wrist. They are:
Flexor carpi ulnaris.
Palmaris longus (up to 25% of people don't have this muscle).
Flexor carpi radialis.
Flexor digitorum superficialis.
Pronator teres.
Superficial muscles on the top of your forearm include:
Anconeus.
Brachioradialis.
Extensor carpi radialis longus and brevis.
Extensor digitorum communis.
Extensor digiti minimi.
Extensor carpi ulnaris.
Deep Forearm Muscles
These muscles sit under the superficial muscles on the underside of your forearm. They are:
Flexor digitorum profundus.
Flexor pollicis longus.
Pronator quadratus.
Muscles located deep under your skin on the top of your forearm are:
Abductor pollicis longus.
Extensor pollicis brevis.
Extensor pollicis longus.
Extensor indices.
Supinator.
the upper arm muscles
You have four muscles in your upper arm, the area between your shoulder and your elbow. Your upper arm muscle anatomy includes:
Biceps Brachii
Your biceps muscle is in the middle of your upper arm. It's a superficial muscle because it's close to your skin's surface.
Brachialis
This deep muscle sits underneath your biceps.
Coracobrachialis
Also deep under your biceps, this muscle connects to your scapula (shoulder blade).
Triceps Brachii
Your triceps muscle is on the back of your arm, just above your elbow. Like the biceps, your triceps muscle is under your skin's surface.
arm mobility: the bottom line
Arm mobility is crucial for everyday functions and athletic performance. Improving your arm mobility can help decrease your risk of injury, improve your posture, and enhance your performance in daily activities and sports.
what conditions can affect arm and shoulder mobility?

Arm and shoulder pain has a wide range of possible causes, from rotator cuff irritation or tears, shoulder dislocations, and fractures to frozen shoulder, calcific tendinitis, and arthritis. Nerve-related conditions such as cervical radiculopathy, brachial neuritis, brachial plexus injuries, and thoracic outlet syndrome can also cause pain, numbness, or a burning sensation that travels down the arm into the hand. Where the pain shows up, and whether it comes with swelling, weakness, or a pins-and-needles feeling, can help narrow down which of these is involved, though only a doctor can confirm a diagnosis.
For mild to moderate pain, rest, ice, gentle compression, and gentle stretching within a comfortable range are reasonable first steps, along with maintaining good posture to avoid adding further stress to the area. Persistent, severe, or worsening symptoms warrant a visit to your doctor, who may recommend imaging, medication, physical therapy, or in some cases surgery. Shoulder and arm pain can occasionally signal a heart attack, especially when it comes with chest pressure, shortness of breath, or breaking out in a cold sweat: treat those combinations as a medical emergency and call for help right away.
how exercise fits into recovery
Exercise can help reduce pain and improve flexibility once you have a sense of what you're dealing with. Research comparing exercise therapy to more invasive options for persistent shoulder pain has found it can be just as effective as corticosteroid injections or decompression surgery for many people.
Below are exercises you can try to help reduce or prevent pain in your shoulder or arm, done standing or sitting. Always use good posture, never push yourself further than you comfortably can, and check with your doctor first if you have any concerns about a specific exercise.
25 best arm mobility exercises to reduce pain and improve movement
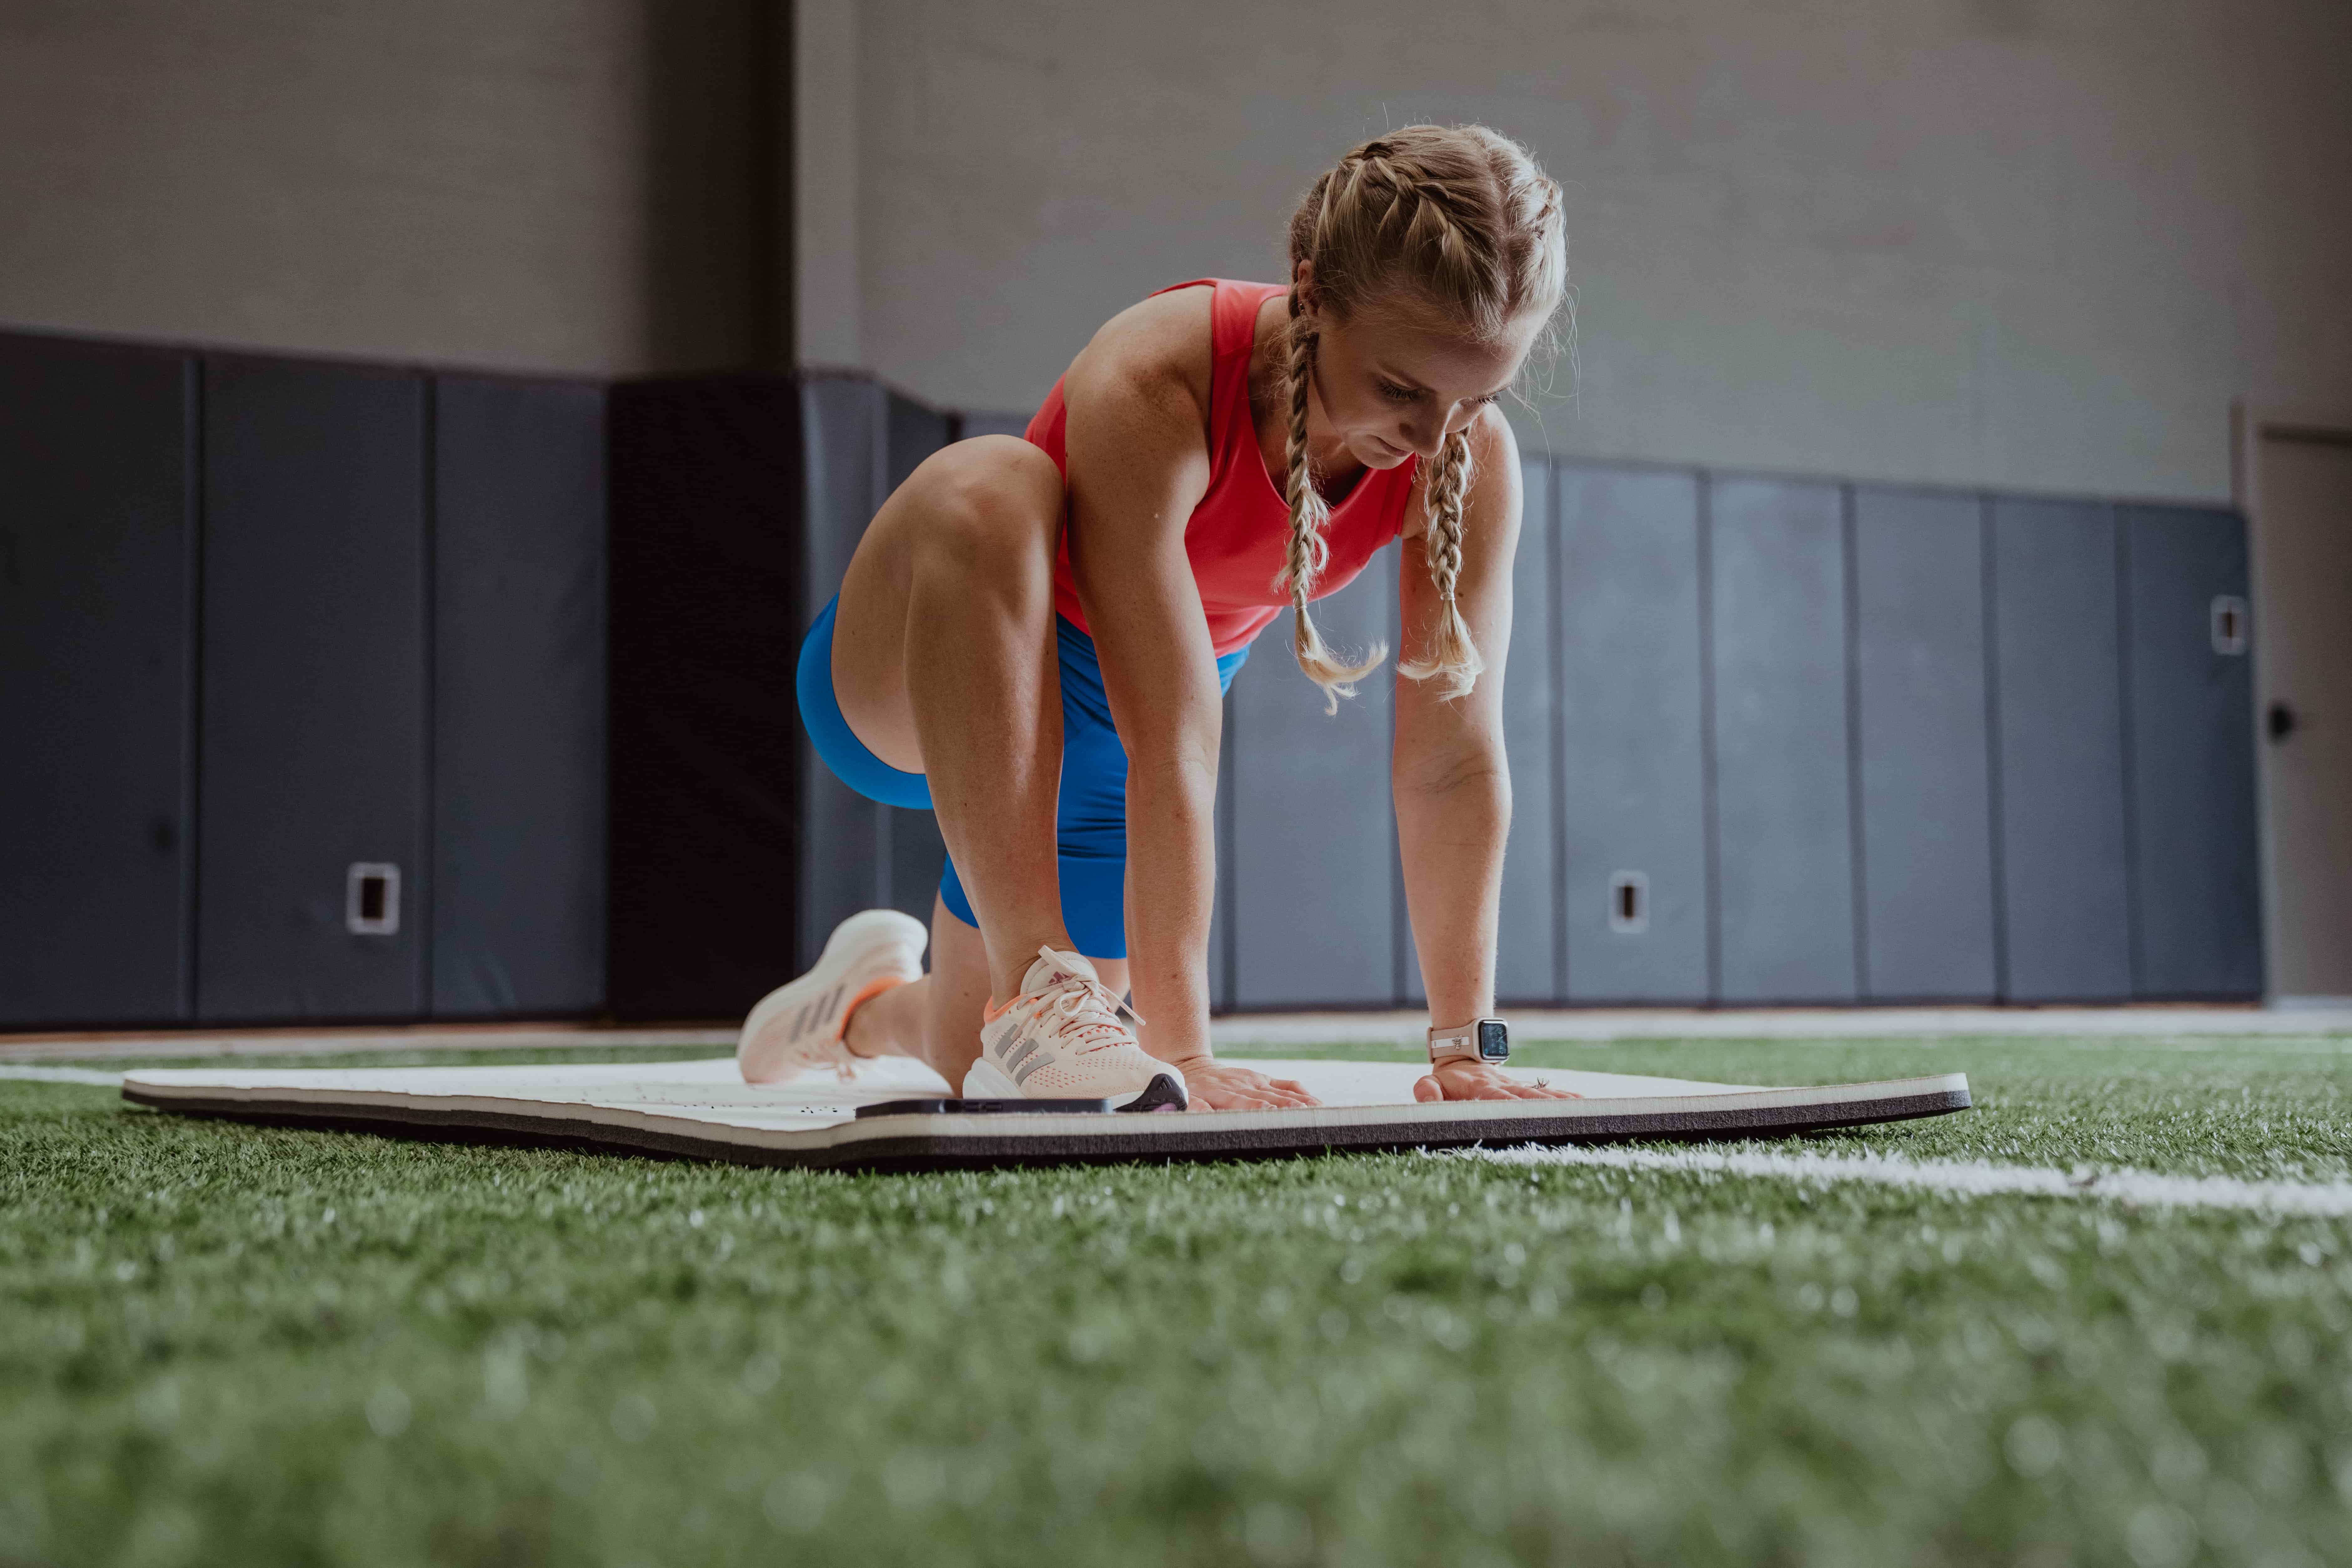
You can perform these exercises as part of a warm-up, cool-down, or recovery routine, or do them daily to improve mobility, flexibility, and function in your arms and shoulders.
1. arm circle
Skill Level
All Levels
Body Part
Arms and Shoulders
Hold both of your arms out to your sides at shoulder height.
Moving only from your shoulders, trace tiny circles in the air with your hands.
Start with small circles, making them more prominent with each rotation until your arms move as far as they can in each direction.
After about 30 seconds, switch directions.
2. scissor stretch
Skill Level
All Levels
Body Part
Arms and Shoulders
Hold both arms out to your sides at shoulder height.
Keep your elbows straight, and move both arms straight before your chest.
Cross your left arm above your right arm.
Move your arms back behind your shoulders as far as possible.
Repeat the same motion, crossing your right over your left.
Alternate moving back and forth, switching your top arm with each rep.
3. overhead dynamic triceps stretch
Skill Level
All Levels
Body Part
Arms and Shoulders
Raise your left arm straight above your head and bend your elbow to lower your palm to your back.
Place your right hand near your raised elbow and gently pull it toward your body and down.
Pause, then release and straighten your arm back overhead.
Repeat this motion and switch sides.
4. dynamic cross-body shoulder stretch
Skill Level
All Levels
Body Part
Arms and Shoulders
Bring your left arm up to shoulder height and across your body toward your right shoulder.
Hook your left arm around your elbow, then gently pull your right arm against your chest.
Pause, then release, extend your arm to your side, and repeat.
When you finish all your reps, switch sides.
5. wrist flexion and extension drill
Skill Level
All Levels
Body Part
Arms
Hold your left arm straight out in front of your body at shoulder height with your palm facing up.
Pull back on your fingers with your right hand to feel a gentle stretch in your forearm.
Pause, then raise your palm toward your forearm, gently pulling the fingers back toward you.
Alternate here, then switch sides.
6. forward overhead swing
Skill Level
All Levels
Body Part
Arms and Shoulders
Start by standing with your arms to your side and feet about shoulder-width apart.
Take one small step forward on your left leg as you swing both arms overhead.
Swing your arms back down as you step back.
Repeat the same process while stepping forward with the other foot.
Alternate back and forth.
7. lateral overhead reach
Skill Level
All Levels
Body Part
Arms, Shoulders, and Abs
Stand with your arms to your sides, feet about shoulder-width apart.
Take a small step forward, crossing your left over your right foot.
Reach overhead with your right arm and stretch your upper body to your left side, keeping your lower body rooted.
Lower your arm back down as you return to the starting position.
Repeat on the opposite side.
8. shoulder circles
Skill Level
All Levels
Body Part
Arms and Shoulders
Stand with your feet about shoulder-width apart and maintain a tall, upright posture.
Keep your arms slightly away from your torso and begin to perform extensive, exaggerated circular shrugs, moving your shoulders forward.
Pause, then reverse the direction of the circles. Complete 10 reps in each direction.
9. head isolations
Skill Level
All Levels
Body Part
Neck
Stand with your feet about shoulder-width apart and maintain a tall posture.
Without moving your shoulders, nod your head to look at your chest and pause for a second.
Tilt your chin toward the ceiling (think of nodding in a "yes" motion).
Complete 10 reps in each direction.
10. Egyptian reach
Skill Level
All Levels
Body Part
Arms and Shoulders
Stand with your feet shoulder-width apart and maintain a tall posture.
Reach and hold both arms out to the sides in a T position, with your palms rotated toward the ceiling.
Slowly internally rotate one shoulder until you reach your maximum range of motion.
Hold this position for a few seconds before slowly returning to the neutral T position.
Complete 10 reps on each side.
11. shoulder circumduction
Skill Level
All Levels
Body Part
Arms and Shoulders
Stand with your feet shoulder-width apart and maintain a tall, upright posture.
Place each hand on your shoulders with your elbows pointing out.
Trace small- to medium-sized circles with your elbows in a forward motion.
Repeat in the opposite direction. Complete 20 reps in each direction.
12. straight-arm shoulder circumduction
Skill Level
All Levels
Body Part
Arms and Shoulders
Stand with your feet shoulder-width apart and maintain a tall posture.
Hold both arms outward to the sides in a T position with your hands closed into fists.
Keep your elbows straight and actively reach outward as you quickly trace small circles with your fists in a forward motion at a moderate to quick pace before reversing direction. Complete 20 reps in each direction.
13. quadruped scap pushup
Skill Level
Intermediate
Body Part
Shoulders
Start on the floor on your hands and knees with a neutral spine.
Keep your elbows straightened and push your upper back out as if you were forming a turtle shell across your upper back (you should feel a stretch).
Hold this position for 20 seconds before slowly returning to the neutral spine starting position.
Then, without holding the position at the top, repeat the range of motion at a moderate pace for ten reps.
14. modified side plank and rotational reach
Skill Level
Intermediate
Body Part
Shoulders
Start in a half-side plank with your knees folded, your right forearm on the ground, and your left arm reaching toward the ceiling. Be sure to place the supporting elbow directly underneath the shoulder.
Keep your hips pressed as high as possible and reach the left hand underneath the torso as if you are hugging yourself.
Pause for a second.
Return to the starting position with your left arm reaching the ceiling. Complete 10 reps on each side.
15. prone swimmer row
Skill Level
Intermediate
Body Part
Shoulders
Lie face-down on the floor with your arms extended and angled slightly away from your torso (forming the letter "A"). Both hands are held in fists, and your thumbs touch the floor.
Keep a long neck and your elbows straightened as you lift your fists behind you until you hit the edge of your range of motion (maintain the A shape).
Hold this position for 10 seconds.
Slowly release your arms back to the floor.
Next, without holding the position at the top, repeat the range of motion at a moderate pace for ten reps.
16. prone swimmer
Skill Level
Intermediate
Body Part
Shoulders
Lie on the floor face-down with your arms lengthened overhead.
Begin the movement by lifting only your arms off the floor (keep your head and torso down) and reaching out and down as if tracing the circumference of a big circle with your fingertips.
As you approach the bottom half of the movement, allow the arms to rotate naturally to touch the lower back.
Reverse the movement to return to the starting position and release the arms down to the floor. Complete ten reps.
17. prone isometric chest press
Skill Level
Intermediate
Body Part
Shoulders
Lie on the floor face-down and place your hands comfortably on either side of your chest with the elbows pointing upwards (think of this as the bottom position of a pushup).
Keep your hands wide and evenly planted as you push both palms into the floor with firm, consistent pressure while keeping your head and torso on the floor.
Hold for 20 seconds, then release the press.
Next, without holding the position at the top, repeat the range of motion at a moderate pace for ten reps.
18. child's pose
Skill Level
All Levels
Body Part
Shoulders
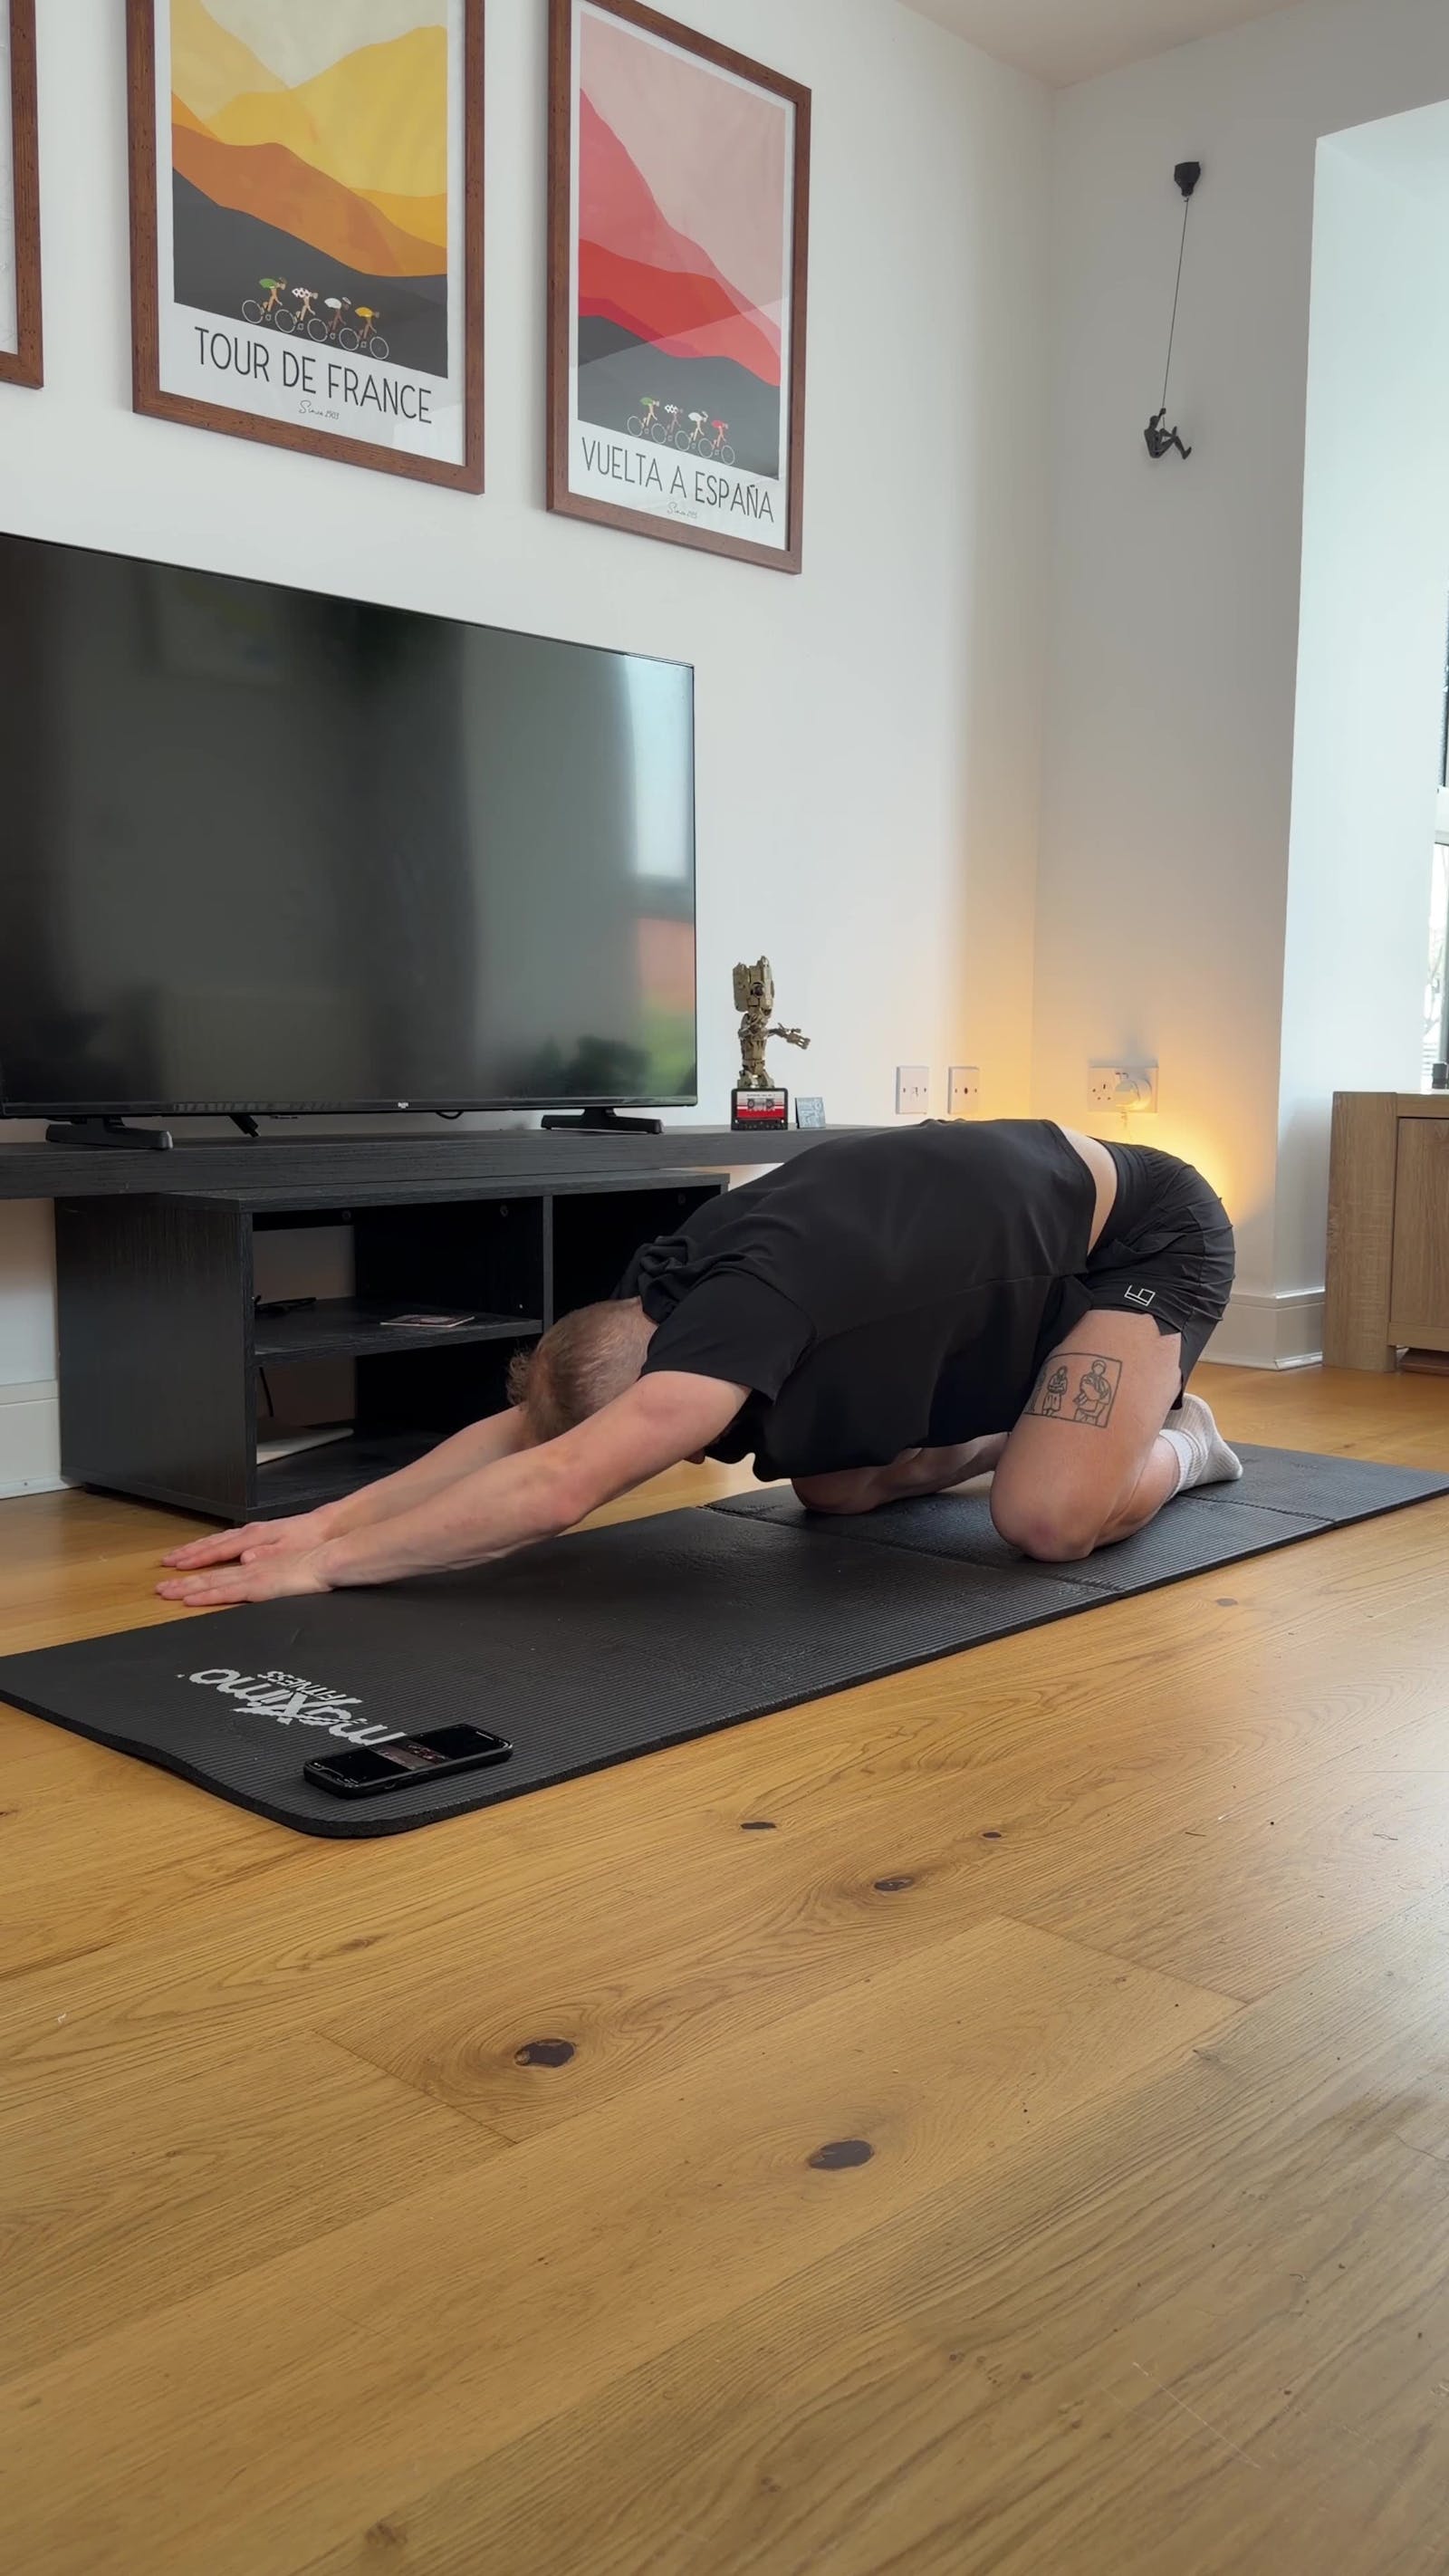
From a kneeling position, sit on your feet and lean your torso on top of your thighs, arms stretched overhead on the floor. You can widen your knees to make this position more comfortable.
Keep the arms long and press the hands firmly into the floor while pushing your back out toward the ceiling. Hold for 20 seconds.
Walk your hands over toward one side, keeping the arms long. Press the hands firmly into the floor while pushing the opposing armpit and ribcage out. Hold for 20 seconds before repeating on the other side.
19. eagle arms (garudasana arms)
Skill Level
All Levels
Body Part
Shoulders
Inhale and stretch your arms out to your sides.
As you exhale, bring them before you, swinging your right arm under your left and grabbing your shoulders with opposite hands, as if hugging yourself.
Let your right fingers press into your left palm if your palms can touch. If they can't, press the backs of your hands together.
Inhaling, lift your elbows a few inches higher.
Exhaling, relax your shoulders down away from your ears.
Take a few breaths, repeating the elbow lift and shoulder roll, if you like.
When ready, switch sides so that your left arm is the bottom arm.
20. reverse prayer (parsva anjali mudra)
Skill Level
Intermediate
Body Part
Forearms and Shoulders
Bring your hands behind your back, fingertips pointing toward the ground, and elbows bent.
Take a deep breath in. As you exhale, rotate your hands so your fingers point toward the ceiling, and then try to bring your opposite fingertips to touch.
When you inhale, let yourself sink into and feel the stretch, assessing if you should go deeper.
If your body wants a deeper stretch, move your hands closer as you exhale. This will move them up along the line of your spine.
If your palms can press fully against each other, concentrate on the thumb side of your hands and keep them gently pressing.
21. modified reverse prayer
Consider doing a reverse arm hold if the reverse prayer is too tricky.
Inhale and stretch both arms to a "T," keeping palms facing down.
As you exhale, roll both shoulders forward. This rolls your palms so they're facing behind you.
Inhale deeply. As you exhale, bend your elbows and let your hands swing behind your back.
Grab your wrists or elbows behind your back and gently pull away from the center. One arm will naturally be on top of the other.
When you've held this for five deep breaths with one hand on top, switch to the other and hold for the same amount of time.
22. cow face pose arms (gomukhasana arms)
Skill Level
Intermediate
Body Part
Shoulders
Inhale, stretch your right arm out to the side and turn it palm facing down.
Roll your palm back until your thumb points behind you and your shoulder is rolled forward.
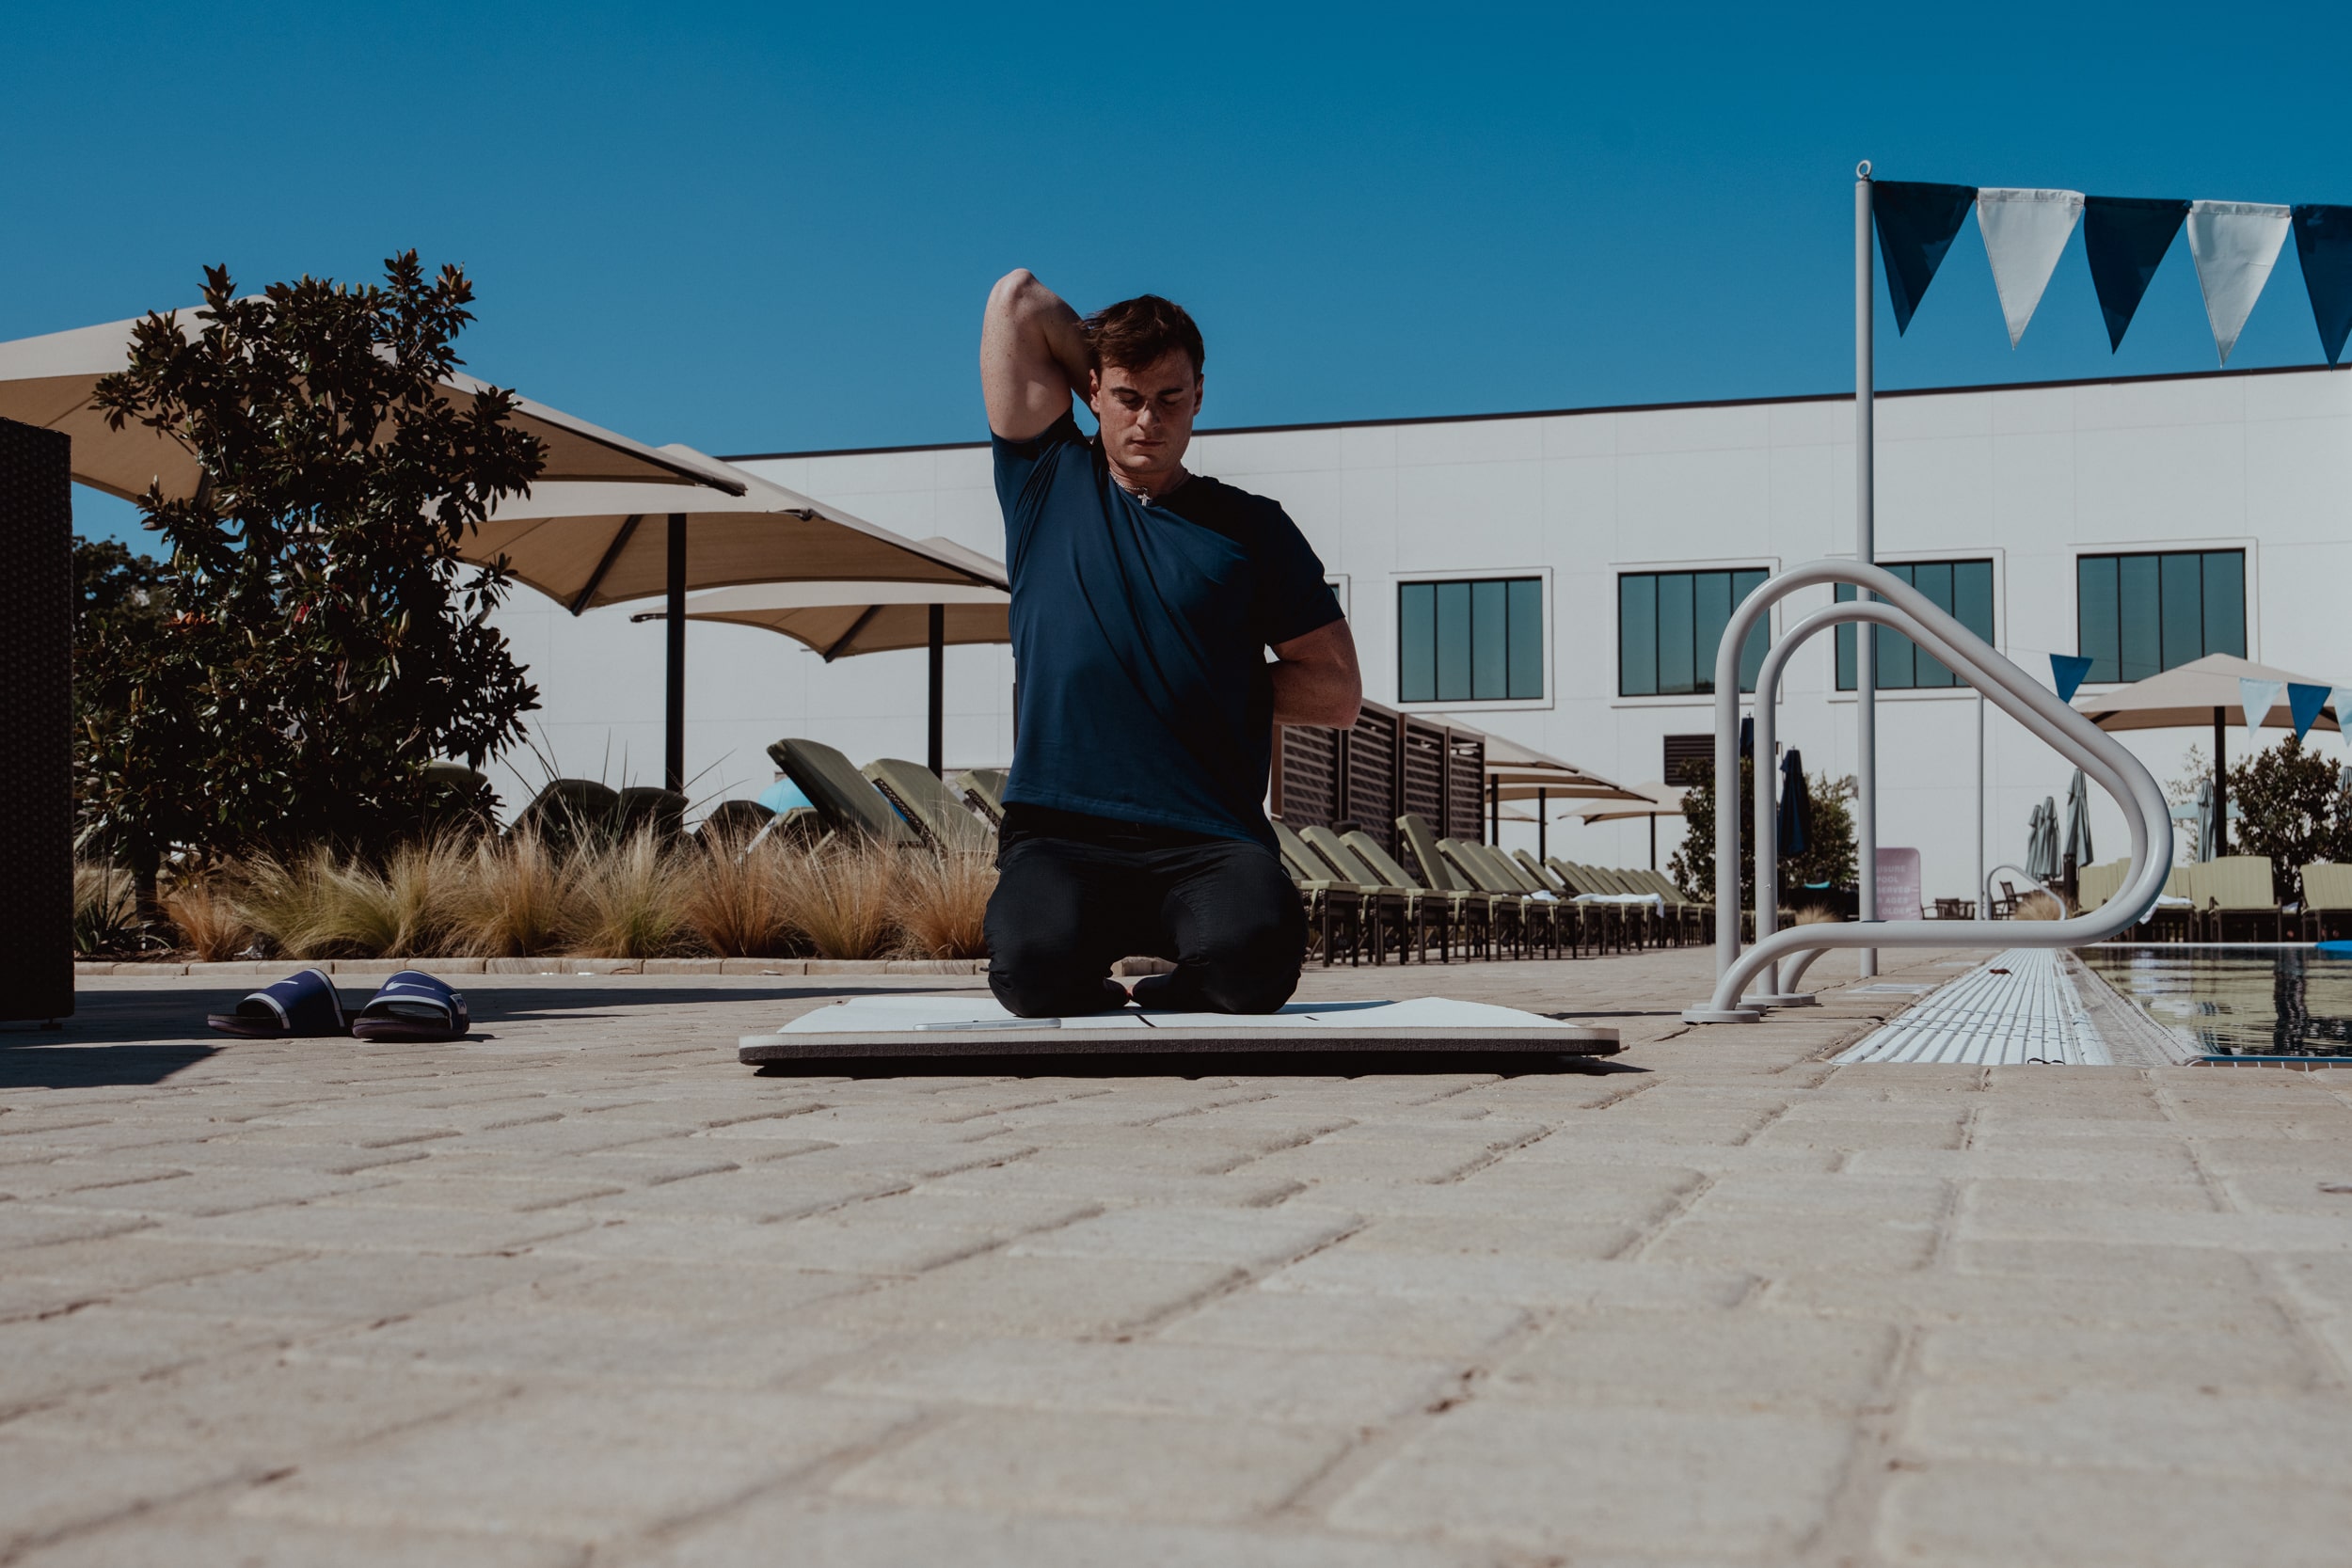
Raise your left arm to the sky, bend the elbow to point toward the ceiling, and reach down to pat yourself on the back near your shoulder blades.
Exhale, bend your right elbow and tuck your forearm behind your back. The back of your right hand should rest against your lower back.
Gently clasp your hands together, as close to parallel to your spine as possible. Keep your hands moving together toward the space between your shoulder blades.
23. modified cow face pose (with strap)
This modified version of the cow face pose uses a towel or strap to help ease the stretch if you have tighter shoulders.
Put one end of the strap in your left hand. As you inhale, stretch your left arm to the side at shoulder height, palm up.
As you exhale, lift that arm straight up to the sky and bend your elbow as though to pat yourself on the back. The strap should dangle down your back, where you can grab it with your right hand.
Wait until you're naturally exhaling to gently pull the strap in opposite directions.
Sit in this stretch, slowly breathing in and out. As you inhale, let everything naturally lift. As you exhale, concentrate on gently rolling your shoulders down, moving your shoulder blades down your back.
Switch sides. Don't be surprised if one side feels different than the other.
24. assisted side bend
Skill Level
All Levels
Body Part
Arms and Shoulders
Sit up straight.
As you inhale, sweep your hands out and up, meeting above your head. Flip your right palm to the sky and clasp your right wrist with your left hand.
As you exhale, root down into your pelvis and lean to the left, pulling gently on your right arm with your left hand.
Relax into this as you breathe deeply and slowly.
As the stretch continues, pay attention to your ribs. If they're flaring out, shift them back so your spine stretches laterally and the stretch remains in your arm and side.
When you're ready, switch sides and stretch the other arm.
25. fingers up and down stretch
Skill Level
All Levels
Body Part
Forearms and Wrists
Stretch your right arm before you, keeping it at shoulder height.
Pull your fingers up as if you're going to place your palm flat against a wall.
With your left hand, gently pull back the fingers of your right hand. Hold this stretch for at least three deep breaths.
Let your right wrist go limp, the fingers pointing down. Now, gently pull on the back of your hand.
Keep your fingers relaxed as you breathe at least three times here.
Switch and do your other side.
how often should you do arm mobility exercises?

The simple answer to this question is every day. Like most exercises, small doses are better than doing nothing at all. Mobility exercises are low-intensity and usually do not require equipment. These movements can be done on rest days to relieve muscle and joint stress, but regular movement should be emphasized to keep them strong.
why arm mobility is so essential
Mobility is the foundation of all movements. Prioritizing mobility in your routine can ensure a strong foundation for the rest of your movement goals. This way, you can bounce back for the next workout when you add stressors to your body.
progressions are key to arm mobility work
Mobility work is progressive by nature. Going in all at once can impact the body and leave it feeling achy and sore. Slowly introducing a few movement patterns and increasing the intensity over time will allow the body to adapt and benefit from each mobility drill.
how to fit arm mobility exercises into your routine
Any mobility work is beneficial when done multiple times during the week. Establishing a consistent routine of a few shoulder exercises that work the entire shoulder joint will help increase the shoulder's capacity over time. Shoulder mobility work can be programmed pre- or post-workout, or as its own recovery day.
getting started with arm mobility exercises
On average, aim for a minimum of 2-3 mobility sessions per week. If you work out more than 2-3 days per week, try to increase your mobility sessions to match the number of days you're working out, and consider your rest days as mobility days.
build arm mobility into a routine that sticks
pliability turns the exercises above into guided video sessions built around your goals: Daily Sessions give you a fresh mobility routine every day, Paths run a multi-week progression to open up stiff shoulders and arms, and Build Your Program shapes a plan around your own training. Take the mobility assessment to find out exactly what's restricted before you start, and if you're working back from an injury, the Rebuild hub has session series built for that. Start with 7 days free on iPhone, iPad, Android, or the web.
Related Reading


Move better in 10 minutes a day.
10,000+ five-star reviews.