


LEARN
pliability
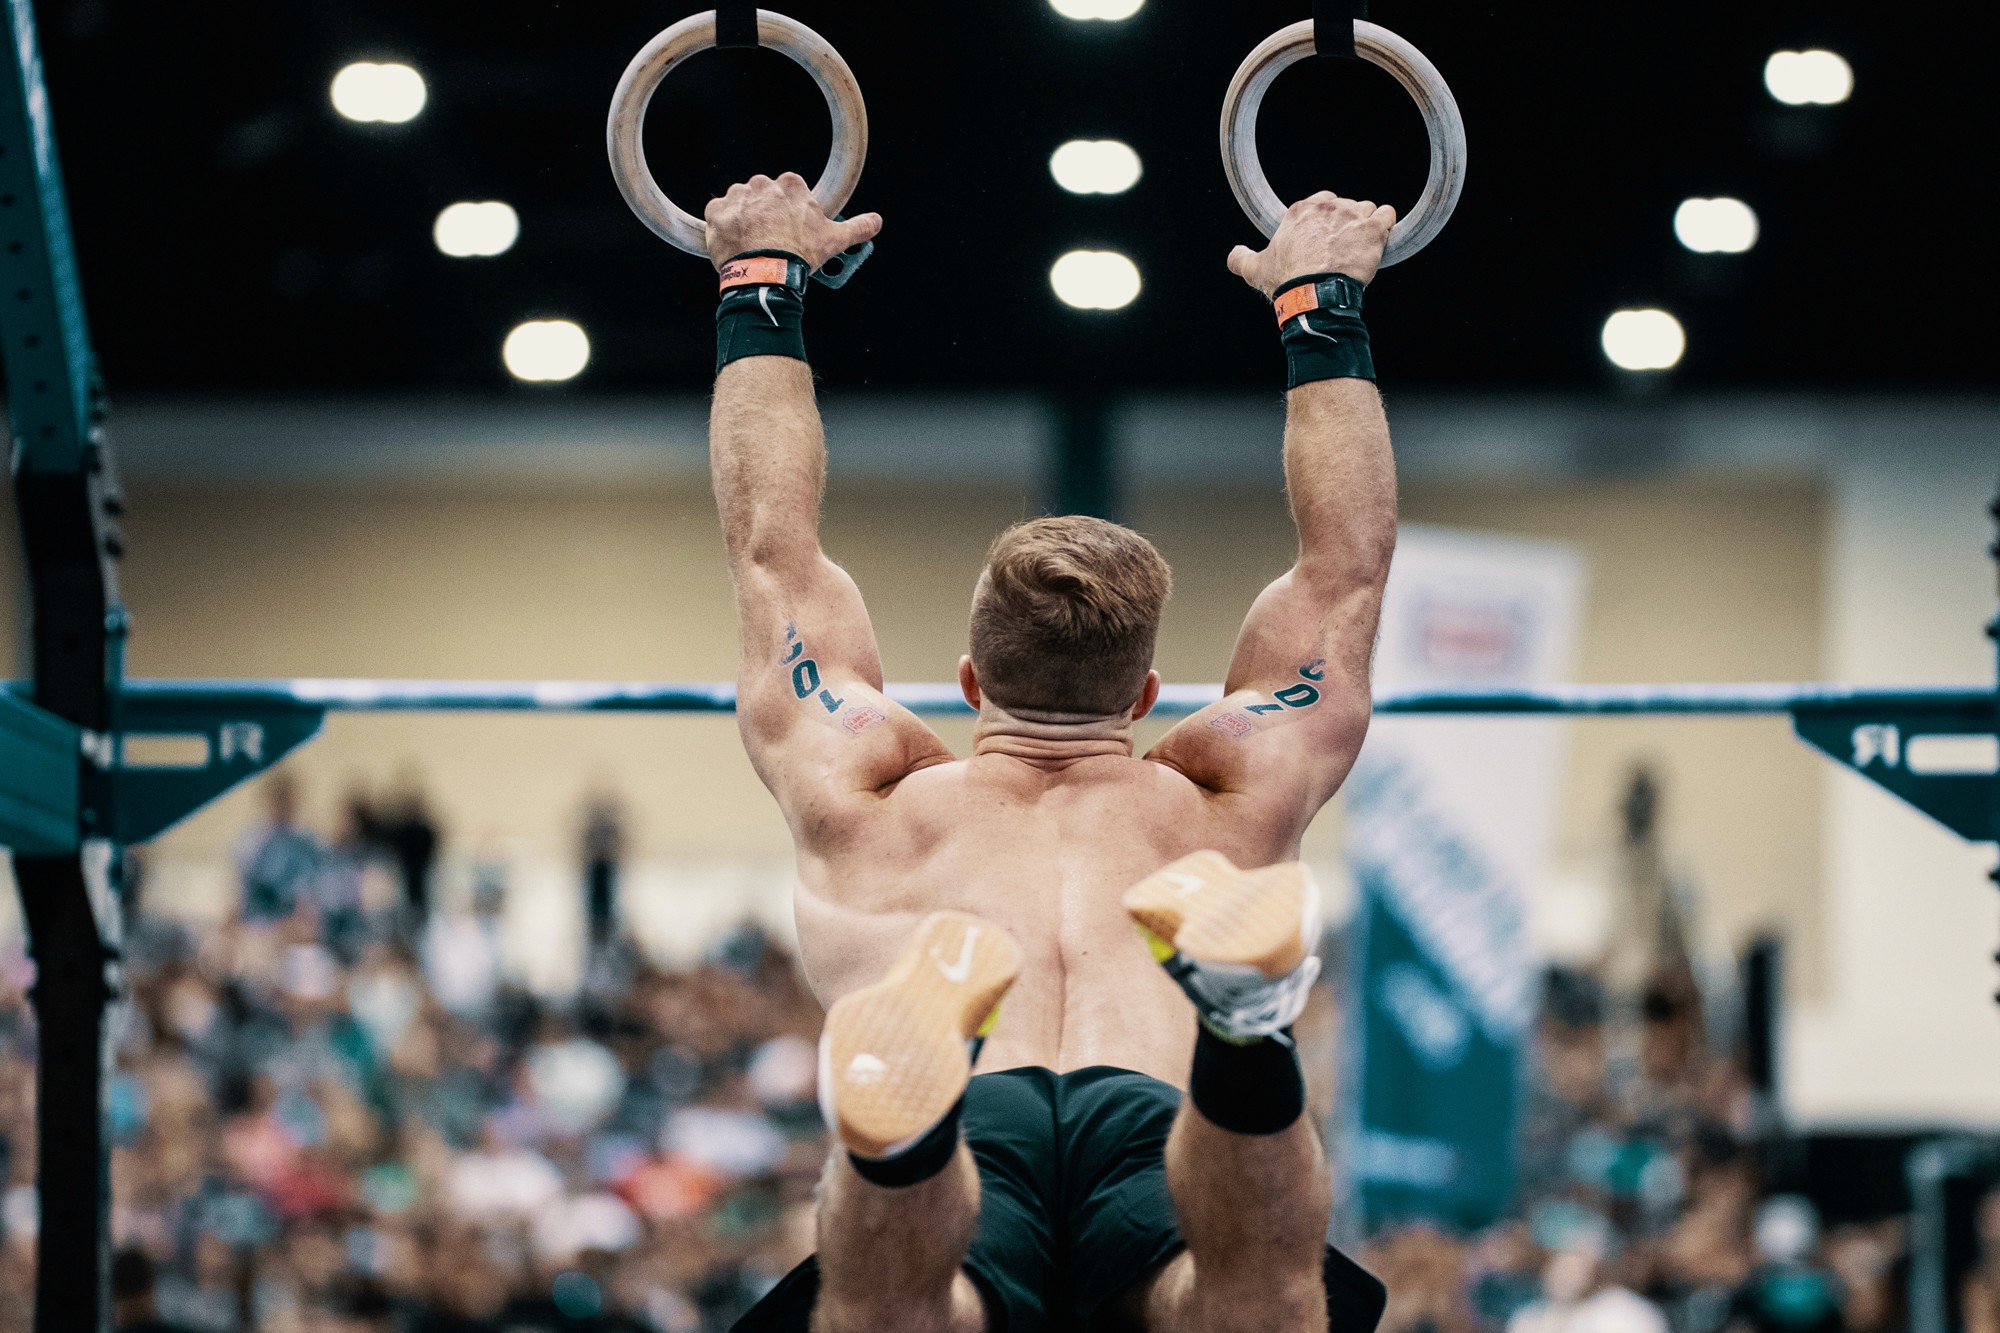
Have you ever watched a gymnast perform, marveling at their ability to bend and twist their bodies into seemingly impossible positions? What you may not know is that this incredible display of flexibility is not just the product of being "naturally flexible." It's the result of targeted training that improves not just flexibility, but body awareness, control, and balance. Flexibility gymnastics can help people of all ages and abilities move with greater ease and confidence, while reducing their risk of injury. This article will help you understand the importance of flexibility gymnastics and provide valuable insights to help you achieve your goals, whether that's to improve your performance in sport, enhance your day-to-day activities, or simply develop your overall health and fitness.
One of the best ways to get started with flexibility gymnastics is to use a targeted program. pliability's mobility app does just that, helping you improve your flexibility, balance, and body awareness through targeted drills inspired by gymnastics.
why is flexibility important in gymnastics?
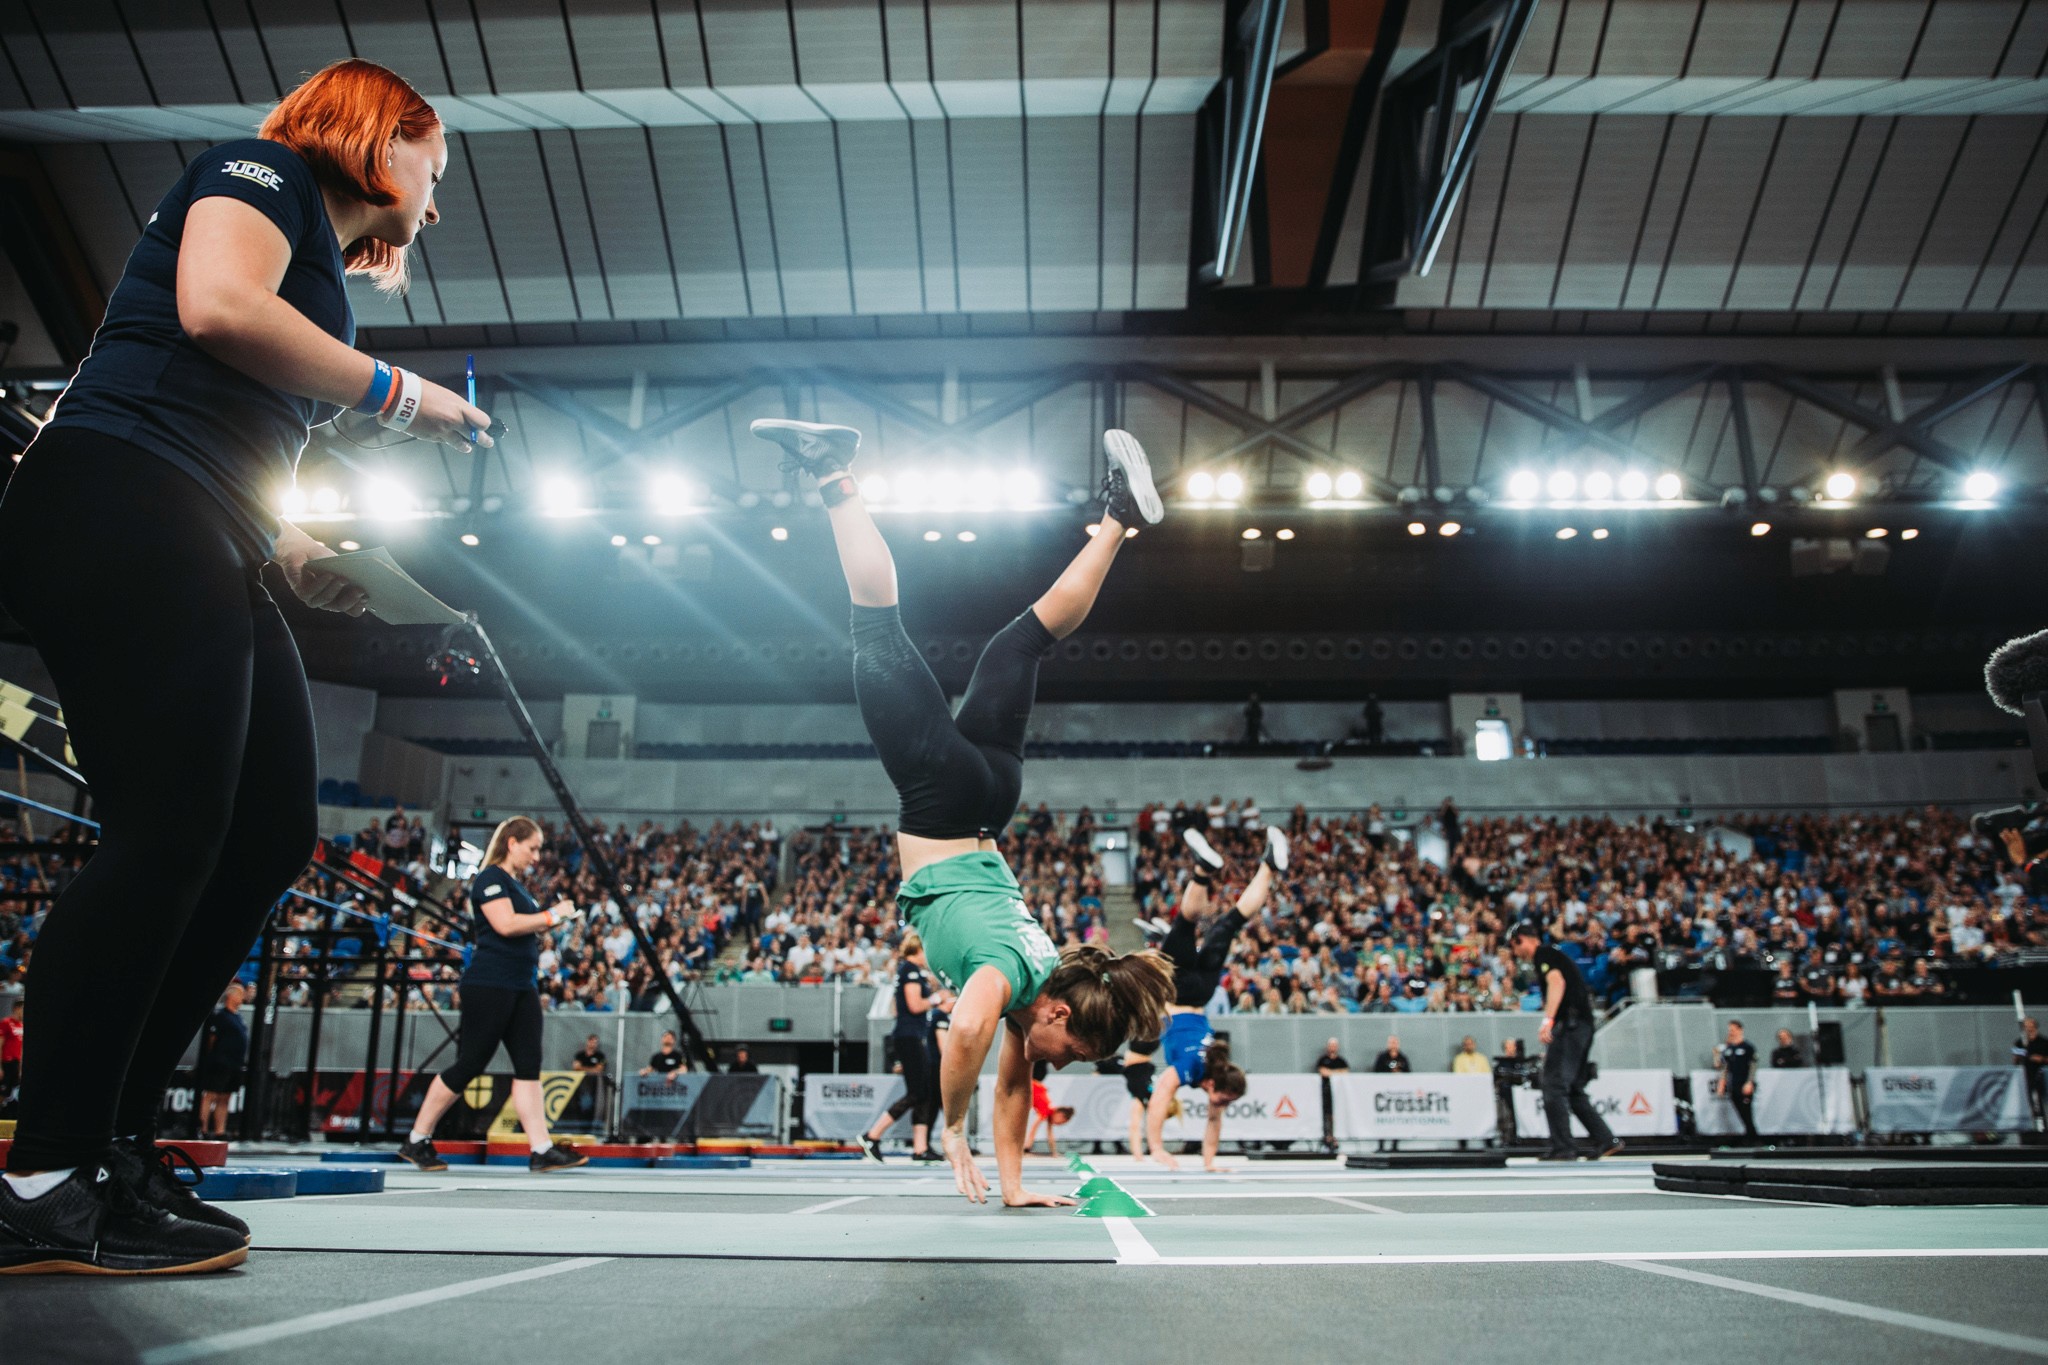
Flexibility is a foundational component that supports strength, balance, and fluid movement across all gymnastics disciplines. Without the necessary flexibility, specific exercises will always feel impossible to achieve. Or worse, they could cause you significant harm.
flexibility improves range of motion and performance
Gymnastic flexibility enhances performance by allowing for a greater range of motion in skills and routines. Increased flexibility helps athletes achieve the correct positions with improved ease, making skills feel less challenging to execute.
For instance, a gymnast with proficient flexibility can easily assume a split position and hold it before transitioning into another skill, such as a leap or a back handspring. Alternatively, a gymnast with limited flexibility may struggle to achieve a split and risk injury when attempting the leap or back handspring without the necessary range of motion.
flexibility reduces the risk of injury
Improved flexibility can also help prevent injuries that often occur in gymnastics routines. Higher-level flexibility allows the body to absorb the impact of skills and execute complex movements with less strain on muscles and joints.
Flexibility's Impact on Straddle Jump Landings
For example, if a gymnast has good flexibility and can easily achieve a straddle position, the landing of a skill such as a straddle jump will be much smoother. The flexible athlete will be able to transition into the straddle position and absorb the impact of the landing, reducing the risk of injury. Conversely, a less flexible gymnast may struggle to execute the skill, landing awkwardly and increasing the chances of injury.
flexibility improves technique
Many gymnastics skills require excellent body control and positioning. With better flexibility, you will find it much easier to get into the correct position and stay there. In turn, this will improve your overall technique, which can help reduce the risk of injury and enhance performance.
flexibility enhances artistic expression
Better flexibility allows gymnasts to showcase graceful lines, fluid movements, and intricate poses, enhancing the overall artistic expression of their performance. Creative expression is essential to any gymnastics routine, particularly in rhythmic gymnastics and artistic floor exercises.
so, how do gymnasts increase flexibility?
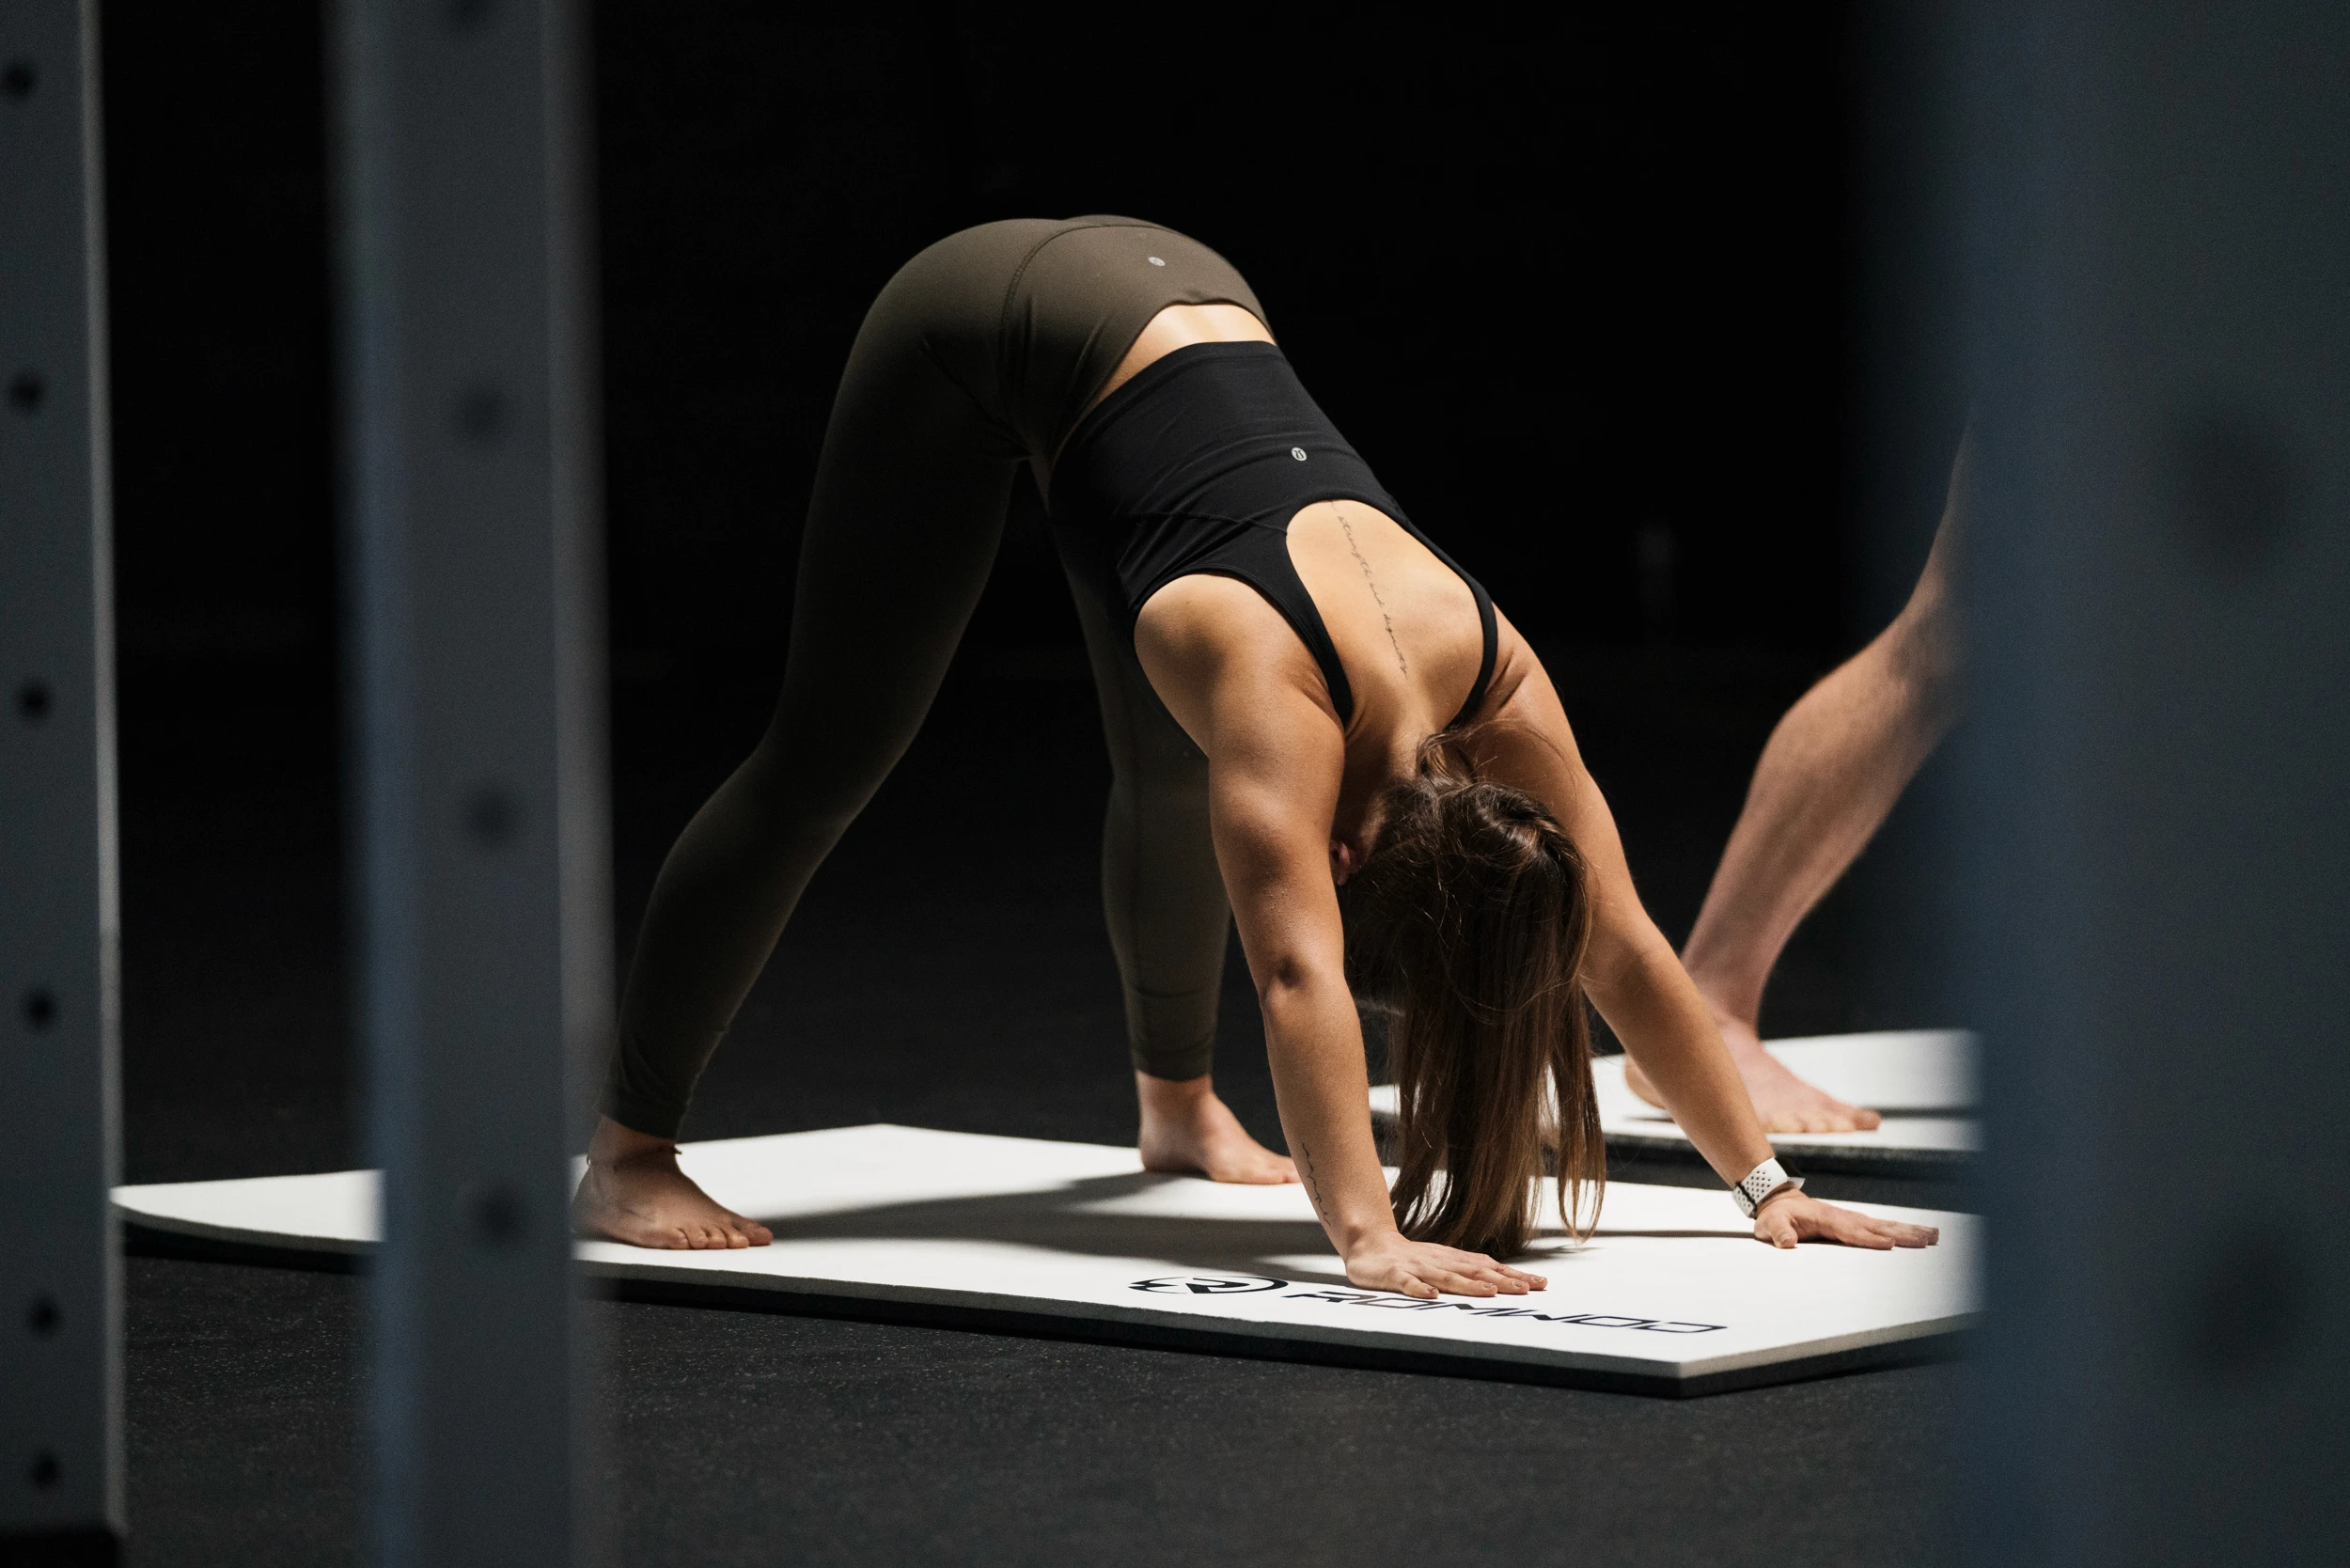
Dynamic stretching involves performing stretches while moving. Controlled lifts of one leg or controlled arm swings are examples of dynamic stretches. With dynamic stretching, you gently take your body to the end of its range of motion.
Dynamic stretching is great for warming up because it is more similar to the motions that a gymnast will perform later in the workout. It also helps to warm up the body and muscles, as the gymnast is moving while performing the stretches.
resistance training boosts flexibility in elite gymnasts
A study conducted by gymnastics researcher Dr. William Sands looked at whether resistance could help elite gymnasts increase flexibility. In the study, the gymnasts began by measuring the degree of split of their split leaps with video. Then, the gymnasts started a training program where they used therabands to add resistance to the following moves:
Kicks forward
Kicks sideward
Kicks rearward
Straddle jumps
Split jumps
They slowly increased the amount of repetitions and sets. At the end of the study, all of the gymnasts had improved their split leaps, jumps and kicks. This may not be suitable for young gymnasts; doing a similar program without the resistance would still lead to improvement.
static stretching: slow and steady wins the race
Static stretching involves holding a position without moving. An example of a static stretch is a split, as you remain still while in it. When performing static stretches, you should only go as far as you can without pain.
Static stretches are the least likely type of stretch to cause injury, and they are great for warming up and cooling down. If a movement or stretch puts you in an uncomfortable position, it is best not to do it. Not every stretch is meant for every person.
Benefits of Static Stretching
Static stretching has several benefits. It can help you maintain or increase your range of motion. It can improve muscle tone. Static stretching enables you to warm up before a workout, helps relieve stress, promotes relaxation, and may help prevent injuries.
There is conflicting information about how long to hold a static stretch, but general guidance suggests that shorter holds, around 7 to 10 seconds, tend to work well for children.
self-massage: the unsung hero of flexibility training
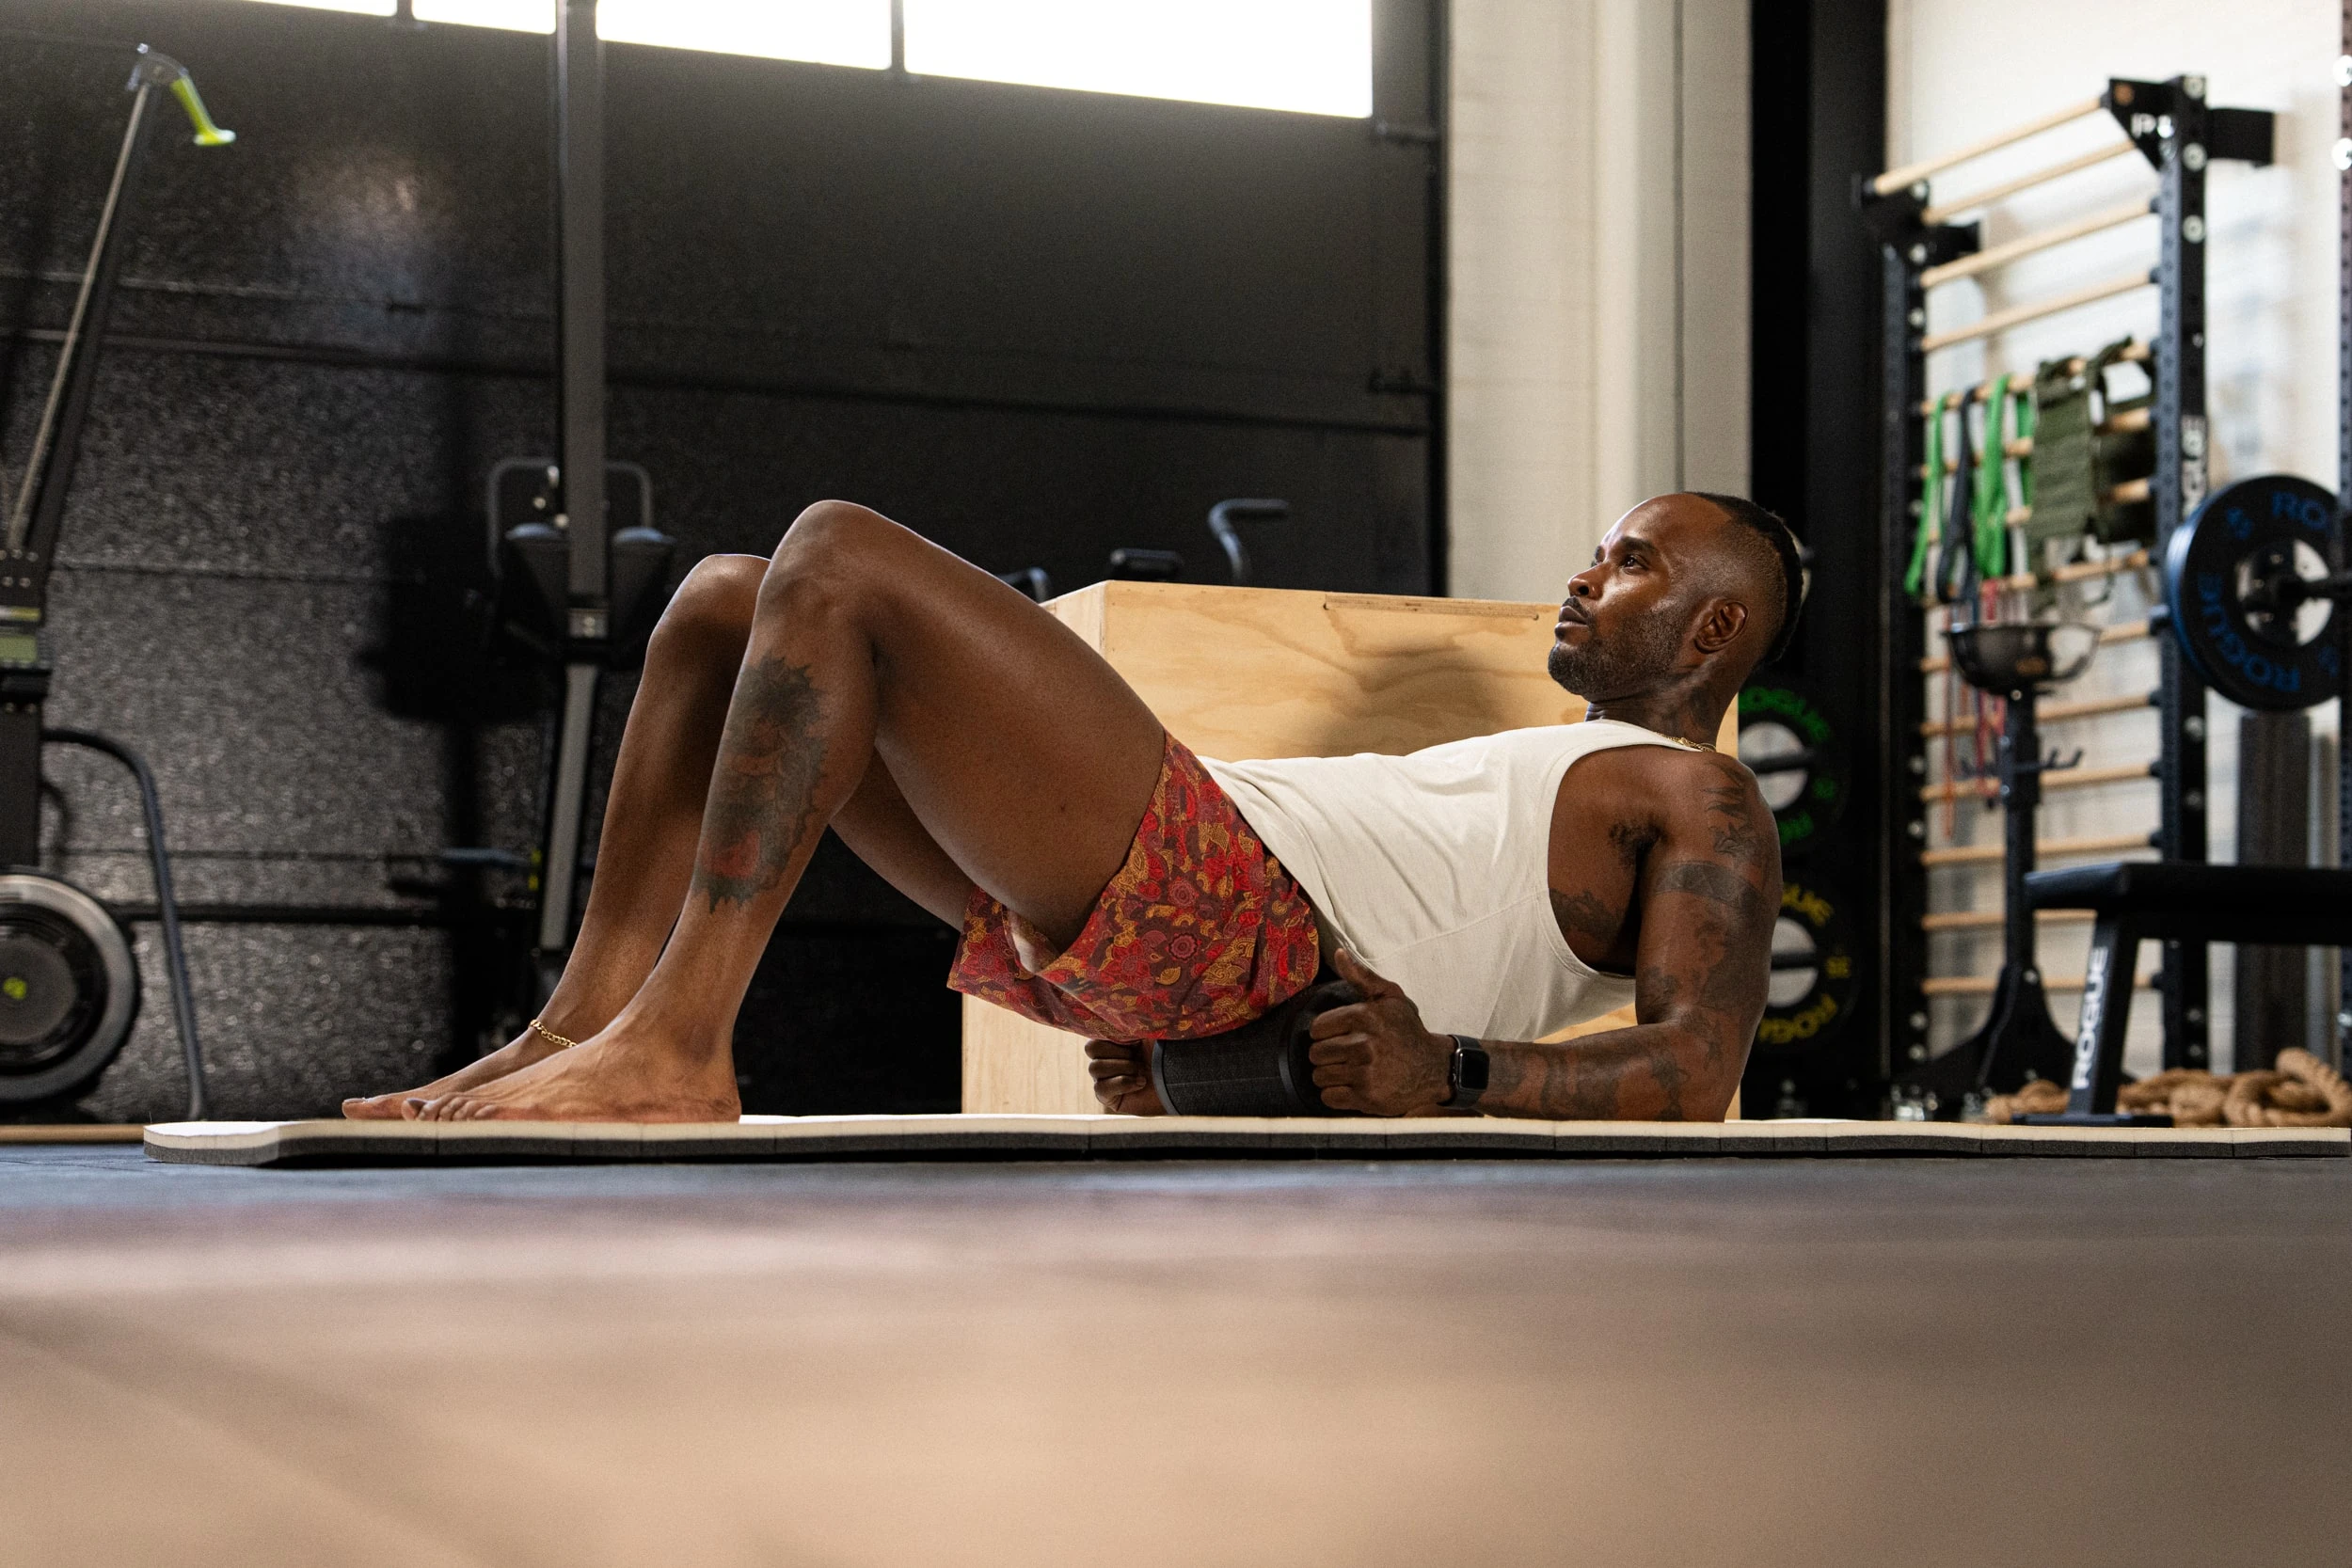
One flexibility habit worth building is self-massage with a foam roller. Many gymnastics programs have athletes foam roll for about 10 minutes before practice, head to toe. Some research suggests self-massage can improve flexibility within a couple of weeks of consistent practice.
It is also thought that it helps relieve muscle soreness. So, gymnasts can foam roll their sore muscles after a workout to try to ease their soreness for the next day.
Basic Foam Roller: Beginners should start with a basic foam roller
Foam Roller with Bumps: A foam roller with bumps is ideal for individuals who have already mastered self-massage with a basic foam roller
What Muscles to Foam Roll
So, what muscles should you foam roll? You can foam roll your:
Hamstrings (behind your thighs)
Quads (front of your thighs)
Lats (underneath your arm)
Groin (right at your hip, between your hip and the front of your thighs)
Calves
Do not foam roll your lower back.
How to Use the Foam Roller
To use the foam roller, put the foam roller on the floor and put the body part you are trying to foam roll on top of it. Slowly use your body to roll back and forth on top of it. Doing it slowly will cause more blood to flow to those muscles.
breathing exercises: inhale, exhale, stretch!
To maximize the benefits of stretching, it is essential to control your breathing. Take slow, relaxed breaths while stretching: inhale through your nose while expanding your belly, not your chest, hold the breath a moment, and then exhale slowly through the nose or mouth.
Ideally, you want to be exhaling during the most intense part of the stretch. Practice these breathing exercises before you stretch, so you can execute them while you stretch.
43 effective flexibility gymnastics drills
1. gravity assisted floor angels
Perform these on the floor or against a wall. Extend your arms straight, and then bend them until your elbows form a 90-degree angle. Extend back through to complete the range of motion. Do 10x.
2. gravity resisted floor angels
Flip over onto your stomach and you'll do the same motion as the gravity-assisted floor angels, but this time you'll want to keep your arms raised and not touch the floor. Do 10x.
3. stick shoulder stretch
Find something in your house that you can use as a "stick." Rest your elbows at the edge of a couch or ottoman. Hold your stick and get into a rounded back position. You want your hands to be wider than your elbows and your head even with the couch or ottoman. You also want to make sure your palms are facing your head. Hold the stretch for 1 minute.
4. kick complex
Do 10 alternating front kicks while walking forwards, then do 10 alternating side kicks while walking forwards, and finally, do 10 alternating backward kicks while walking backwards. If this is too easy, complete the same drill while in high relevé.
5. needle kicks
You want to stretch tall, your back leg goes back, through, and then step. Switch to the other side. Hinge at your hips and make sure that your arms are by your ears. Do four kicks on each leg, repeat four sets.
6. hamstring leg lowers
You will want to lay down on the couch or bed, with your bottom half off of the edge. You will keep one leg straight out while pulling your other leg straight up, while holding onto your calf or ankle to get a good hamstring stretch. Hold for 20 seconds for 12x and then repeat on the other leg.
7. hip lift with kick
You will need to find a suitable surface to elevate your feet (such as a beam or a stair). You will lie down on your back with your feet up on the beam or stairs. Lift your hips so that your leg is a straight angle from your knees down to your hips.
Ensure your legs are straight and kick your leg over your head, then return to the beam or step and lower your bottom back to the ground. Repeat 15x each leg.
8. hip flexor and quad stretch
Start with one knee on the ground and your other leg at a 90-degree angle at your knee. Lean forward to get a good stretch in your hips. Then, raise your back leg and hold it at your ankle for the quad stretch.
Hold for 20 seconds in the hip flexor stretch, then lift your back leg and hold for another 20 seconds for the quad stretch. Repeat on the other leg, completing 10 full sets with each leg.
9. U's with light weights
Start by lying on the edge of a bed or couch. You'll want to hold your weight on the side that is hanging off of the bed or couch. Raise your arm towards the ceiling so that your elbow and shoulder are level with your hand, at a 90-degree angle.
Then rotate your hand up so that it is even with your elbow, creating a 90-degree angle between your shoulder and elbow and hand. Rotate your hand back down so that you're at the position you were previously, and then return to the starting position. Do five on each arm.
10. front and side leg swings
Find a stable support, such as a wall or a ballet barre. Swing your leg forward and backward, reaching for maximum range each time, for 10 swings per leg. Then, switch to lateral swings, moving your leg across your body for another 10 swings per leg.
11. arm circles for mobility
Position your feet shoulder-width apart. Extend your arms to form a T with your body. Start rotating your arms in small circles, gradually increasing their size. After 10 seconds, switch the rotation direction and continue for another 20 seconds in total.
12. dynamic stretches for hamstrings
With feet hip-distance apart, take a step forward with the right foot, keeping it straight. Lean forward at the hips, reaching towards your foot. Alternate legs, aiming for 10 reps each, to stretch your hamstrings dynamically.
13. twisting lunges
Initiate in a lunge, right leg forward, left leg back. Hands behind your head, twist your torso to the right, bringing your elbow towards your right knee. Swap sides after 10 reps, ensuring both sides are equally worked.
14. shoulder stretch on the move
Stand straight, stretch your right arm across your body. With your left hand, gently pull the right arm closer, stretching the shoulder. Alternate after a few seconds, completing 10 reps per arm.
15. dynamic bridges
Lying on your back, knees bent, feet planted, and hands by your ears, press into your palms and feet, lifting into a bridge. Lower and repeat for 10 fluid motions, focusing on engaging your core and glutes.
16. seated straddle stretch
Sit on the floor with your legs extended out to the sides as wide as comfortably possible. Keep your back straight as you hinge at the hips, reaching forward with your hands. Hold at the deepest point of the stretch for 15-30 seconds, targeting the inner thighs and groin.
17. butterfly stretch
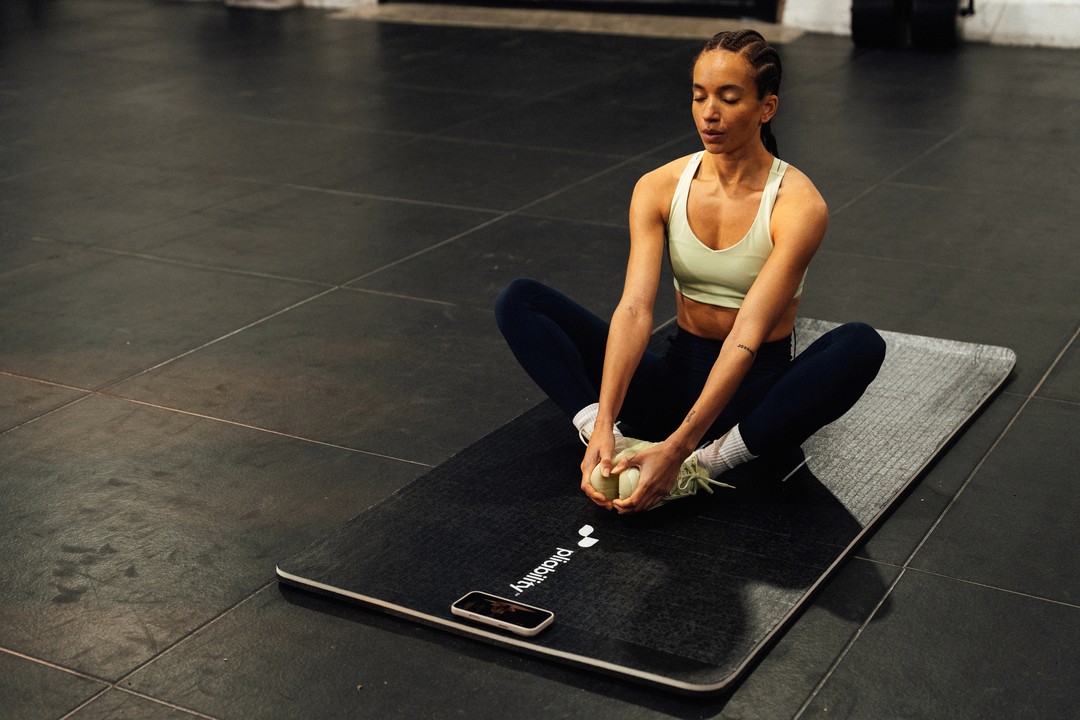
While seated, bring the soles of your feet together in front of you, allowing your knees to fall out to the sides. Hold onto your feet or ankles and gently press your knees towards the floor, using your elbows for a deeper stretch. Maintain this position for 15-30 seconds to stretch the inner thighs and hips.
18. quad stretch
Stand near a wall or chair for balance if needed. Bend one knee, bringing your heel towards your buttock, and grasp your ankle with your hand. Keep your knees close together and push your hip forward to intensify the stretch. Hold for 15-30 seconds, then switch legs. This stretch targets the front of the thigh.
19. shoulder stretch
Bring one arm across your body at shoulder height. Use your other hand to press the arm closer to your chest, stretching the shoulder. Hold for 15-30 seconds, then switch to the other arm. This stretch is excellent for relieving tension in the shoulders.
20. triceps stretch
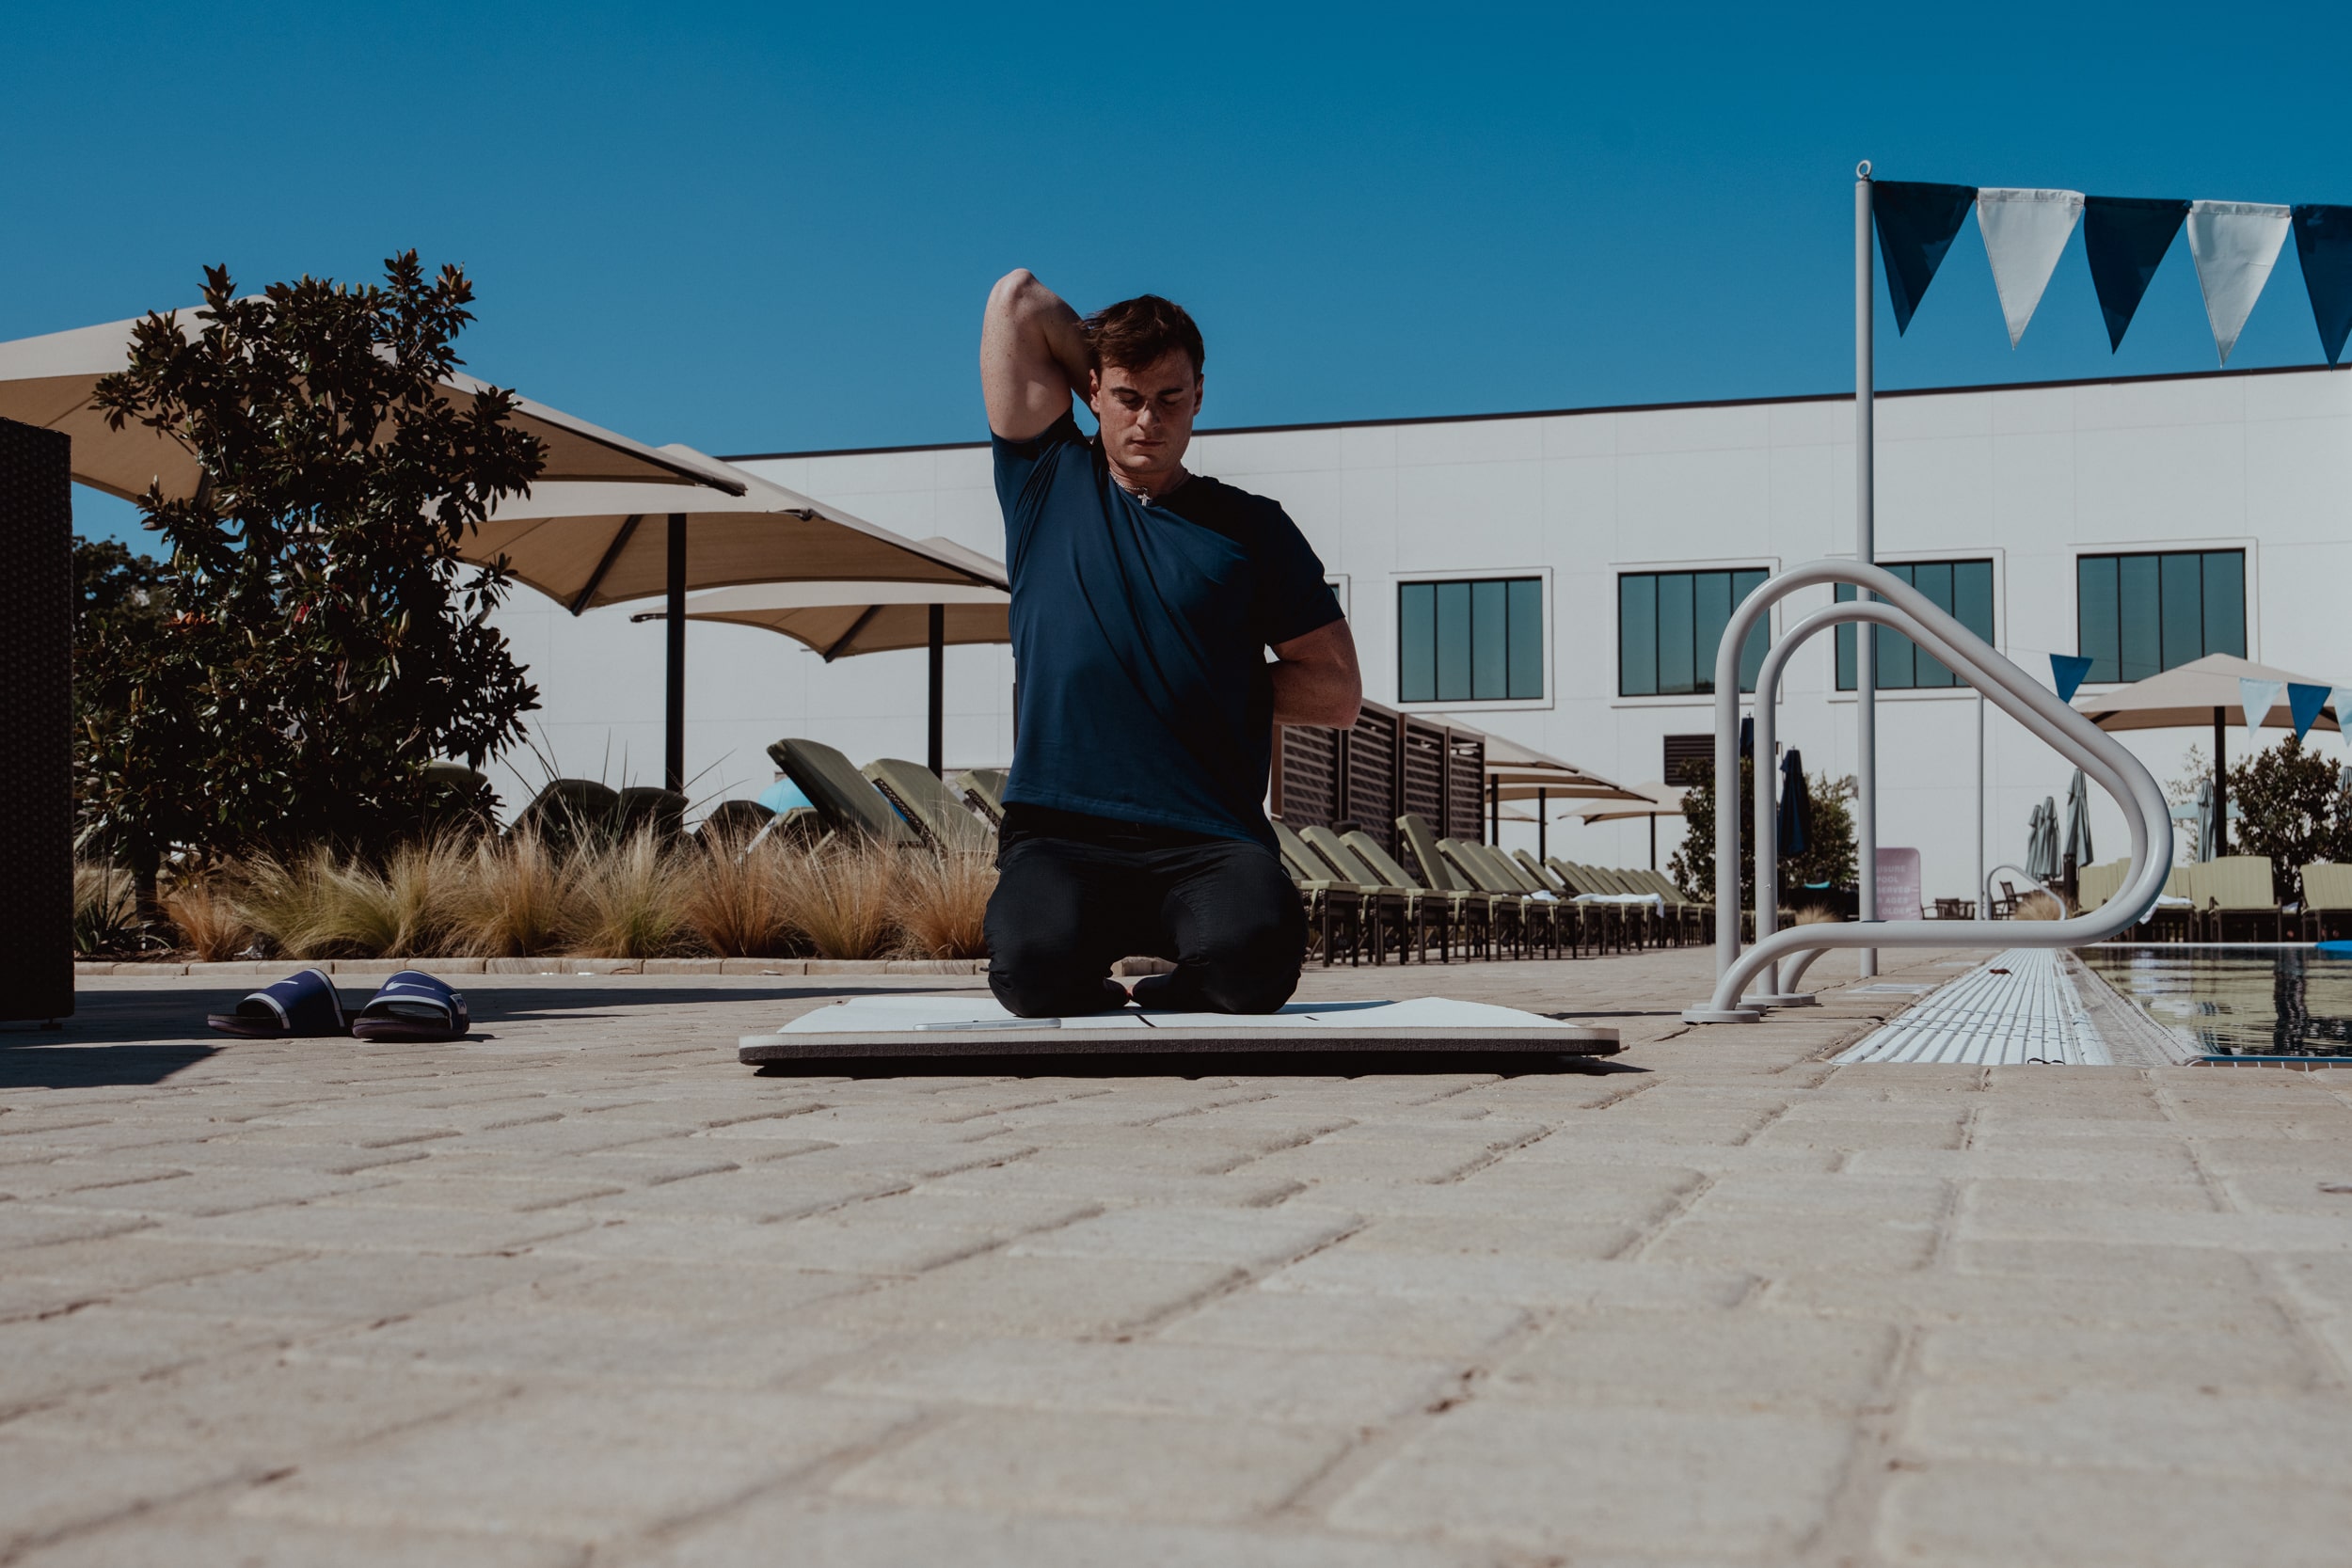
Raise one arm overhead, then bend your elbow to bring your hand towards the opposite shoulder blade. With your other hand, gently press on the bent elbow to deepen the stretch. Hold for 15-30 seconds before switching arms, targeting the triceps and upper back.
21. neck forward and back tilt
Start with your back straight. Lower your chin toward your chest and hold for 15-30 seconds. Relax, and slowly lift your head back up. Then, tilt your chin up toward the ceiling and bring the base of your skull toward your back. Hold for 10 seconds, then return to the start position.
22. side tilt
Gently tilt your head to the right and try to touch it with your ear. Hold the stretch for 5-10 seconds, then return to the start position. Repeat on the opposite side and tilt your head towards your left shoulder.
23. calves downward dog
Start in a quadruped position with your wrists directly beneath your shoulders and your knees beneath your hips. Then, as you push your hands into the floor, move your head between your elbows. Drive your heels towards the floor. Hold this position anywhere from 30 seconds to 1 minute, pedaling the feet.
24. shoulders wide legged forward bend
Stand with feet wider than hip distance and toes facing forward. Interlace your hands behind your back and open your chest. Engage your leg muscles and keep a slight bend in your knees.
Hinge at the hips to fold forward, bringing your arms over your head toward the floor. Allow your head to hang down and tuck your chin in slightly to your chest. Remain in this position anywhere from 30 seconds to 1 minute.
25. split half split pose
From a standing position with the front and back legs extended from each other (staggered). Drop the back knee to the floor and keep the top foot flat on the ground. Keeping the spine extended, allow the upper torso to fold over the front leg with the palms on the floor. Keep the front leg straight.
26. cheerleaders
This exercise is designed to strengthen your shoulder muscles and improve your posture.
Hold onto a resistance band in front of you, with your elbows straight.
Gently pull the resistance band apart.
Return to the starting position. Then, pull the resistance band diagonally.
Return to the starting position and pull to the opposite diagonal.
Perform 3 sets of 10 repetitions for each direction.
27. pike stretch
The pike stretch is highly effective in enhancing flexibility in the upper body while also targeting the hamstring muscles, thereby enhancing hip mobility and bolstering knee stability. To perform this stretch, follow these steps:
Begin by sitting on the floor with your back erect and shoulders relaxed.
Extend your legs straight out in front of you.
Raise your arms straight up, aligning them with your shoulders.
Gradually lean forward from your hips, aiming to touch your toes with the tips of your fingers.
Maintain a straight back throughout the stretch.
Hold the stretched position for a few seconds.
Slowly return your upper body to an upright position.
Repeat this sequence three times for optimal results.
28. donkey kicks
Donkey kicks are beneficial for sculpting the glutes, toning the thighs, and enhancing hip mobility. They also help alleviate hamstring tightness and strengthen the lower back. Follow these steps to perform donkey kicks effectively:
Begin by positioning yourself on all fours, ensuring your back remains straight and your shoulders are relaxed.
Maintain a neutral neck position aligned with your spine.
Lift your right knee off the ground, extending it backward as far as possible while keeping your foot flexed.
Lower your right knee back to the starting position.
Repeat the same motion with your left knee, lifting it towards the ceiling as high as you can.
Alternate between legs, completing a set of 10 repetitions on each side.
Focus on engaging your core muscles and maintaining stability throughout the exercise for optimal results.
29. the bridge pose
The bridge pose is widely practiced in both yoga and gymnastics. It serves to release tension in the back muscles and elongate the abdominal muscles. This stretching maneuver not only enhances overall body flexibility but also fosters strength and stability. Follow these steps to perform the bridge pose effectively:
Begin by standing with your feet shoulder-width apart, ensuring your back remains straight and your shoulders are relaxed.
Extend your arms straight up, aligning them with your shoulders.
Slowly arch your spine backward, allowing your palms to descend towards the floor behind you.
Maintain firmness in your fingers, ensuring they are flexed and securely planted on the ground.
Hold the pose for a few seconds, feeling the stretch along your spine and abdominal muscles.
Return to the starting position by reversing the movement, gradually straightening your spine, and bringing your hands back up.
Repeat this sequence twice to experience the full benefits of the bridge pose.
30. the candlestick
The candlestick exercise is essential for developing strong back muscles, a critical requirement for gymnasts who frequently perform backflips and frontflips. To perform this exercise effectively, follow these steps:
Begin by lying on your back, ensuring your legs are straight and together.
Lock your knees and keep your arms straight, placing them close to your body.
Gradually lift both legs off the floor without bending your knees.
Using your palms for support, raise your buttocks off the floor, aligning your spine, glutes, and legs in a straight line.
Hold this position for a few seconds before gently lowering back down.
Repeat this sequence three times to strengthen your back muscles and improve overall stability.
31. mountain climbers
As you perform this movement, your shoulders, arms, and chest work to stabilize your upper body while your core stabilizes the rest.
Start in a plank position. Make sure to distribute your weight evenly between your hands and your toes.
Pull your right knee into your chest.
Switch legs, pulling one knee out and bringing the other knee in.
Ensure that you keep your hips down and move your knees in and out as quickly as possible.
32. side lying abduction
This exercise strengthens the gluteal and core muscles to improve your landing mechanics.
Lie down on your side with legs extended and hips in a parallel line, one on top of the other. For a greater challenge, lift your hips off the ground.
Exhale while raising your upper leg to just above your hip joint.
Inhale and slowly lower your leg to its starting position, keeping it straight and stacked directly above the lower leg.
Repeat for a total of 10 leg raises. Flip over to your opposite side and repeat. Continue alternating legs for 3 sets of 10.
33. glute bridge
Primarily working the glutes and hip flexors, this exercise also works the abs, hamstrings, and quadriceps.
Lie on the floor with your knees bent and feet flat.
Raise one leg off the floor and bend your knee up towards your chest.
Push down through your other heel and lift your hips, raising your glutes off the floor. Hold this pose for 3-5 seconds.
Return to the start position by lowering your hips to the floor. For a greater challenge, place a resistance band just above your knees during this exercise.
34. squat to chair
This exercise strengthens your quadriceps, gluteal muscles, and core, while also helping to improve your landing mechanics.
Begin by placing each foot into the loops at each end of a long loop resistance band.
Feed each arm through the two loops near the middle of the band, leaving a hand's width of space between them.
Fold and raise your arms to shoulder height, and place your feet hip-width apart.
Keep your elbows bent and hands crossed at shoulder level as you slowly squat until your thighs are parallel to the floor.
Without leaning forward, slowly return to a standing position, maintaining a neutral back and neck alignment.
35. hollow hold
This exercise involves bracing your abdominal muscles and creating complete body tension.
Lie on your back with your legs together and your arms over your head.
Contract your ab muscles and lift your legs, head, and shoulders a few inches off the floor.
Ensure your body forms a crescent shape from head to toe. Hold this position for 15-30 seconds.
Once you can hold this position comfortably, begin to incorporate rocking back and forth. Start doing slow and small movements, and gradually increase the speed and intensity.
36. banded shoulder dislocates
Helps improve overhead agility and shoulder strength, as well as promote better posture.
Start by holding a resistance band or towel with your palms facing your body.
Slowly bring your arms up and overhead with your elbows straight.
When the band is overhead, shrug your shoulders to lower your arms behind you and finish the movement by bringing your hands past the back of your legs while still gripping the band.
Bring your arms back up and over your head to complete the repetition.
Complete 3 sets of 10.
37. planche pushup
This is an advanced strength exercise that requires significant upper body, core, and leg strength.
Assume a pushup position with your arms straight and your hands below your shoulders. Your body should form a straight line from your head to your ankles.
As you bend your elbows and lower your body toward the floor, allow your chest and shoulders to shift forward until your hands are below your ribs.
Hold for 1-3 seconds, then return to the starting position.
38. front split stretch
Start in a lunge position with your right foot forward and left back. Slowly slide your right foot forward, straightening your leg as much as possible. Lower your body into a split position, keeping your hips square and facing forward. Hold the stretch for 20-30 seconds, then repeat on the other side.
39. backbend stretch
Stand tall with your feet hip-width apart. Place your hands on your lower back with your fingers pointing down. Slowly lean back, pushing your hips forward and arching your spine. Only go as far as you feel comfortable, and avoid pain or discomfort. Hold the stretch for 20-30 seconds.
40. wrist stretch
Kneel on the floor and place your hands on the ground with your fingers pointing towards your knees. Apply gentle pressure to your wrists by leaning forward slightly. Hold the stretch for 20-30 seconds.
41. eccentric split sliders
According to current research, traditional static stretching alone may not meaningfully increase muscle length. It's more likely that gymnasts are building tolerance to the discomfort of stretching, which over time desensitizes the nerves and the brain, and improves the range of motion.
Understanding Eccentric Contractions Through Chin-Ups
In contrast, research suggests that performing eccentric-type exercises may increase muscle length over time. Eccentrics occur when a muscle contracts but also lengthens at the same time.
Think about the lowering, "on the way down," part of a chin-up. That is an eccentric contraction for the muscles below the shoulder joint, the lats.
Eccentric Split Training for Flexibility Gains
Eccentric-type exercises can make a real difference for improving splits when done consistently. A popular version is eccentric split slide-outs using furniture sliders, a foam roller, or socks on a hardwood floor: 2-3 sets of 5 repetitions, with a 5-second lower and a 5-second hold at the bottom position.
42. resisted band kicks
Another effective type of active flexibility drill, which is also easy to use, is band-resisted kicks. These offer resistance without the downsides of ankle weights, which can put an enormous amount of stress on the hip joint.
Work by gymnastics researcher Dr. William Sands has shown band-resisted kicks can meaningfully improve flexibility in national-level gymnasts, enough that the approach is worth building into a program deliberately rather than as an afterthought.
Lying Down for Better Control
The best way to start banded kicks is lying down, since it's easier for younger athletes to control their body tension and takes less time to balance the movement.
As athletes progress, banded kicks can move to standing versions or more complex movements within dance circuits. Two sets of 10 in a warm-up is an effective way to incorporate them.
43. front and back leg end range lifts
A widespread problem is gymnasts not being able to lift the front or back leg to the very end range of motion for a full leap or jump angle. It's those last ranges that are often the hardest to achieve, and unfortunately, are the most significant areas of deduction during competition.
Targeted Drills to Max Out Split Flexibility
Drills that specifically target the last bit of motion help here. For the front leg, kneeling hip lifts using a block or beam for balance work well.
For the back leg, curled-up hip lifts force a gymnast to use the glute muscle instead of the lower back. As with the kicks, two sets of 10 during a complex is an effective approach.
build real flexibility for gymnastics with pliability

Drills like these work best as part of a consistent routine rather than a one-off session. pliability's Daily Sessions give you a fresh guided mobility routine every day, and Paths string sessions together into a multi-week progression toward a specific goal, like deeper splits or a more stable straddle jump. Take the mobility assessment to see where you're most restricted, then use Build Your Program to build a routine around it.
Try pliability free for 7 days on iPhone, iPad, Android, or the web.
Related Reading


Move better in 10 minutes a day.
10,000+ five-star reviews.