


LEARN
pliability

You finish a heavy set and feel a sharp twinge or a dull ache around the kneecap; suddenly, squats feel risky instead of productive. "Why do my knees hurt after squats?" is the question many lifters ask when patellofemoral pain, tendon irritation, meniscus soreness, or simple overuse symptoms appear. This article breaks down common causes of poor squat mechanics, including valgus collapse, weak glutes, limited ankle and hip mobility, and inflammation, along with recovery techniques such as mobility drills, soft tissue work, and strength corrections that help you recover quickly from a workout and squat pain-free, allowing you to train confidently, make progress, and stay active without worrying about injury.
why do my knees hurt after squats?

Knee pain after squats most often reflects how the joint is being loaded, not a mysterious failure of the body. Look for three things: how the knee tracks, whether the surrounding muscles are balanced, and whether mobility limits force distribution. Mild soreness is normal, but persistent or sharp pain is not.
how does the knee handle load during a squat?
When you descend, the knee acts like a loaded hinge where the quadriceps pull the patella into the femoral groove and the tibiofemoral joint absorbs compressive and shear forces.
As depth increases, contact pressure rises and minor alignment errors multiply into painful friction or excess strain. Think of the knee as a door hinge in a warped frame; a slight twist in the frame and the hinge begins to bind, grind, or stick.
what movement faults cause the most trouble?
The failure point is usually alignment: knees that cave inward, heels that lift, or a torso that collapses forward, shifting load away from the hips and onto the patellofemoral joint. That misplaced load causes friction between the kneecap and thigh bone, stressing the patellar tendon. Poor technique, more than any single anatomical quirk, is the most common trigger for squat-related knee pain.
how do strength deficits and flexibility problems contribute?
If the hips, calves, or ankle complex lack mobility, the knee must compensate. Weak glutes force the quadriceps to do extra work, and tight quadriceps or a stiff IT band alter tracking. Poor flexibility is not minor; it is a recurring and often overlooked contributor to squat-related knee injuries, which explains why stretching and targeted mobility are more than optional in a safe program.
when should pain be treated as a red flag?
Sudden sharp pain, swelling, locking, or a sense that the knee gives out points to structural problems such as a meniscus tear, ligament sprain, or significant tendinopathy, and those require clinical exam or imaging.
Persistent irritation that doesn't respond to basic load management usually means something in the joint needs to be diagnosed, not more repetition; get an assessment if symptoms escalate or limit daily activities, such as stair climbing.
how to prevent knee pain when squatting and bending

You stop knee pain before it starts by treating preparation as practice, not an optional warm-up. Build a short, repeatable pre-squat routine that primes the joints, activates the hips and hamstrings, and then add conservative, measurable load progressions so you never surprise the knee with force it is not ready to handle.
how should you structure the warm-up to actually protect the knee?
Begin with 5 to 8 minutes of light movement to warm up your body, then transition quickly into movement-specific mobility and activation, rather than relying solely on static stretching. A well-tested sequence looks like this:
Ankle mobility and knee-to-wall checks for two minutes
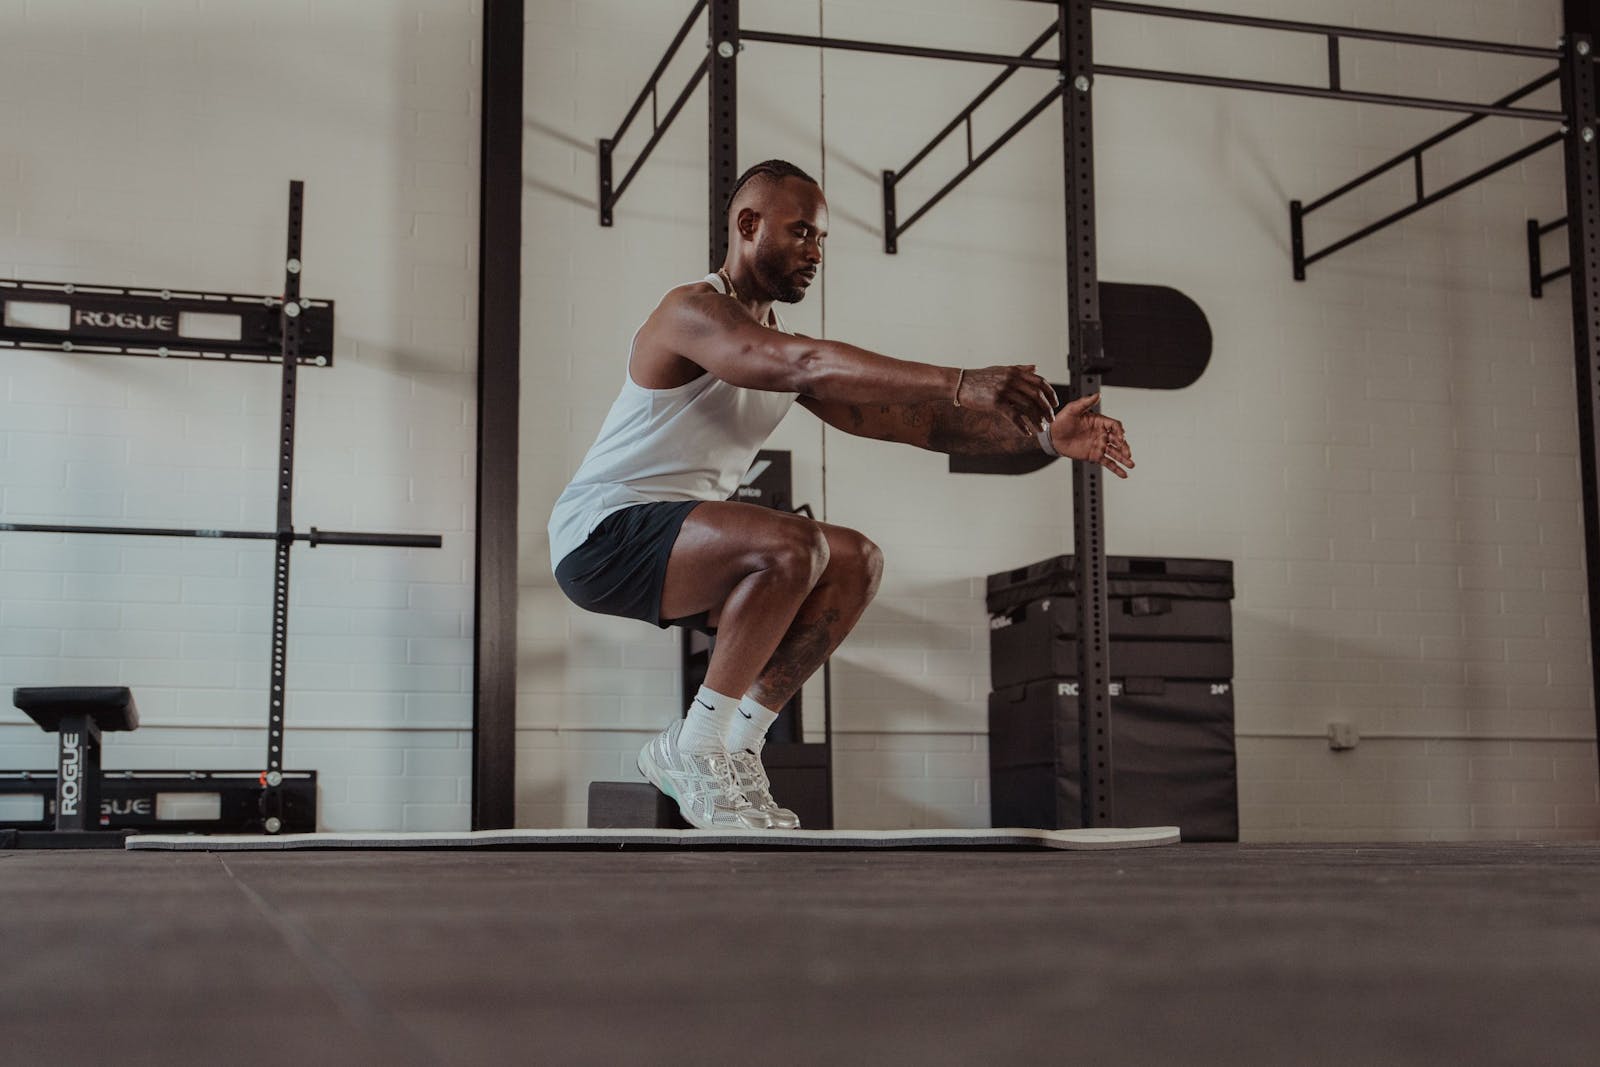
Two sets of 8 slow bodyweight squats to groove the pattern
Two sets of 10 banded glute bridges to light up the posterior chain
2 to 3 ramp-up sets with the bar or a light kettlebell at increasing intensity before your working sets
Treat the ramp as a rehearsal: the last ramp set should resemble your working set, but with 40 to 60 percent of the load, rehearsing depth and tempo without fatigue. A brief, specific warm-up like this prevents most flare-ups before they start, which makes the 5- to 8-minute investment well worth it.
what activation drills actually change movement?
Across recreational lifters, a consistent pattern shows up: simple activation delivered before every session reduces early-stage flare-ups most reliably.
Use two brief, high-impact drills: Banded lateral walks (2 sets of 20 steps) to prime the hip abductors, and single-leg Romanian deadlift holds (2 sets of 6 controlled reps per side) to engage the hamstrings and challenge balance.
These both demonstrate whether the glutes and posterior chain are contributing, and they transfer directly to knee loading because they shift work away from overactive quads and onto the hips.
how should you program strength for durable knees?
Prioritize hip extension and unilateral work two times per week. A useful three-exercise mini-cycle looks like this: heavier hip thrusts or belt squats, moderate unilateral split squats or Bulgarian variants, and hamstring-dominant Romanian deadlifts. Prescribe the first exercise for four sets of 6 to 8 for strength, the second for three sets of 8 to 12 for stability and symmetry, the third for three sets of 6 to 10 for posterior chain control.
Progress with measurable micro-steps, for example, adding 2.5 to 5 pounds when you can complete the top range with clean technique for two consecutive sessions. That predictable, slow progression prevents sudden jumps in knee compressive load.
what mobility work actually matters, and when should you do it?
Swap unfocused static stretching for short, targeted mobility that restores specific ranges you measured earlier. If the ankle-to-wall check shows limited dorsiflexion, use three rounds of 45-second ankle mobilizations daily. For hamstrings, use a simple two-to-one approach:
Two minutes of loaded eccentrics once per session
Followed by three 30-second passive holds after training
Track results weekly with the same quick test so you're not guessing. Consistency here beats occasional long stretches.
how do you pick foot placement without guessing?
Find a reproducible stance you can replicate by measuring, not by feel. Mark a stance equal to shoulder width plus a thumb-width for most lifters, try a modest toe flare of roughly 10 to 20 degrees, then test descent comfort and femoral rotation with light reps.
If one stance produces pain or a forced shift in weight, adjust by 1 centimeter and test again. The key is repeatability; the body adapts to consistent mechanics.
when should you change the exercise instead of forcing the squat?
If a short training block of activation, mobility, and microprogressions does not alleviate transient discomfort, switch to a variation that preserves stimulus while reducing joint demand. Options include belt squats or hack squat machines to isolate leg work without compressing the spine, or reducing depth to a pain-free range and building capacity within that range.
Many lifters find they can continue building muscle and strength while the joint recovers, which helps maintain steady and sustainable progress.
what should load progression look like practically?
For novices, cap weekly load increases at about 5-10 percent and use a planned deload every four weeks. For intermediates, increase volume or intensity every two weeks by adding small jumps in weight or an extra rep per set until you plateau, then back off by 10 to 15 percent for one week. Respect pain as feedback. Soreness is one thing, but a sharp change in pain quality means stopping and reassessing the situation.
how do long-term conditions change planning?
Keep long-term pathology in mind before prescribing aggressive progressions. Knee pain and arthritis are both extremely common among adults, so if you or a client has established joint disease, prioritize load redistribution and controlled eccentric work over chasing heavier squat numbers.
These preventive habits are worth adopting early and keeping for the long term, since knee pain affects a large share of the adult population at some point.
what common preparation habits fail, and why?
Ad hoc stretching and random drills may feel productive, but they often create gaps. The familiar approach is to skip activation or add mobility only when pain flares, and that works until it doesn't. That approach fragments progress because you cannot reliably train strength when the preparatory work is inconsistent. A structured plan that tracks mobility, activation, and load together closes those gaps far more reliably than scattershot trial and error.
how to squat without knee pain: stance, depth, and tempo fixes

Prevention habits set the foundation, but the squat itself is where pain-free training is won or lost. Most squat-related knee pain responds to three in-set adjustments: a repeatable setup, a depth you can own, and a tempo the tendons can tolerate.
set up your stance and brace before every rep
Plant each foot as a tripod, feeling weight under the heel, the base of the big toe, and the little toe, and think of pulling the floor apart with your feet rather than simply pushing up. That cue keeps the femurs externally rotated and stops the knees from drifting inward under load.
Brace your core as if you are about to be hit in the stomach, breathe into the belly on the descent, and exhale through the sticking point on the way up to keep intra-abdominal pressure steady. A small timing cue helps too: inhale, hold for one to two counts, descend under control, then drive up deliberately. These micro-routines stop the body from shifting unpredictably as the load increases.
adjust depth to a pain-free range
Depth is a dial, not a badge. If full depth provokes pain, shorten the range to where the reps stay clean and pain stays low, and build capacity there before adding depth back. Use a consistent landmark, such as the top of the thigh relative to parallel, so every rep hits the same depth instead of drifting deeper as fatigue sets in. Regain depth gradually: add range only after several pain-free sessions at the current range.
use tempo to control the load
Slow tempo is the cheapest knee-friendly adjustment available. Lowering over three to six seconds keeps the knee tracking honest, trains the quads and tendons in lengthened positions, and exposes form breaks before they become pain. Timed isometric holds, such as a 30- to 60-second wall sit, load the tendon without shear and build tolerance between squat sessions.
If pain shows up mid-set, respond by the numbers: sharp or unfamiliar pain means rack the bar and test the movement unloaded; a dull, familiar ache means reduce the load by 10 to 25 percent, shorten the range, and do two clean practice reps focused on the brace and foot pressure. Track pain on a 0 to 10 scale for the set and note whether it eased within a minute; pain that worsens across the session means stop and adjust the plan for next week.
accessory work that supports pain-free squatting
Single-leg strength and controlled eccentrics build the tolerance that lets stance, depth, and tempo fixes stick:
Bulgarian split squats: 3 sets of 6 to 8 reps per side for unilateral control and symmetry.
Slow eccentric step-downs: 3 sets of 8 with a 4- to 6-second descent to train knee tracking under lengthening load.
Hamstring-focused bridges and calf raises: 2 to 3 sets each to balance torque around the knee and support the ankle.
Progress one variable at a time, and if pain rises, drop back a single step and hold for a week before advancing again.
how to relieve knee pain from squats

Start by resting and reassessing your technique, then return with a pain-guided, graded plan that prioritizes low-impact movement and slow loading of the joint. Use targeted self-care in the short term and progress to gentle, pain-free strengthening that focuses on control before force. If pain spikes, stop and seek an assessment from a physical therapist or physician.
how long should I rest, and when do I start moving?
If your knee has just flared, take 48 to 72 hours of relative rest for the worst of the inflammation to subside, then test your range of motion and weight-bearing. Begin light motion as inflammation eases.
Start with straight leg raises, ankle pumps, and walking short distances, keeping exertion low enough that pain stays below a 3 out of 10 and any soreness settles within 24 hours. If pain does not improve after two to three weeks of conservative care, or if your symptoms change in quality, seek professional evaluation.
which low-impact activities actually keep you fit without making things worse?
Swap high-impact training for cycling, swimming, rowing, or pool walking, 20 to 30 minutes, three to four times per week, at a leisurely pace, so you preserve your conditioning without amplifying compressive load. Retraining cadence and form while staying with controlled, low-impact sessions keeps fitness steady and prevents the training gaps that often trigger relapses.
what quick self-care gives reliable short-term relief?
Use RICE with purpose. Rest from aggravating movements until the pain subsides. Ice the joint for 10 to 15 minutes every two to three hours during the first 48 hours to reduce inflammation. Apply light compression or a sleeve to limit swelling, and elevate the joint for 15 to 20 minutes when possible.
Short courses of NSAIDs can ease severe flares, but only use them to bridge to movement, not to mask pain so you return to heavy loading prematurely. If swelling, instability, or locking appear, arrange a medical assessment rather than pushing through.
which exercises strengthen without aggravating the knee?
Begin with pain-free isometrics and controlled terminal extension work, such as quad sets and banded terminal knee extensions, performing three sets of 10 to 20 repetitions daily at first to build tolerance. Progress to short arc knee extensions, then straight-leg raises, and finally slow eccentrics as pain allows, moving frequency to two or three sessions per week for loaded work.
Because focused quad strengthening changes load distribution and meaningfully reduces knee pain for many lifters, make this a central pillar of your rehab rather than an afterthought.
what warning signs mean you need hands-on care or imaging?
If your knee shows persistent swelling after 72 hours, gives way under you, locks, or pain exceeds a steady 6 out of 10 or limits daily life for more than six weeks, book a clinical exam.
Physical therapists provide movement analysis, progressive loading plans, and manual therapy to normalize mechanics; physicians will rule out structural damage and discuss targeted treatments or referrals as needed.
how do you reintroduce squatting without repeating the same mistake?
Treat the first week back like an experiment, not a performance test. Use partial range, a lighter load, and strict tempo, checking that pain stays low and mechanics look clean on video or under a coach.
Increase depth and load only after several pain-free sessions, adding no more than one small increment every 7 to 14 days. Think of it like tuning a car, slowly tightening bolts and testing the engine at low speed so you hear problems before they become breakdowns.
squat pain-free with pliability | 7 days free
Squatting without knee pain comes down to consistent preparation, honest tracking, and a plan you actually follow, and that is what pliability is built for. The mobility assessment starts with a body scan that flags the ankle, hip, or quad restrictions feeding your knee pain, Build Your Program turns that into a plan shaped around your training schedule, and Daily Sessions keep the warm-up and mobility work consistent instead of ad hoc. Paths let you focus on hip and ankle mobility specifically for weeks at a time. Try pliability free for 7 days on iPhone, iPad, Android, or the web, and see whether consistent, guided mobility finally closes the gap between training and pain-free squats.
Related Reading


Move better in 10 minutes a day.
10,000+ five-star reviews.