


LEARN
pliability

Tight hips and a stiff lower back almost always show up together, because they share a job. When your hip flexors shorten from hours of sitting and your glutes stop firing, your pelvis tips forward and your lumbar spine picks up work it was never built to do. The way out follows the same logic in reverse: release the tight tissue, open up the hips, give the lower back some gentle motion, then strengthen the muscles that let everything tighten up in the first place. This guide covers how to loosen tight hips and lower back with 16 exercises, in exactly that order.
One note before you start: this is education, not diagnosis. General tightness responds well to the work below. If you have numbness or tingling, pain radiating down a leg, sciatica symptoms, or weakness that is getting worse, see a clinician before you stretch anything. The full list of warning signs is below.
why your hips and lower back get so tight
The usual drivers are prolonged sitting, static posture, muscle imbalance, and repetitive training without mobility work to balance it. Sitting holds your hips in flexion for hours, which shortens the hip flexors, especially the psoas, the deep muscle that runs from your lumbar vertebrae to the top of your femur. Meanwhile the glutes, switched off against a chair all day, weaken through disuse. That combination pulls the pelvis into an anterior tilt, exaggerates the curve of the lower spine, and loads the lumbar joints and discs more than they like.
Muscles and joints work in chains, which is why tightness in one place creates trouble somewhere else. If hip extension is limited, your lower back extends more on every stride and every lift to make up the range. If the glutes stay idle, the hamstrings and lumbar extensors pick up the slack and fatigue faster. It is the same reason tight hips can cause knee pain, and it is why hip mobility matters even when the complaint is your back. Stretching the spot that hurts while ignoring the chain that feeds it is how tightness becomes a permanent houseguest.
a 30-second self-test for tight hip flexors
Try the Thomas test. Lie on your back on a stable, flat surface. Bring both knees to your chest, then keep one knee held while you slowly lower the other leg toward the surface. If the lowered leg cannot rest flat without the knee bending or the back arching, your hip flexors on that side are likely tight. Repeat on the other side.
Other everyday signs:
Limited squat depth
A shorter stride when you run or walk
Difficulty standing fully upright after sitting
A pelvis that feels tipped forward, with a deep arch in your lower back
when tightness is more than tightness
Stiffness that eases with movement is a mobility project. These signs are not, and they mean see a clinician first:
Numbness or tingling in the leg, groin, or saddle area
Sharp pain radiating down the leg, or sciatica symptoms with progressive weakness
New bowel or bladder changes, or fever alongside back pain
Pain after a fall or other trauma, persistent night pain, or unexplained weight loss
Severe or worsening pain is not a self-management project. And if garden-variety tightness has not improved after a few weeks of consistent work, a physical therapist can find what the generic version misses.
how to loosen tight hips and lower back: the full routine
Order matters here. Soft tissue work first makes the stretches more productive, hip openers take pressure off the spine before you ask it to move, and strength work is what keeps tomorrow from feeling like today. You do not need all 16 exercises in one session: pick one release, two or three hip openers, and two lower back moves for a daily ten-minute routine, and rotate through the rest across the week. Breathe slowly through every hold. Mild stretching discomfort is normal; sharp pain is a stop signal.
step 1: release the tight tissue first
1. Foam Roller Hip Release
Lie face down with the roller beneath and slightly below your right hip.
Bend your left leg out to the side at 90 degrees and rest your forearms on the floor to control the pressure.
Extend your right leg behind you, toes pointed, top of the foot on the ground.
Roll slowly back and forth for up to 30 seconds, adding gentle side-to-side movement to widen the contact area.
If you find a tender spot, pause and hold for about 10 seconds while breathing into it, then switch hips.
2. Ball Release for the Glutes
A tennis or lacrosse ball reaches the small, deep muscles a roller misses, like the piriformis near the hip socket.
Sit with the ball under one glute and shift your weight until you find a tender spot.
Apply steady pressure for 20 to 30 seconds, breathing through the discomfort.
Avoid direct pressure on the spine, and stop if anything feels sharp or radiates.
step 2: open up the hips
3. Kneeling Hip Flexor Stretch
Kneel on your right knee with your left foot flat and your left knee at 90 degrees.
Keep your torso tall and drive your hips forward with a straight spine.
Hold for 30 seconds, repeat two to five times per side, easing slightly deeper each round.
To isolate the front of the thigh, squeeze your glutes and tuck your pelvis under before you shift forward, and reach the same-side arm overhead for more depth.
4. Pigeon Stretch
From hands and knees, bring your right knee forward behind your right wrist, with your right ankle angled toward your left hip.
Extend the left leg straight back, toes pointed.
Keep your hips square and lower gently onto your forearms. Stay for up to 10 seconds, press back up to all fours, and switch sides.
If the front hip does not reach the floor, put a cushion under it. Controlling the depth is what keeps this deep opener safe.
5. 90-90 Stretch
Sit with your right leg in front, bent at 90 degrees with the sole facing left, and your left leg out to the side, bent at 90 degrees with the sole facing behind you.
Square your shoulders forward, keep your spine long, and sink both sit bones toward the floor.
Lean your chest forward to deepen the stretch, then switch legs.
This one trains internal and external rotation, the ranges sitting steals first.
6. Butterfly Stretch
Sit tall, bring the soles of your feet together, and draw your heels toward your body.
Hinge forward from the hips with a straight back, pressing gently on your thighs with your elbows.
Hold for 30 seconds and sit up slowly.
7. Figure Four
Lie on your back with knees bent, cross your right ankle over your left knee, and pull the left thigh toward your chest until you feel the stretch in the right glute.
Hold for several breaths, then switch sides.
Seated version: at your desk, place one ankle on the opposite knee, sit tall, and hinge forward for up to 60 seconds per side. It travels well through calls and flights.
8. Frog Stretch
Start on elbows and knees with your knees bent at 90 degrees.
Walk your knees apart as far as comfortable while lengthening your spine.
Lower your chest toward your forearms and draw your hips back and down until you feel a steady stretch through the inner hips and lower spine.
Hold for up to 60 seconds, breathing steadily.
9. Supine Hip Flexor Stretch on the Bed
Lie on your back near the right edge of a bed, legs extended.
Bend your left knee, keep the left foot flat, and press your lower back lightly into the bed.
Let your right leg hang off the side so gravity opens the front of the hip.
Pull the left knee toward your chest to deepen the stretch, keeping the back flat, then switch sides.
10. Side-Lying Hip Flexor Stretch
Lie on your left side with knees bent and stacked at 90 degrees.
Reach back with your right hand and hold the top of your right ankle.
Gently pull the foot back while keeping your pelvis tucked so your lower back does not arch.
Feel the stretch along the front of the right thigh and hip, then repeat on the other side.
step 3: release the lower back
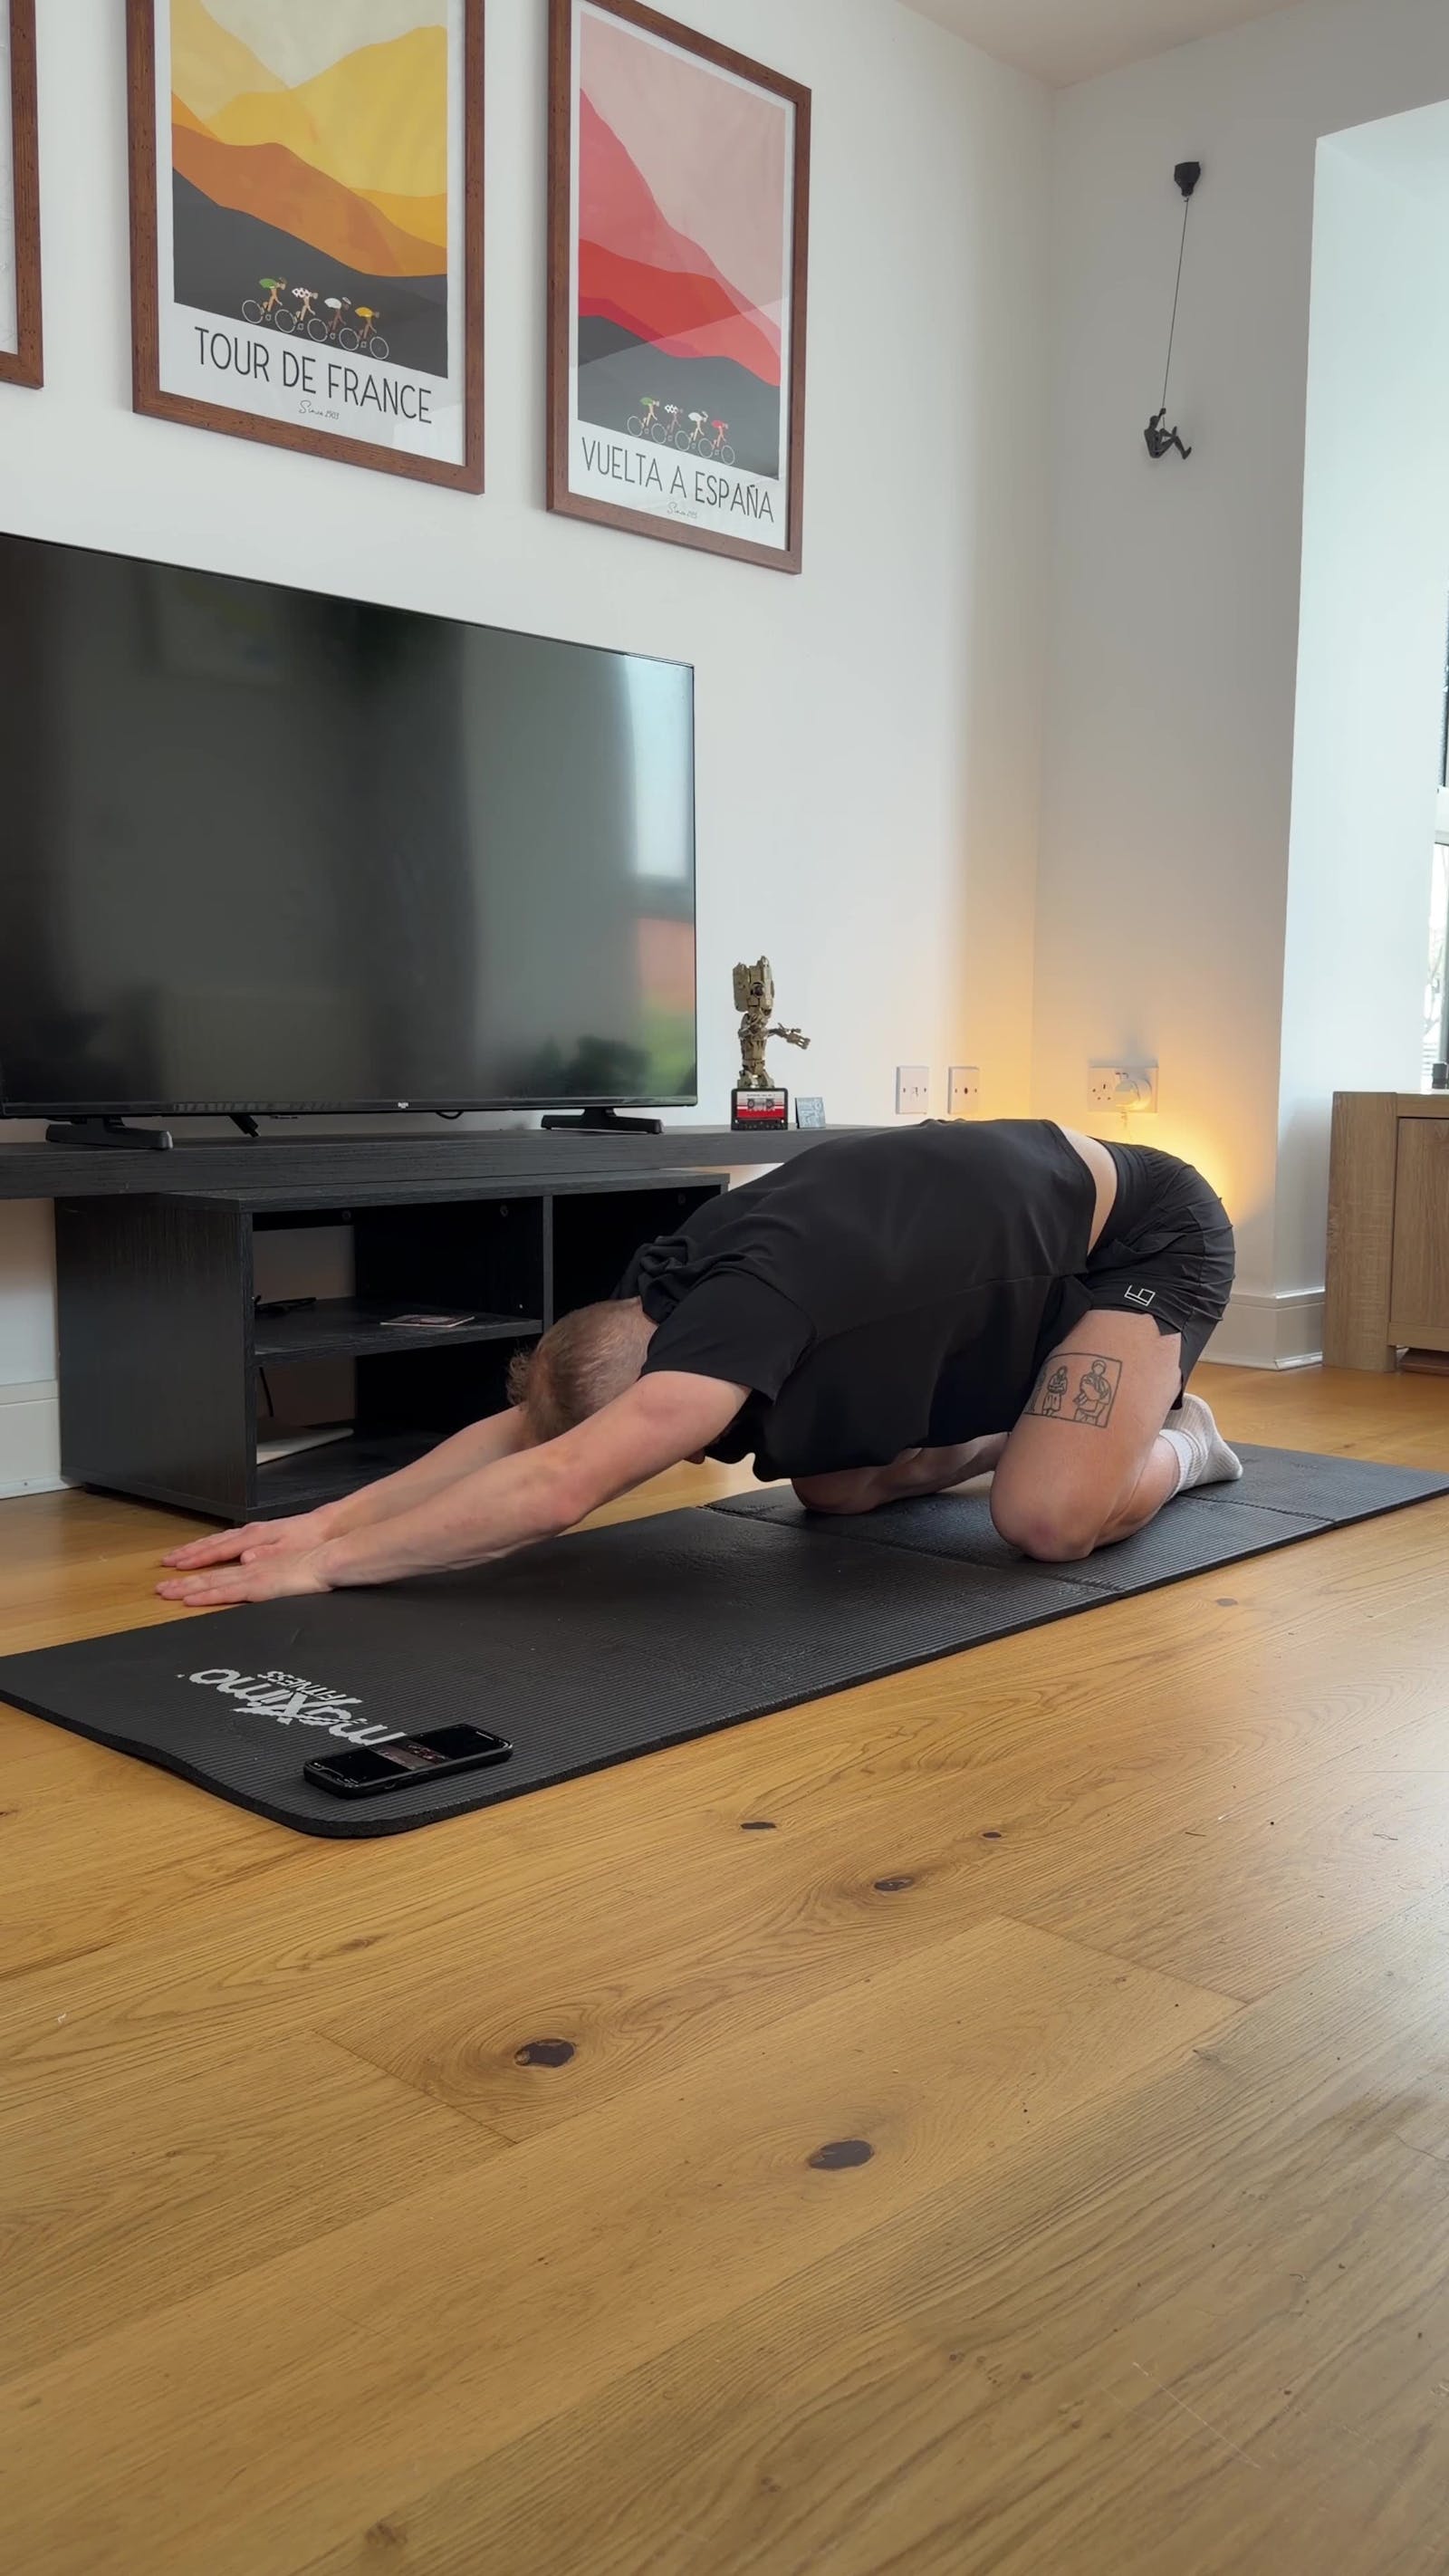
11. Child's Pose
From hands and knees, bring your big toes together and your knees wide.
Sit back onto your heels and lower your chest toward the floor, arms extended forward.
Soften your shoulders and breathe into the space between your ribs and pelvis. This is the gentlest global release for the low back and hips together.
12. Cat-Cow
On hands and knees, inhale as you arch your back and lift your gaze, then exhale as you round your spine and tuck your chin.
Move slowly for 8 to 12 cycles, syncing each motion with your breath.
13. Knee to Chest With Active Press
Lie on your back and pull your right knee into your chest with both hands, holding for 10 to 30 seconds.
While you hold, flex your left foot and press the left thigh and calf into the floor to actively lengthen the left hip flexor.
Switch legs and repeat. You get a low back release and a hip flexor stretch in one move.
14. Seated Spinal Twist
Sit tall with your legs extended.
Twist your torso to one side, supporting yourself with the hand behind you.
Hold for a few breaths, then switch sides.
15. Standing Forward Fold
Stand with feet hip-width apart, hinge at the hips, and let your upper body hang.
Soften your knees to protect your lower back, working toward straighter legs as your hamstrings allow.
Hold for a few breaths and rise slowly to avoid lightheadedness.
16. Cobra
Lie on your stomach with your palms under your shoulders.
Press through your hands to lift your chest slightly, keeping your pelvis and legs grounded.
Hold the gentle extension for a few breaths. This strengthens the back extensors without compressing the spine.
step 4: strengthen so the looseness lasts
Stretching without strengthening is how you end up doing the same routine forever. The tightness comes back because the imbalance that created it is still there. A few sets of these, two or three days a week, teach your glutes and core to hold the position your stretching just earned:
Glute bridge: lie on your back with knees bent, lift your hips by squeezing your glutes, hold briefly, lower with control.
Clamshell: lie on your side with knees bent, feet together, and raise the top knee to work the glute medius.
Side leg lift: lift one leg to the side with slow control, keeping your hips level.
Step-up: drive through your whole foot on a stable step, focusing on hip control.
Walking lunge: long steps, both knees to 90 degrees, torso tall.
Air squat: feet shoulder-width apart, sit back into your hips.
Plank: hold a straight line from head to heels, belly button drawn toward your spine.
Bird dog: from hands and knees, extend the opposite arm and leg with control, ten reps per side.
Quality beats quantity everywhere here. Move within a comfortable range, add reps and depth gradually, and track small wins like deeper squats or easier mornings. Stop and consult a physical therapist if you feel sharp pain, numbness, tingling, or a sudden increase in symptoms.
how to keep your hips and lower back from tightening back up
break up the sitting
Sitting is not the enemy; staying static is. Stand or walk for a few minutes every 45 to 60 minutes, alternate between sitting and standing if you have an adjustable desk, and use the seated figure four during calls. On days you cannot get to the floor, you can still loosen a tight lower back while standing.
warm up before training, stretch after
Before you train, prime the hips with dynamic moves instead of long holds: leg swings, hip circles, bodyweight squats, walking lunges, glute bridges, and the Spiderman stretch, where you step one foot outside your hand from a push-up position and drive the hips forward for a few two-second holds per side. After training, when tissue is warm, is the time for the static work: the kneeling hip flexor stretch, figure four, a hamstring stretch, and a gentle twist, held 30 to 60 seconds each.
set up your workstation to stop feeding the problem
Keep your hips roughly level with your knees, your screen at eye level, and your keyboard close. When you lift, hinge at the hips and let your legs and core do the work instead of your lumbar spine. The same setup problems that stiffen your hips usually run up the chain too; if your neck and shoulders carry the same tension, start with exercises for stiff neck and shoulders.
make loose hips a daily habit, not a rescue mission
Everything above works, but only on the days you do it, and stiff hips are built one sitting day at a time. pliability makes the daily part easy: Daily Sessions give you a fresh guided routine every day, Paths progress you toward a specific goal like hip mobility over several weeks, and Build Your Program shapes the plan around your own training and schedule. Take the mobility assessment to see whether your hips or your lower back are the real restriction, and if you are working back from a flare-up, the Rebuild hub offers gentler corrective work. Start with 7 days free on iPhone, iPad, Android, or the web.
Related Reading



Move better in 10 minutes a day.
10,000+ five-star reviews.